

Keras深度学习使用VGG16预训练神经网络实现猫狗分类
最近刚刚接触深度学习不久,而Keras呢,是在众多的深度学习框架中,最适合上手的,而猫狗的图像分类呢,也算是计算机视觉中的一个经典案例,下面开始为大家介绍一下实现流程:
前置环境
- Python3.6 Pip3
- Keras,使用Tensorflow作为后端
- Numpy
- Matplotlib
- Opencv
实现过程
模型训练
首先我们需要导入所需要的包,本次训练模型呢,使用了VGG16预训练网络模型,对于没有GPU加持的小伙伴众多的预训练网络模型也算是福音。即可加快模型训练速度,也可以使小批量的数据集的准确率提高很多。
import keras
import tensorflow as tf
from keras import layers
import numpy as np
import os
import shutil
import matplotlib.pyplot as plt
%matplotlib inline
from keras.preprocessing.image import ImageDataGenerator
from tensorflow.keras.applications import VGG16
从网上找到的猫狗数据集资源,加载猫狗数据集和划分猫狗训练(train)数据和测试(test)数据。猫狗原数据集我已上传到百度云盘,需要的文章末尾请自取。
BASE_DIR = './cat_dog'
train_dir = os.path.join(BASE_DIR, 'train')
train_dir_dog = os.path.join(train_dir, 'dog')
train_dir_cat = os.path.join(train_dir, 'cat')

test_dir = os.path.join(BASE_DIR, 'test')
test_dir_dog = os.path.join(test_dir, 'dog')
test_dir_cat = os.path.join(test_dir, 'cat')
train_dir_dog, test_dir_cat

os.mkdir(BASE_DIR)
os.mkdir(train_dir)
os.mkdir(train_dir_dog)
os.mkdir(train_dir_cat)
os.mkdir(test_dir)
os.mkdir(test_dir_dog)
os.mkdir(test_dir_cat)

source_dir = './source_data/train'

fnames = ['cat.{}.jpg'.format(i) for i in range(1000)]
for fname in fnames:
    s = os.path.join(source_dir, fname)
    d = os.path.join(train_dir_cat, fname)
    shutil.copyfile(s, d)

fnames = ['dog.{}.jpg'.format(i) for i in range(1000)]
for fname in fnames:
    s = os.path.join(source_dir, fname)
    d = os.path.join(train_dir_dog, fname)
    shutil.copyfile(s, d)

fnames = ['dog.{}.jpg'.format(i) for i in range(1000, 1500)]
for fname in fnames:
    s = os.path.join(source_dir, fname)
    d = os.path.join(test_dir_dog, fname)
    shutil.copyfile(s, d)

fnames = ['cat.{}.jpg'.format(i) for i in range(1000, 1500)]
for fname in fnames:
    s = os.path.join(source_dir, fname)
    d = os.path.join(test_dir_cat, fname)
    shutil.copyfile(s, d)
建立图像数据迭代器,并对原始图像进行归一化。
[En]
The image data iterator is established and the original image is normalized.
train_datagen = ImageDataGenerator(rescale=1 / 255)
test_datagen = ImageDataGenerator(rescale=1 / 255)

train_generator = train_datagen.flow_from_directory(train_dir,
target_size=(200, 200), batch_size=20, class_mode='binary')

test_generator = test_datagen.flow_from_directory(test_dir,
target_size=(200, 200), batch_size=20, class_mode='binary')
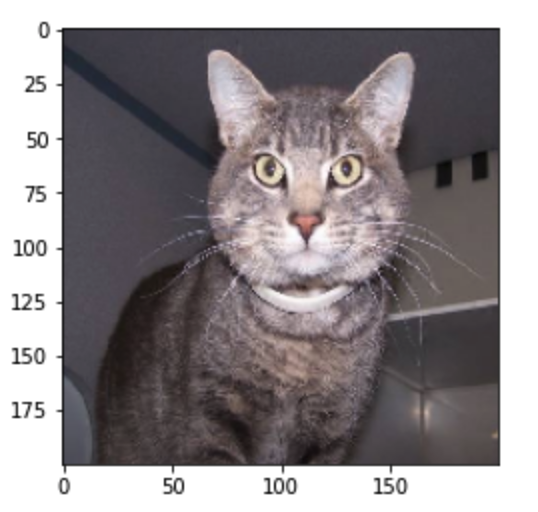
使用Matplotlib,我们可以将图像进行输出;图像的数据呢,本质上就是三个通道的颜色数据值,即RGB值。
plt.imshow(train_generator[0][0][0])
print(train_generator[0][1][0])

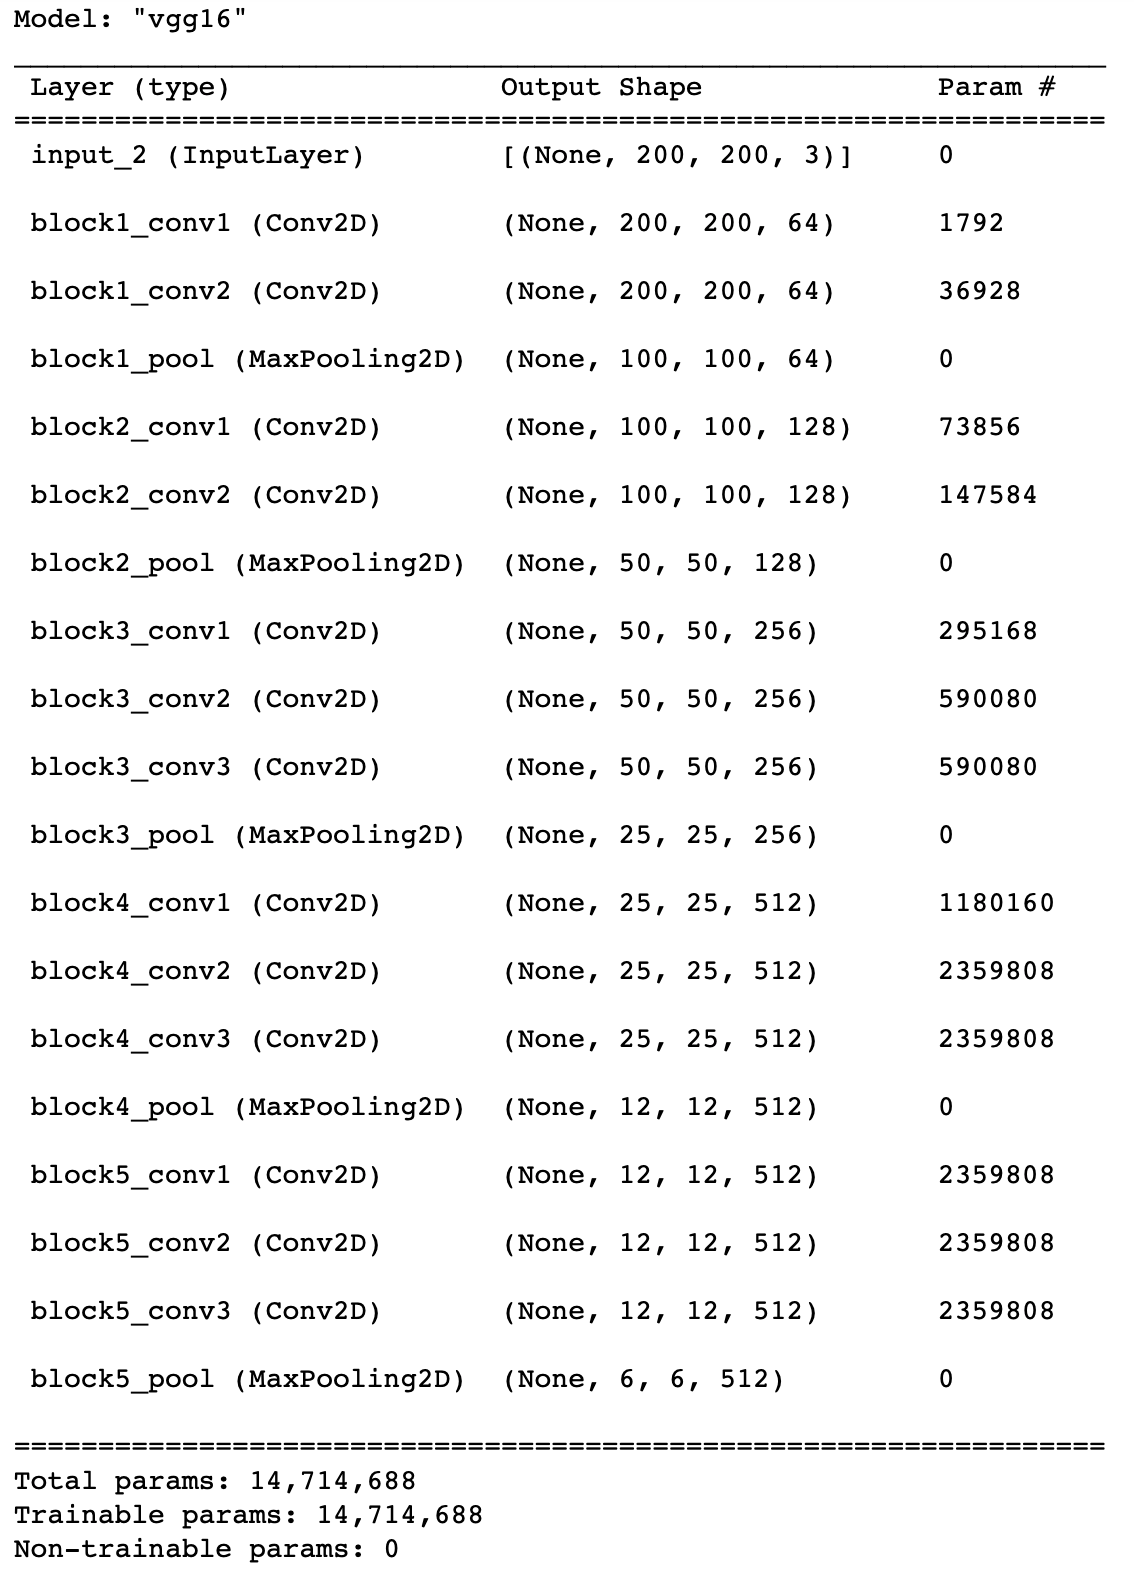
初始化VGG16预训练神经网络;使用vgg网络,使用imageNet权重,include_top是否包含最后的全连接层和输出层,
covn_base = VGG16(weights='imagenet', include_top=False, input_shape=(200,200,3))
使用summary()可以查看神经网络的结构,可以看到VGG16的结构也是由多层Conv2D(卷积)和MaxPooling2D(池化)组成。
covn_base.summary()
使用VGG网络把图片的特征值提取出来,在放入线性网络中进行训练,以提高速度
batch_size = 20
def extract_features(data_generator, sample_count):
    i = 0
    features = np.zeros(shape=(sample_count, 6, 6, 512))
    labels = np.zeros(shape=(sample_count))
    for inputs_batch, labels_batch in data_generator:
        features_batch = covn_base.predict(inputs_batch)
        features[i * batch_size : (i+1)*batch_size] = features_batch
        labels[i*batch_size:(i+1)*batch_size] = labels_batch
        i+=1
        if i * batch_size >= sample_count:
            break
    return features, labels

train_featrues, train_labels = extract_features(train_generator, 2000)
test_featrues, test_labels = extract_features(test_generator, 1000)
搭建自己模型的全连接Dense层,对结果进行输出;使用GlobalAveragePooling2D对VGG16处理的图像数据进行扁平化处理(即变成一维数据),最终归结为y=w1x1+w2x2…+b的问题,对结果进行输出;使用relu激活函数;使用Dropout抑制过拟合;最后输出结果,因为结果为二分类,即0为猫,1为狗。故输出结果只有一个,所以使用sigmoid函数进行二分类结果的输出。
model = keras.Sequential()
model.add(layers.GlobalAveragePooling2D(input_shape=(6, 6, 512)))
model.add(layers.Dense(512, activation='relu'))
model.add(layers.Dropout(0.5))
model.add(layers.Dense(1, activation='sigmoid'))
编译模型;使用Adam激活函数,并调整优化速率;因为是二分类问题,所以这里损失函数使用binary_crossentropy
model.compile(optimizer=tf.keras.optimizers.Adam(lr=0.0005/10), loss='binary_crossentropy', metrics=['acc'])
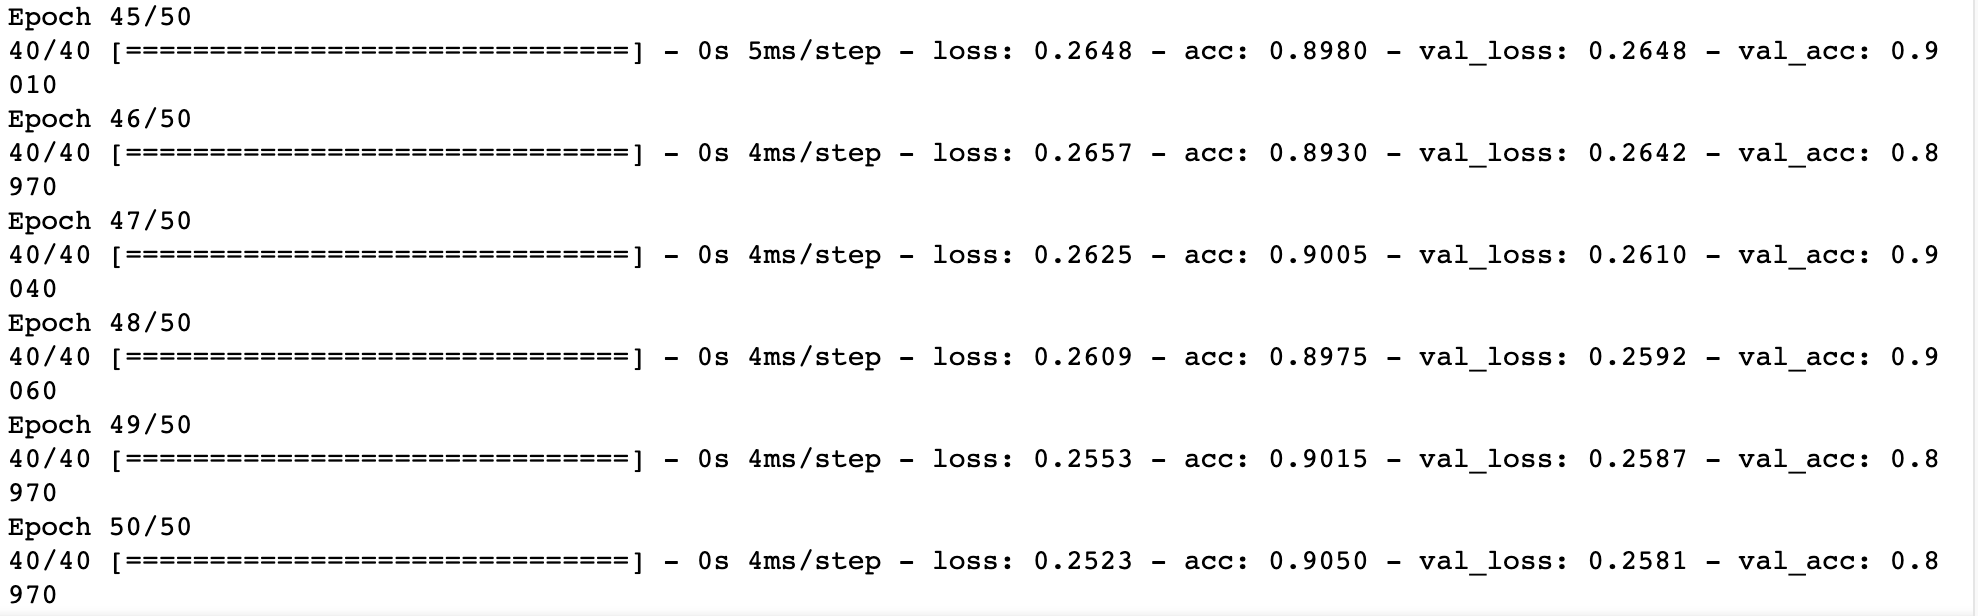
启动训练模型;在训练期间测试测试集,这里总共测试50次
[En]
Start the training model; test the test set during training, here for a total of 50 times
history = model.fit(train_featrues,train_labels, epochs=50,
batch_size=50, validation_data=(test_featrues, test_labels))
以下为训练结果。其中loss为训练集损失值,acc为训练集准确率;val_loss为测试集损失值,val_acc为测试集准确率。可以看到结果还是比较理想的,其训练集和测试集的准确率均能达到90%左右,而且拟合的很好。
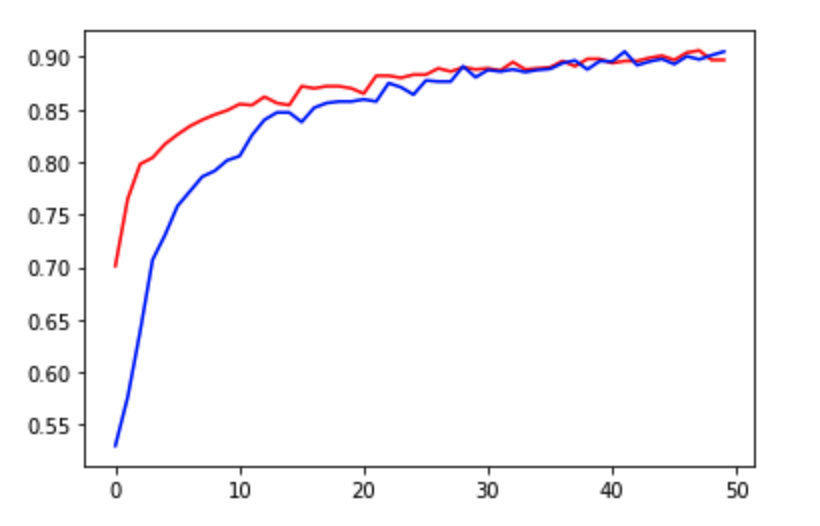
使用Matplotlib绘制以下训练集和测试集的准确率曲线,可以更清晰的看出,训练过程的变化。
plt.plot(range(50), history.history.get('val_acc'), c='r', label='val_acc')
plt.plot(range(50), history.history.get('acc'), c='b', label='acc')
plt.legend
将训练好的模型保存为本地的h5类型文件
model.save('cat_dog_model.h5')
在上述训练过程结束时,使用保存的训练模型对真实数据进行测试。
[En]
At the end of the above training process, the real data are tested using the saved training model.
模型测试
在模型测试中,为了方便,我们借助OpenCV,来帮我们将网络上获取的图片进行resize处理和方便展示输出结果。
导入所需要的包。
import tensorflow as tf
import numpy as np
from keras.models import load_model
import cv2
定义OpenCV图像展示函数
def show(image):
    cv2.namedWindow('test', 0)
    cv2.imshow('test', image)

    cv2.waitKey(0)
    cv2.destroyAllWindows()
加载VGG16的权重以及保存的训练模型
covn_base = tf.keras.applications.VGG16(weights='imagenet', include_top=False, input_shape=(200, 200, 3))
cat_dog_model = load_model('./cat_dog_model.h5')
使用OpenCV读取图片,并将图片resize为200✖️200的大小,将图像数据扩展为VGG16所需要的数据格式
image = cv2.imread('cat1.jpeg')
resize_image = cv2.resize(image, (200, 200), interpolation=cv2.INTER_AREA)
input_data = np.expand_dims(resize_image, axis=0)
分别使用VGG16和自己训练好的模型对图像进行predict预测
result = int(cat_dog_model.predict(covn_base.predict(input_data))[0][0])
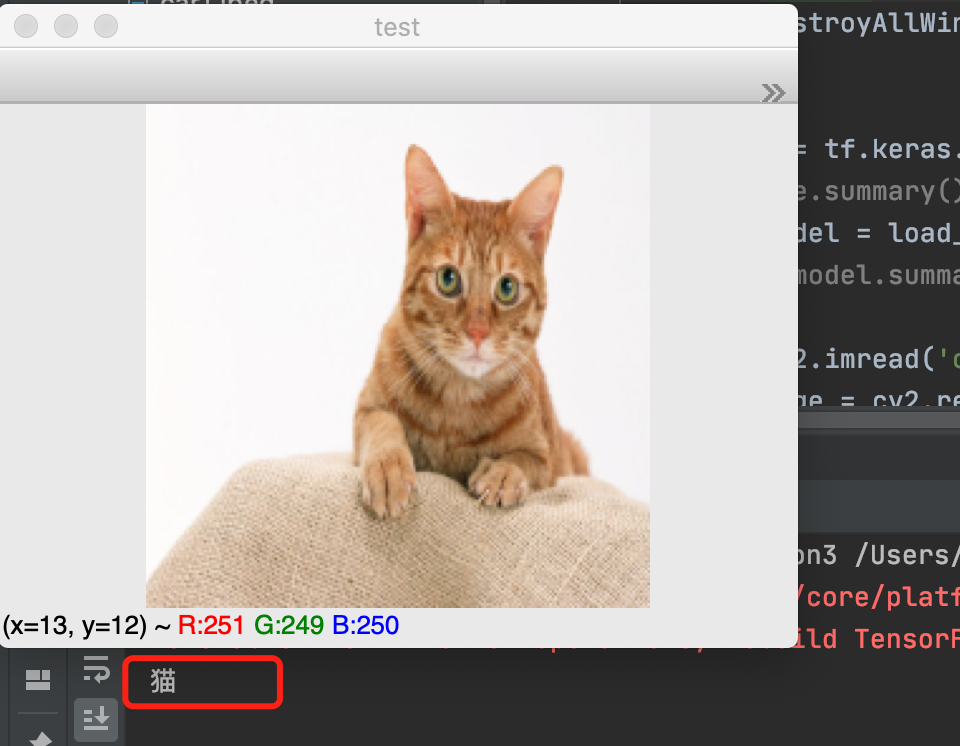
输出识别结果并显示输入图像
[En]
Output the recognition result and display the input image
if result == 1:
    print("狗")
if result == 0:
    print("猫")
show(resize_image)
你可以看到以下的识别结果,猫,准确
[En]
You can see the following results for recognition, cat, accurate
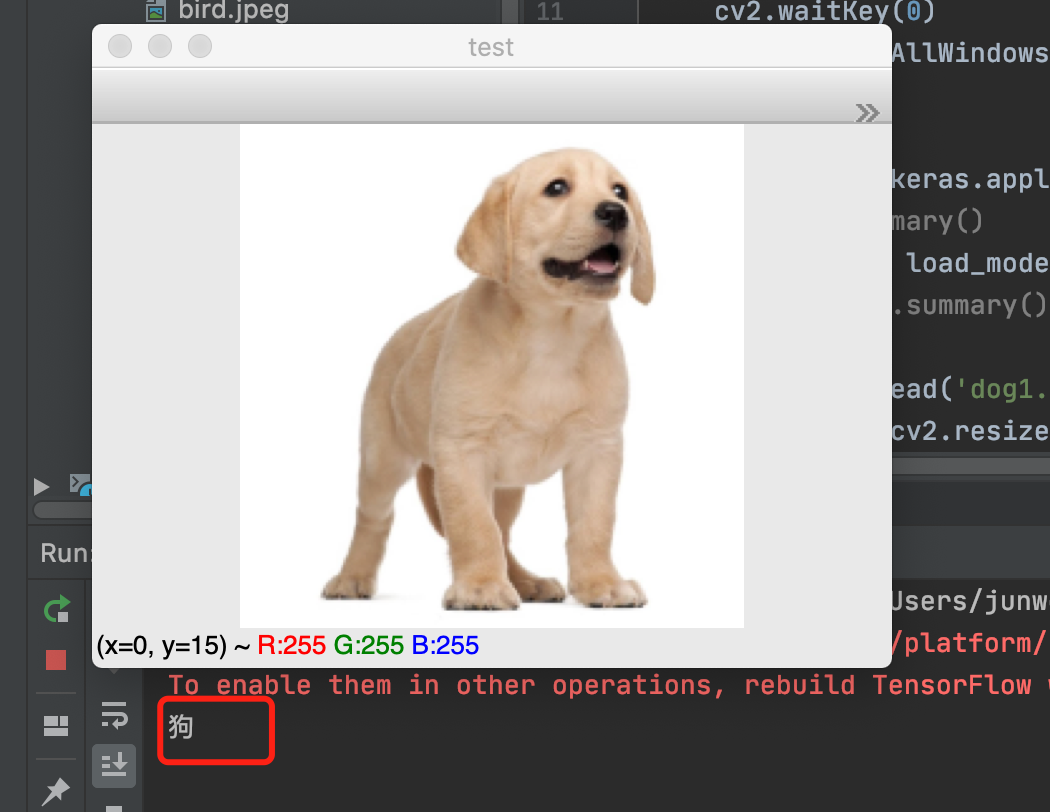
对狗的形象进行识别,结果准确
[En]
Identify the image of the dog, the result is accurate
文章到此结束,这个案例就算是出入Keras深度学习的小试牛刀,希望同样可以作为大家初入深度学习的小案例之一。
猫狗数据集百度网盘链接
链接: https://pan.baidu.com/s/16K4P5Nb1k5_sfFml-qEF2g 提取码: mchl
Original: https://blog.csdn.net/wFitting/article/details/123921832
Author: wFitting
Title: Keras深度学习使用VGG16预训练神经网络实现猫狗分类
原创文章受到原创版权保护。转载请注明出处:https://www.johngo689.com/496602/
转载文章受原作者版权保护。转载请注明原作者出处!