

安装
- [Optional] Check if CUDA is installedIt is highly recommended that you have CUDA installed. Note that PyTorch 1.6.0 does not support CUDA 11.0. If you haven’t installed CUDA, please install CUDA 10.2 or install CUDA 10.1.
Once/If you have it installed, you can check its version here.
- [For conda on Ubuntu/Linux and Windows 10]
Runconda installand specify PyTorch version 1.6.0Starting from here, we will install PyTorch 1.6.0.
CUDA 10.2: conda install pytorch==1.6.0 torchvision==0.7.0 cudatoolkit=10.2 -c pytorch
CUDA 10.1: <code>conda install pytorch==1.6.0 torchvision==0.7.0 cudatoolkit=10.1 -c pytorch</code>
CUDA 9.2: conda install pytorch==1.6.0 torchvision==0.7.0 cudatoolkit=9.2 -c pytorch
CPU Only (your PyTorch code will run slower):
<code>conda install pytorch==1.6.0 torchvision==0.7.0 cpuonly -c pytorch</code>
3. [For conda on macOS]
Run conda install and specify PyTorch version 1.6.0There is only one command to install PyTorch 1.6.0 on macOS:
<code>conda install pytorch==1.6.0 torchvision==0.7.0 -c pytorch</code>
4. [For pip] Run pip3 install by specifying version with -f CUDA 10.2: pip install torch==1.6.0 torchvision==0.7.0
CUDA 10.1: pip3 install torch==1.6.0 torchvision==0.7.0 -f https://download.pytorch.org/whl/cu101/torch_stable.html
CUDA 10.0 is not officially supported by PyTorch 1.6.0, you have to install CUDA 10.2, CUDA 10.1, or CUDA 9.2.
CUDA 9.2: pip3 install torch==1.6.0 torchvision==0.7.0 -f https://download.pytorch.org/whl/cu92/torch_stable.html
PyTorch 1.6.0 also doesn’t support CUDA 9.1 or 9.0.
CPU only (GPU is much better…): pip install torch==1.6.0+cpu torchvision==0.7.0+cpu -f https://download.pytorch.org/whl/torch_stable.html
5. [For pip on macOS] Run pip3 install by specifying version with -f pip install torch==1.6.0 torchvision==0.7.0
下载速度慢
(点进这里,就默认了你已经安装好了anaconda,并且知道去pytorch官网找安装代码了,然后遇到了安装太慢、进度不变、多次中断的情况,这时候通常的做法,是添加清华源镜像的下载路径。但是肯定会有人和我一样,路径改了也不好使啊!!!)(补充一下镜像源方案吧!)
一、清华镜像源方案<br> 该方案就是将官网的下载路径,改到清华镜像源的路径,先用activate激活自己之前创建的环境后,在命令行输入以下代码:
conda config --add channels https://mirrors.tuna.tsinghua.edu.cn/anaconda/pkgs/free/

conda config --add channels https://mirrors.tuna.tsinghua.edu.cn/anaconda/pkgs/main/

conda config --set show_channel_urls yes

conda config --add channels https://mirrors.tuna.tsinghua.edu.cn/anaconda/cloud/pytorch/
然后再去pytorch官网复制下载代码,<span><strong>记得删掉后面的-c pytorch</strong></span>,因为它表示从官网进行下载,不从清华镜像源下。
https://varhowto.com/install-pytorch-1-6-0/

如以官网首页的LTS版本PyTorch,cuda10.2,使用conda作为下载源为例,官网提供的命令行如下:
conda install pytorch torchvision torchaudio cudatoolkit=10.2 -c pytorch-lts
如果terminal已经在虚拟环境中,可以直接执行该命令行。反之需要在install后加上-n 虚拟环境名。
conda config --add channels https://mirrors.tuna.tsinghua.edu.cn/anaconda/pkgs/free/
conda config --add channels https://mirrors.tuna.tsinghua.edu.cn/anaconda/pkgs/main/
conda config --set show_channel_urls yes
conda config --add channels https://mirrors.tuna.tsinghua.edu.cn/anaconda/cloud/conda-forge/

conda config --add channels https://mirrors.tuna.tsinghua.edu.cn/anaconda/cloud/msys2/
conda config --add channels https://mirrors.tuna.tsinghua.edu.cn/anaconda/cloud/bioconda/
conda config --add channels https://mirrors.tuna.tsinghua.edu.cn/anaconda/cloud/menpo/
conda config --add channels https://mirrors.tuna.tsinghua.edu.cn/anaconda/cloud/pytorch/

conda config --add channels https://mirrors.tuna.tsinghua.edu.cn/anaconda/cloud/peterjc123/

conda config --add channels https://mirrors.aliyun.com/anaconda/cloud/
conda config --add channels https://mirrors.aliyun.com/anaconda/pkgs/free/
conda config --add channels https://mirrors.aliyun.com/anaconda/pkgs/main/
如果下载较慢,建议使用代理等方式。
如果您的PyTorch cuda版本与本机版本对应,可以考虑使用清华源镜像等方式。使用镜像的方式,我后期可能也会撰写相应的博文。如果不对应,说明您需要从pytorch官方源(-c指定)下载cudatoolkit包,镜像里可能没有(我用过清华源,就没有)。
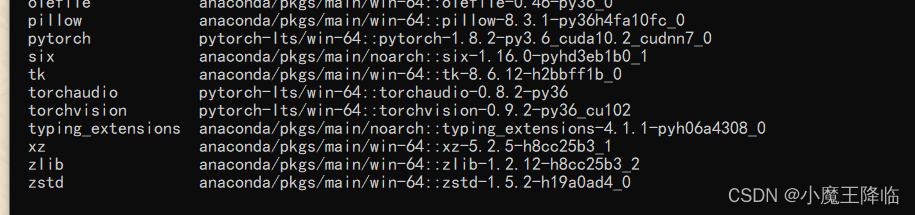
版本下载
得到所需下载的 pytorch 版本: pytorch-1.1.0-py3.6_cuda10.0.130_cudnn7.5.1_0.tar.bz2
然后手动离线,按顺序安装下载包。
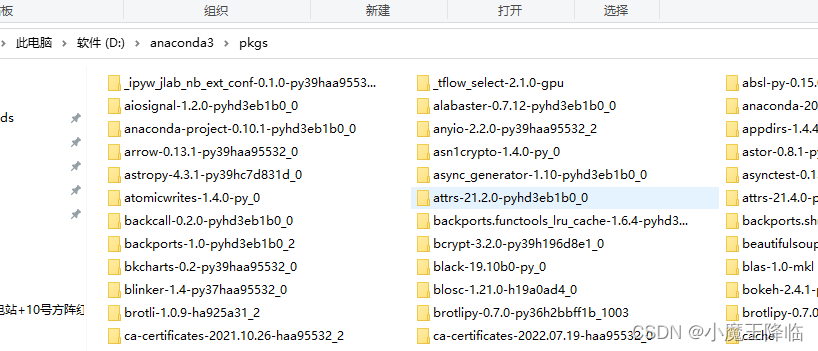
以管理身份打开cmd,输入cmd C:\ProgramData\Anaconda3\pkgs,进入安装包目录。然后按照顺序安装下载包
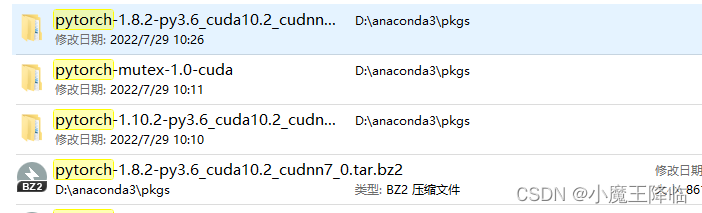
离线conda安装此包:
conda install –use-local pytorch-1.8.2-py3.6_cuda10.2_cudnn7_0.tar.bz2
conda install –use-local cudatoolkit-10.2.89-hb195166_8.tar.bz2
此步会自动将包拷入到pkgs目录下并解压
import torch
torch.cuda. is_available ()
Original: https://blog.csdn.net/qq_30460949/article/details/122874196
Author: 小魔王降临
Title: 安装PyTorch1.6
原创文章受到原创版权保护。转载请注明出处:https://www.johngo689.com/710085/
转载文章受原作者版权保护。转载请注明原作者出处!