

Python OpenCV姿态识别
- 前言
- 环境安装
* - 下载并安装 Anaconda
- 安装 Jupyter Notebook
- 生成Jupyter Notebook项目目录
- 下载训练库
- 单张图片识别
* - 导入库
- 加载训练模型
- 初始化
- 载入图片
- 显示图片
- 调整图片颜色
- 姿态识别
- 视频识别
- 实时摄像头识别
- 参考
前言
想要使用摄像头实现一个多人姿态识别
环境安装
下载并安装 Anaconda
官网连接 https://anaconda.cloud/installers


; 安装 Jupyter Notebook
检查Jupyter Notebook是否安装

Tip:这里涉及到一个切换Jupyter Notebook内核的问题,在我这篇文章中有提到
AnacondaNavigator Jupyter Notebook更换Python内核https://blog.csdn.net/a71468293a/article/details/122992170
生成Jupyter Notebook项目目录
打开 Anaconda Prompt切换到项目目录
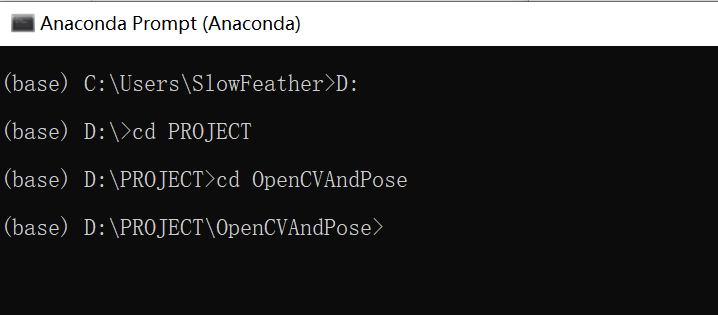
输入
Jupyter notebook在浏览器中打开 Jupyter Notebook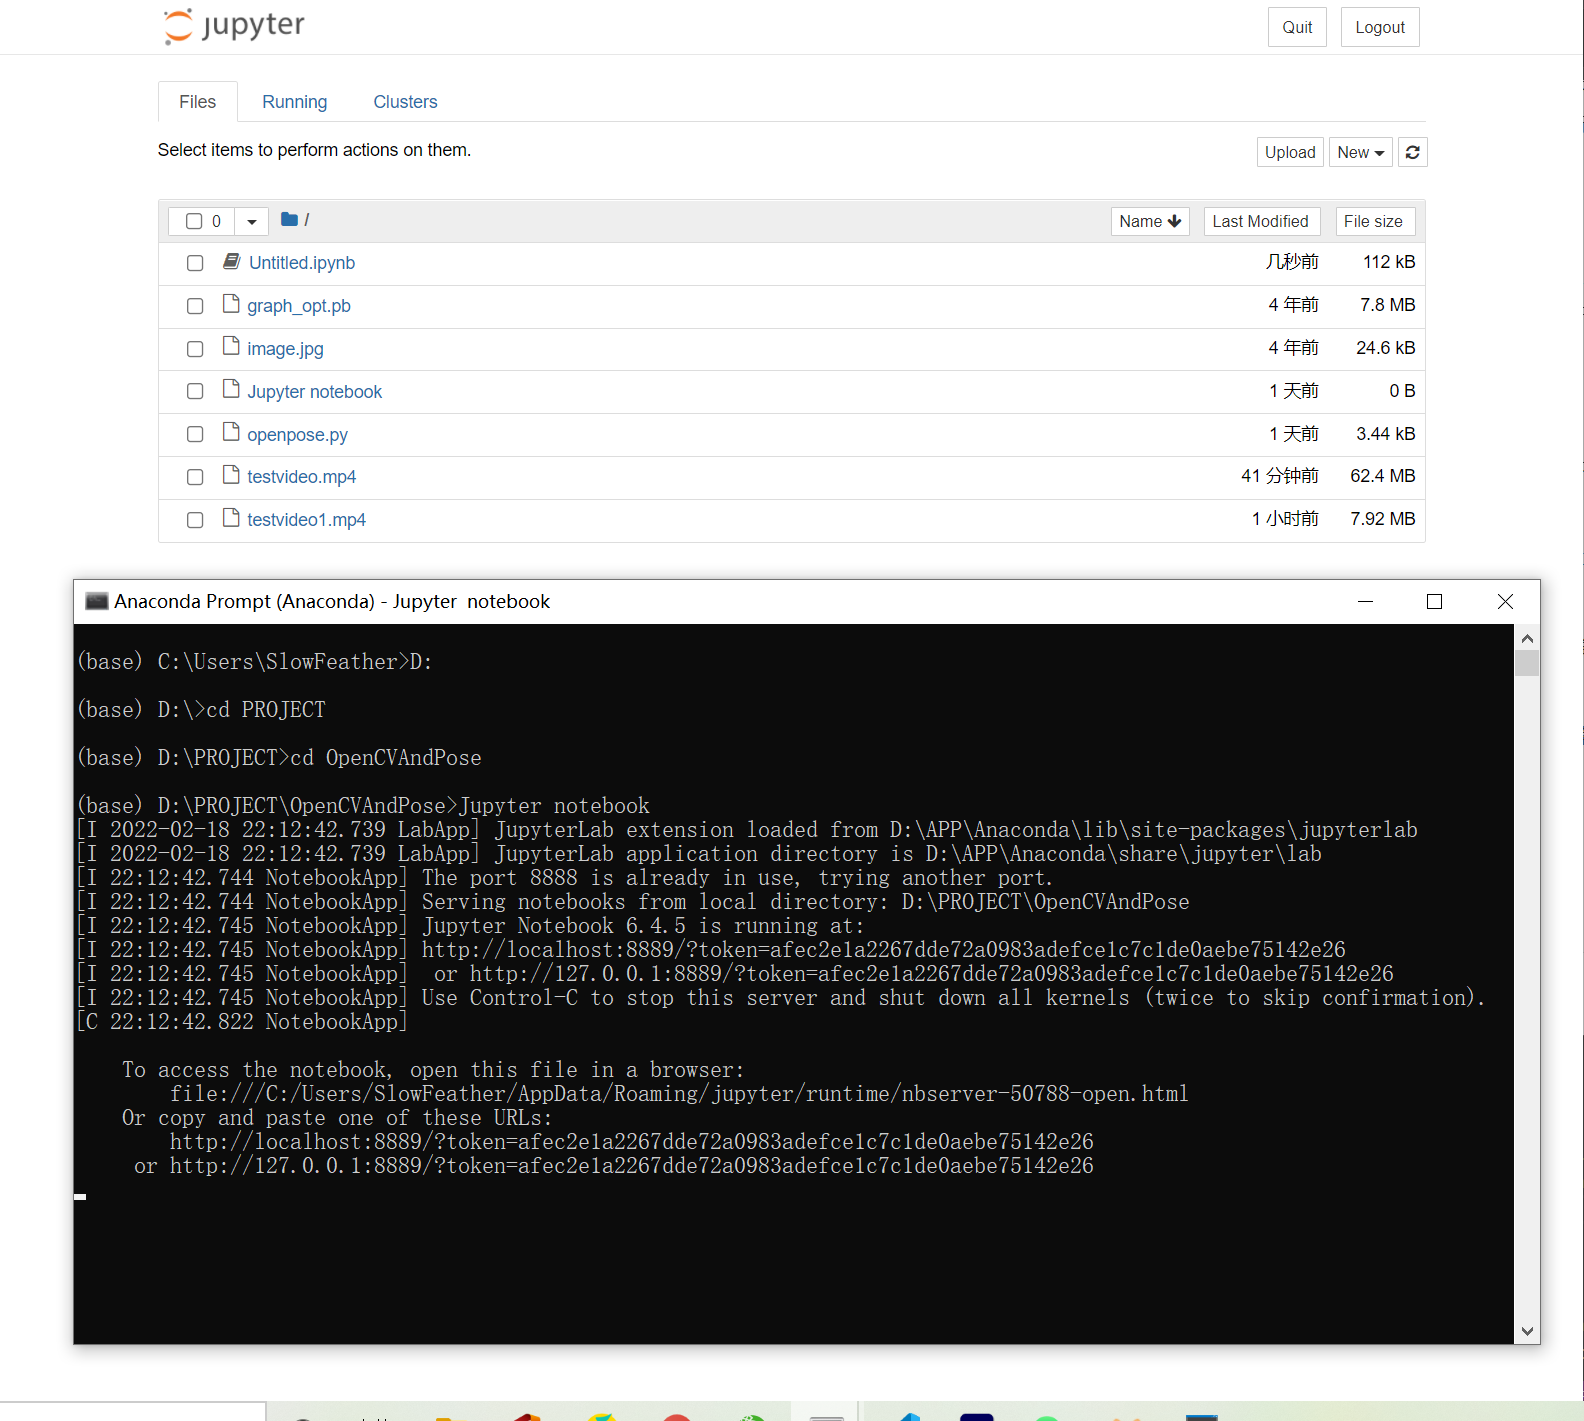
并创建新的记事本

; 下载训练库
图片以及训练库都在下方链接
https://github.com/quanhua92/human-pose-estimation-opencv
将图片和训练好的模型放到项目路径中
graph_opt.pb为训练好的模型
单张图片识别
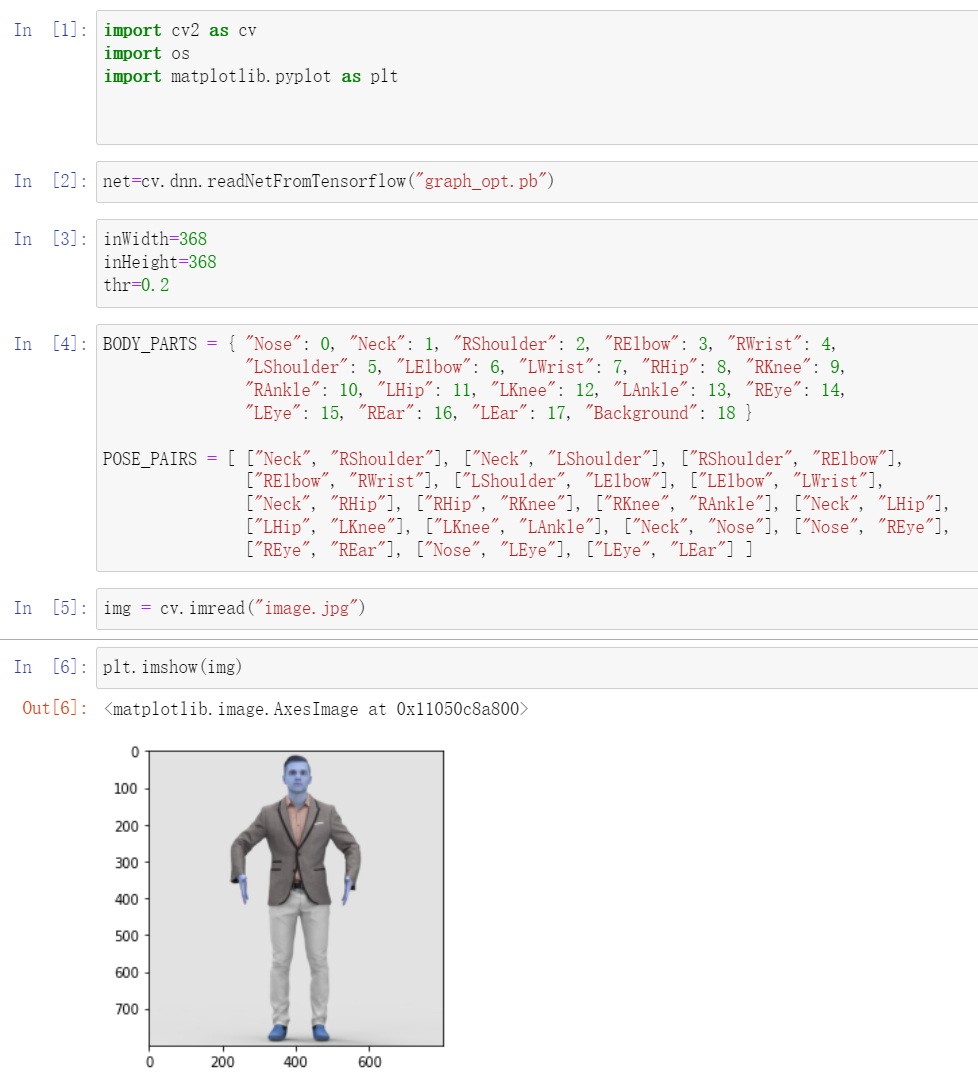
导入库
import cv2 as cv
import os
import matplotlib.pyplot as plt
加载训练模型
net=cv.dnn.readNetFromTensorflow("graph_opt.pb")
初始化
inWidth=368
inHeight=368
thr=0.2

BODY_PARTS = { "Nose": 0, "Neck": 1, "RShoulder": 2, "RElbow": 3, "RWrist": 4,
               "LShoulder": 5, "LElbow": 6, "LWrist": 7, "RHip": 8, "RKnee": 9,
               "RAnkle": 10, "LHip": 11, "LKnee": 12, "LAnkle": 13, "REye": 14,
               "LEye": 15, "REar": 16, "LEar": 17, "Background": 18 }

POSE_PAIRS = [ ["Neck", "RShoulder"], ["Neck", "LShoulder"], ["RShoulder", "RElbow"],
               ["RElbow", "RWrist"], ["LShoulder", "LElbow"], ["LElbow", "LWrist"],
               ["Neck", "RHip"], ["RHip", "RKnee"], ["RKnee", "RAnkle"], ["Neck", "LHip"],
               ["LHip", "LKnee"], ["LKnee", "LAnkle"], ["Neck", "Nose"], ["Nose", "REye"],
               ["REye", "REar"], ["Nose", "LEye"], ["LEye", "LEar"] ]
载入图片
img = cv.imread("image.jpg")
显示图片
plt.imshow(img)
调整图片颜色
plt.imshow(cv.cvtColor(img,cv.COLOR_BGR2RGB))

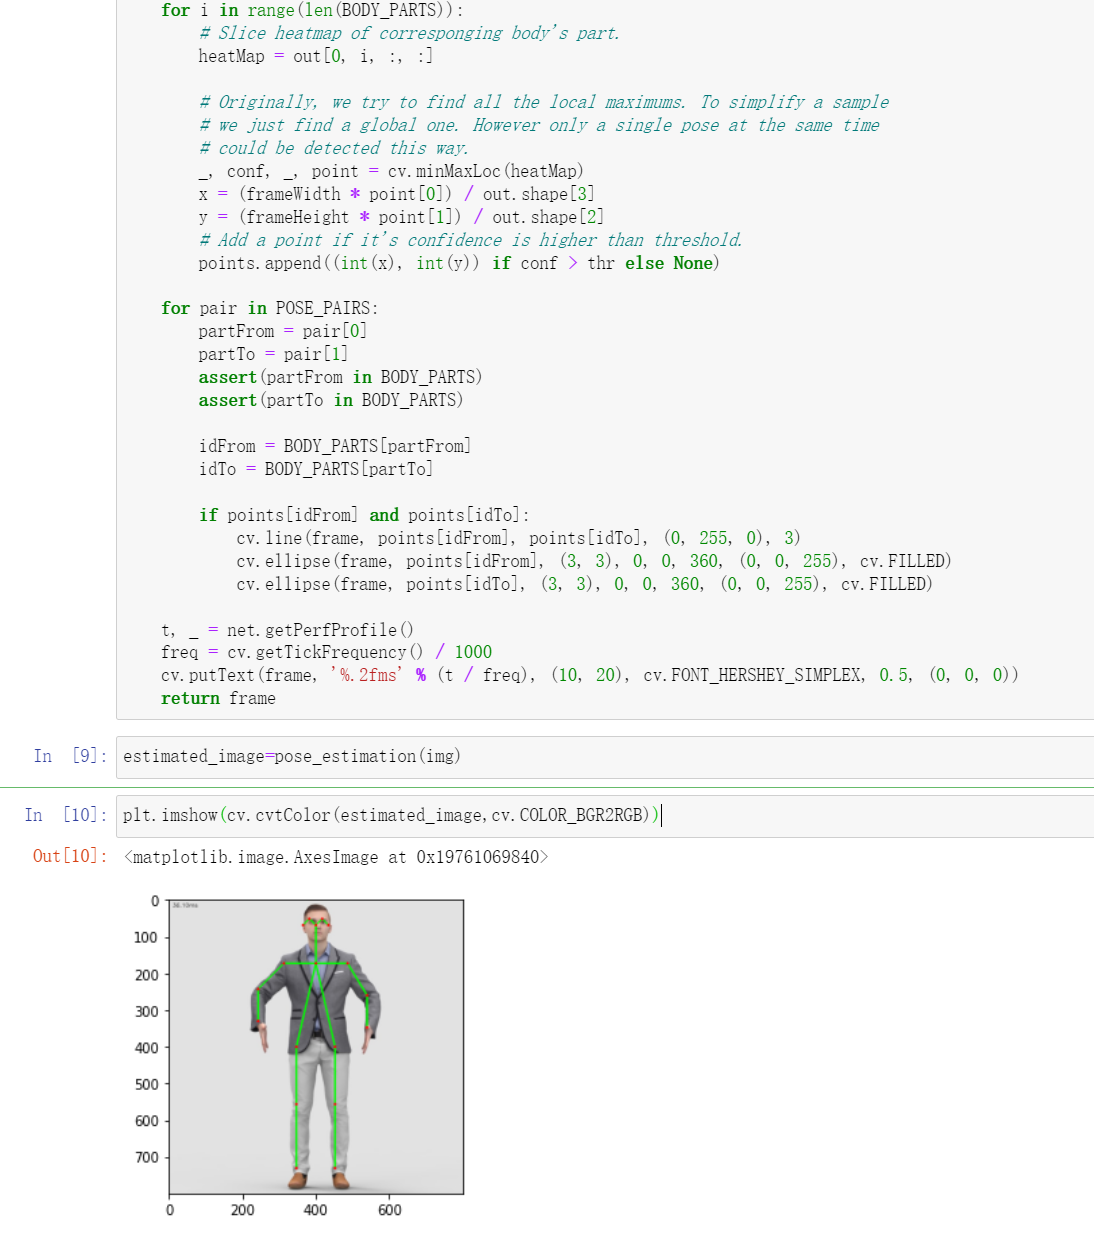
姿态识别
def pose_estimation(frame):
    frameWidth=frame.shape[1]
    frameHeight=frame.shape[0]
    net.setInput(cv.dnn.blobFromImage(frame, 1.0, (inWidth, inHeight), (127.5, 127.5, 127.5), swapRB=True, crop=False))
    out = net.forward()
    out = out[:, :19, :, :]

    assert(len(BODY_PARTS) == out.shape[1])

    points = []

    for i in range(len(BODY_PARTS)):

        heatMap = out[0, i, :, :]

        _, conf, _, point = cv.minMaxLoc(heatMap)
        x = (frameWidth * point[0]) / out.shape[3]
        y = (frameHeight * point[1]) / out.shape[2]

        points.append((int(x), int(y)) if conf > thr else None)

    for pair in POSE_PAIRS:
        partFrom = pair[0]
        partTo = pair[1]
        assert(partFrom in BODY_PARTS)
        assert(partTo in BODY_PARTS)

        idFrom = BODY_PARTS[partFrom]
        idTo = BODY_PARTS[partTo]

        if points[idFrom] and points[idTo]:
            cv.line(frame, points[idFrom], points[idTo], (0, 255, 0), 3)
            cv.ellipse(frame, points[idFrom], (3, 3), 0, 0, 360, (0, 0, 255), cv.FILLED)
            cv.ellipse(frame, points[idTo], (3, 3), 0, 0, 360, (0, 0, 255), cv.FILLED)

    t, _ = net.getPerfProfile()
    freq = cv.getTickFrequency() / 1000
    cv.putText(frame, '%.2fms' % (t / freq), (10, 20), cv.FONT_HERSHEY_SIMPLEX, 0.5, (0, 0, 0))
    return frame

estimated_image=pose_estimation(img)

plt.imshow(cv.cvtColor(estimated_image,cv.COLOR_BGR2RGB))
视频识别
Tip:与上面图片识别代码是衔接的

视频来自互联网,侵删
cap = cv.VideoCapture('testvideo.mp4')
cap.set(3,800)
cap.set(4,800)

if not cap.isOpened():
    cap=cv.VideoCapture(0)
if not cap.isOpened():
    raise IOError("Cannot open vide")

while cv.waitKey(1) < 0:
    hasFrame,frame=cap.read()
    if not hasFrame:
        cv.waitKey()
        break

    frameWidth=frame.shape[1]
    frameHeight=frame.shape[0]
    net.setInput(cv.dnn.blobFromImage(frame, 1.0, (inWidth, inHeight), (127.5, 127.5, 127.5), swapRB=True, crop=False))
    out = net.forward()
    out = out[:, :19, :, :]

    assert(len(BODY_PARTS) == out.shape[1])

    points = []

    for i in range(len(BODY_PARTS)):

        heatMap = out[0, i, :, :]

        _, conf, _, point = cv.minMaxLoc(heatMap)
        x = (frameWidth * point[0]) / out.shape[3]
        y = (frameHeight * point[1]) / out.shape[2]

        points.append((int(x), int(y)) if conf > thr else None)

    for pair in POSE_PAIRS:
        partFrom = pair[0]
        partTo = pair[1]
        assert(partFrom in BODY_PARTS)
        assert(partTo in BODY_PARTS)

        idFrom = BODY_PARTS[partFrom]
        idTo = BODY_PARTS[partTo]

        if points[idFrom] and points[idTo]:
            cv.line(frame, points[idFrom], points[idTo], (0, 255, 0), 3)
            cv.ellipse(frame, points[idFrom], (3, 3), 0, 0, 360, (0, 0, 255), cv.FILLED)
            cv.ellipse(frame, points[idTo], (3, 3), 0, 0, 360, (0, 0, 255), cv.FILLED)

    t, _ = net.getPerfProfile()
    freq = cv.getTickFrequency() / 1000
    cv.putText(frame, '%.2fms' % (t / freq), (10, 20), cv.FONT_HERSHEY_SIMPLEX, 0.5, (0, 0, 0))

    cv.imshow('Video Tutorial',frame)
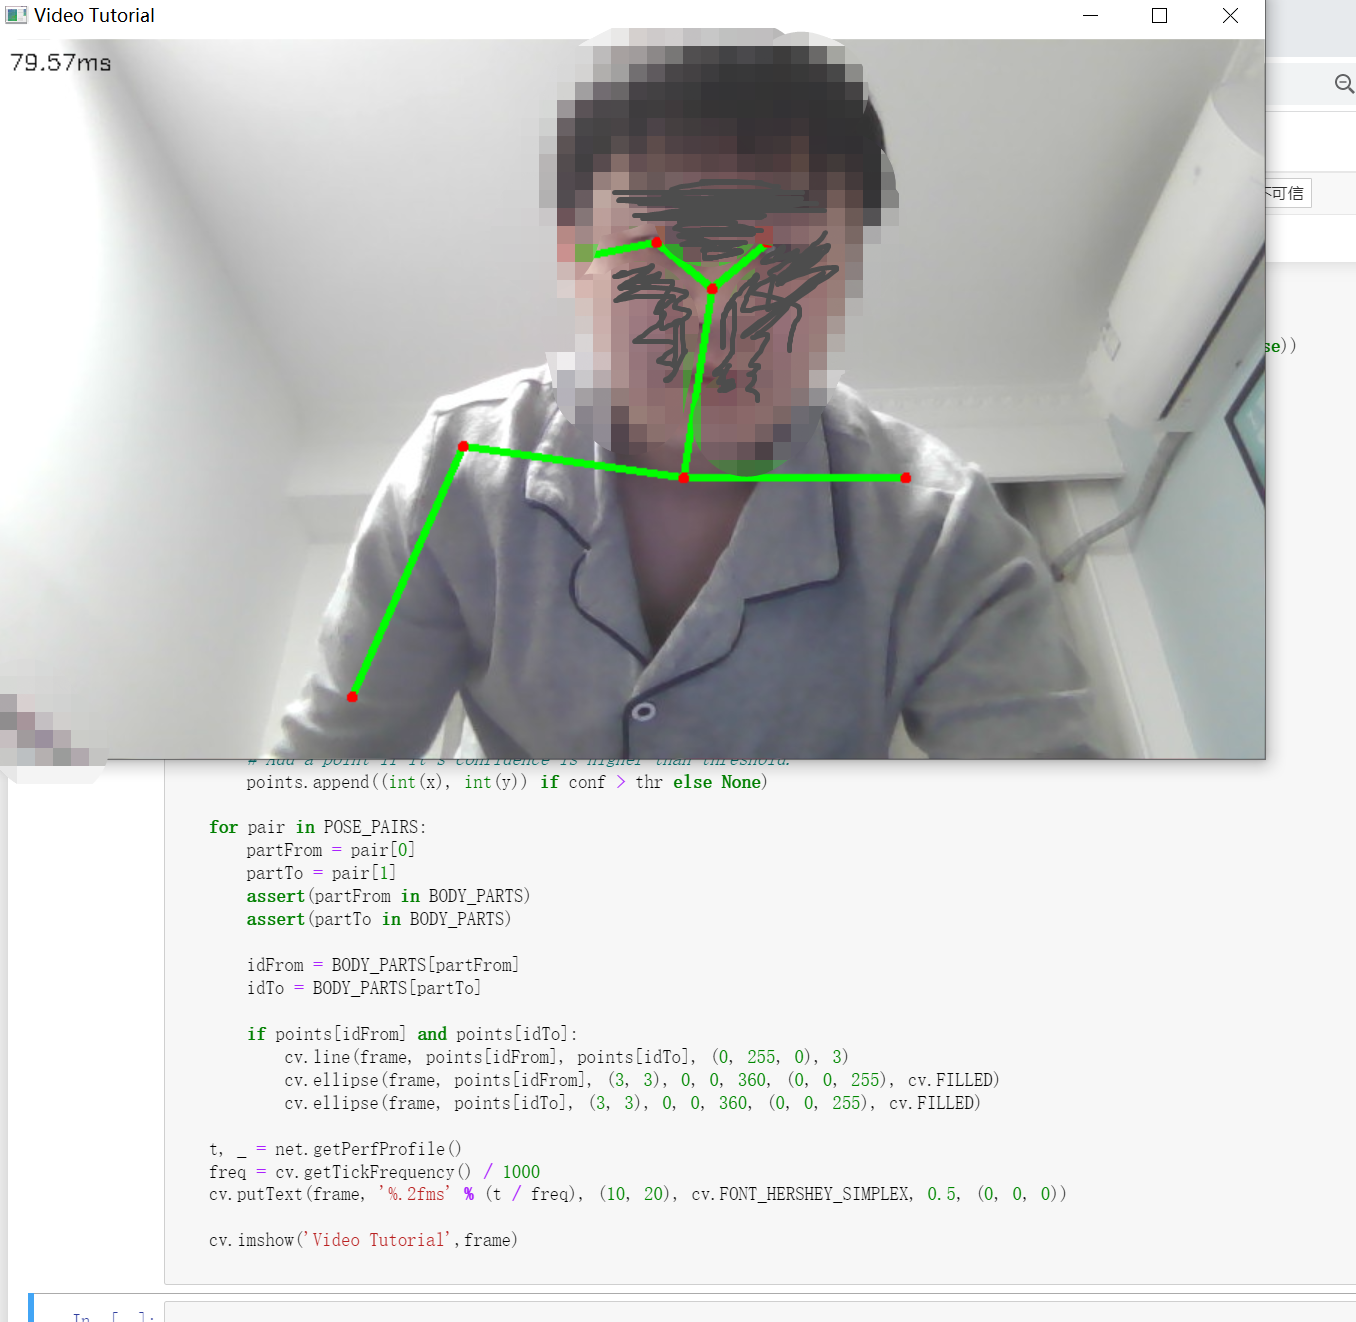
实时摄像头识别
Tip:与上面图片识别代码是衔接的
cap = cv.VideoCapture(0)
cap.set(cv.CAP_PROP_FPS,10)
cap.set(3,800)
cap.set(4,800)

if not cap.isOpened():
    cap=cv.VideoCapture(0)
if not cap.isOpened():
    raise IOError("Cannot open vide")

while cv.waitKey(1) < 0:
    hasFrame,frame=cap.read()
    if not hasFrame:
        cv.waitKey()
        break

    frameWidth=frame.shape[1]
    frameHeight=frame.shape[0]
    net.setInput(cv.dnn.blobFromImage(frame, 1.0, (inWidth, inHeight), (127.5, 127.5, 127.5), swapRB=True, crop=False))
    out = net.forward()
    out = out[:, :19, :, :]

    assert(len(BODY_PARTS) == out.shape[1])

    points = []

    for i in range(len(BODY_PARTS)):

        heatMap = out[0, i, :, :]

        _, conf, _, point = cv.minMaxLoc(heatMap)
        x = (frameWidth * point[0]) / out.shape[3]
        y = (frameHeight * point[1]) / out.shape[2]

        points.append((int(x), int(y)) if conf > thr else None)

    for pair in POSE_PAIRS:
        partFrom = pair[0]
        partTo = pair[1]
        assert(partFrom in BODY_PARTS)
        assert(partTo in BODY_PARTS)

        idFrom = BODY_PARTS[partFrom]
        idTo = BODY_PARTS[partTo]

        if points[idFrom] and points[idTo]:
            cv.line(frame, points[idFrom], points[idTo], (0, 255, 0), 3)
            cv.ellipse(frame, points[idFrom], (3, 3), 0, 0, 360, (0, 0, 255), cv.FILLED)
            cv.ellipse(frame, points[idTo], (3, 3), 0, 0, 360, (0, 0, 255), cv.FILLED)

    t, _ = net.getPerfProfile()
    freq = cv.getTickFrequency() / 1000
    cv.putText(frame, '%.2fms' % (t / freq), (10, 20), cv.FONT_HERSHEY_SIMPLEX, 0.5, (0, 0, 0))

    cv.imshow('Video Tutorial',frame)
参考
- DeepLearning_by_PhDScholar
Human Pose Estimation using opencv | python | OpenPose | stepwise implementation for beginners
https://www.youtube.com/watch?v=9jQGsUidKHs
Original: https://blog.csdn.net/a71468293a/article/details/123011891
Author: SlowFeather
Title: Python OpenCV实现姿态识别
原创文章受到原创版权保护。转载请注明出处:https://www.johngo689.com/702904/
转载文章受原作者版权保护。转载请注明原作者出处!