

镜像下载、域名解析、时间同步请点击阿里云开源镜像站
前言
本文主要学习 ROS机器人操作系统 ,在ROS系统里调用 OpenCV库 实现人脸识别任务
一、环境配置
1.安装ROS
sudo apt-get install ros-kinetic-desktop-full
2.摄像头调用
要安装摄像头组件相关的包,命令行如下:
[En]
To install the package related to the camera component, the command line is as follows:
sudo apt-get install ros-kinetic-usb-cam
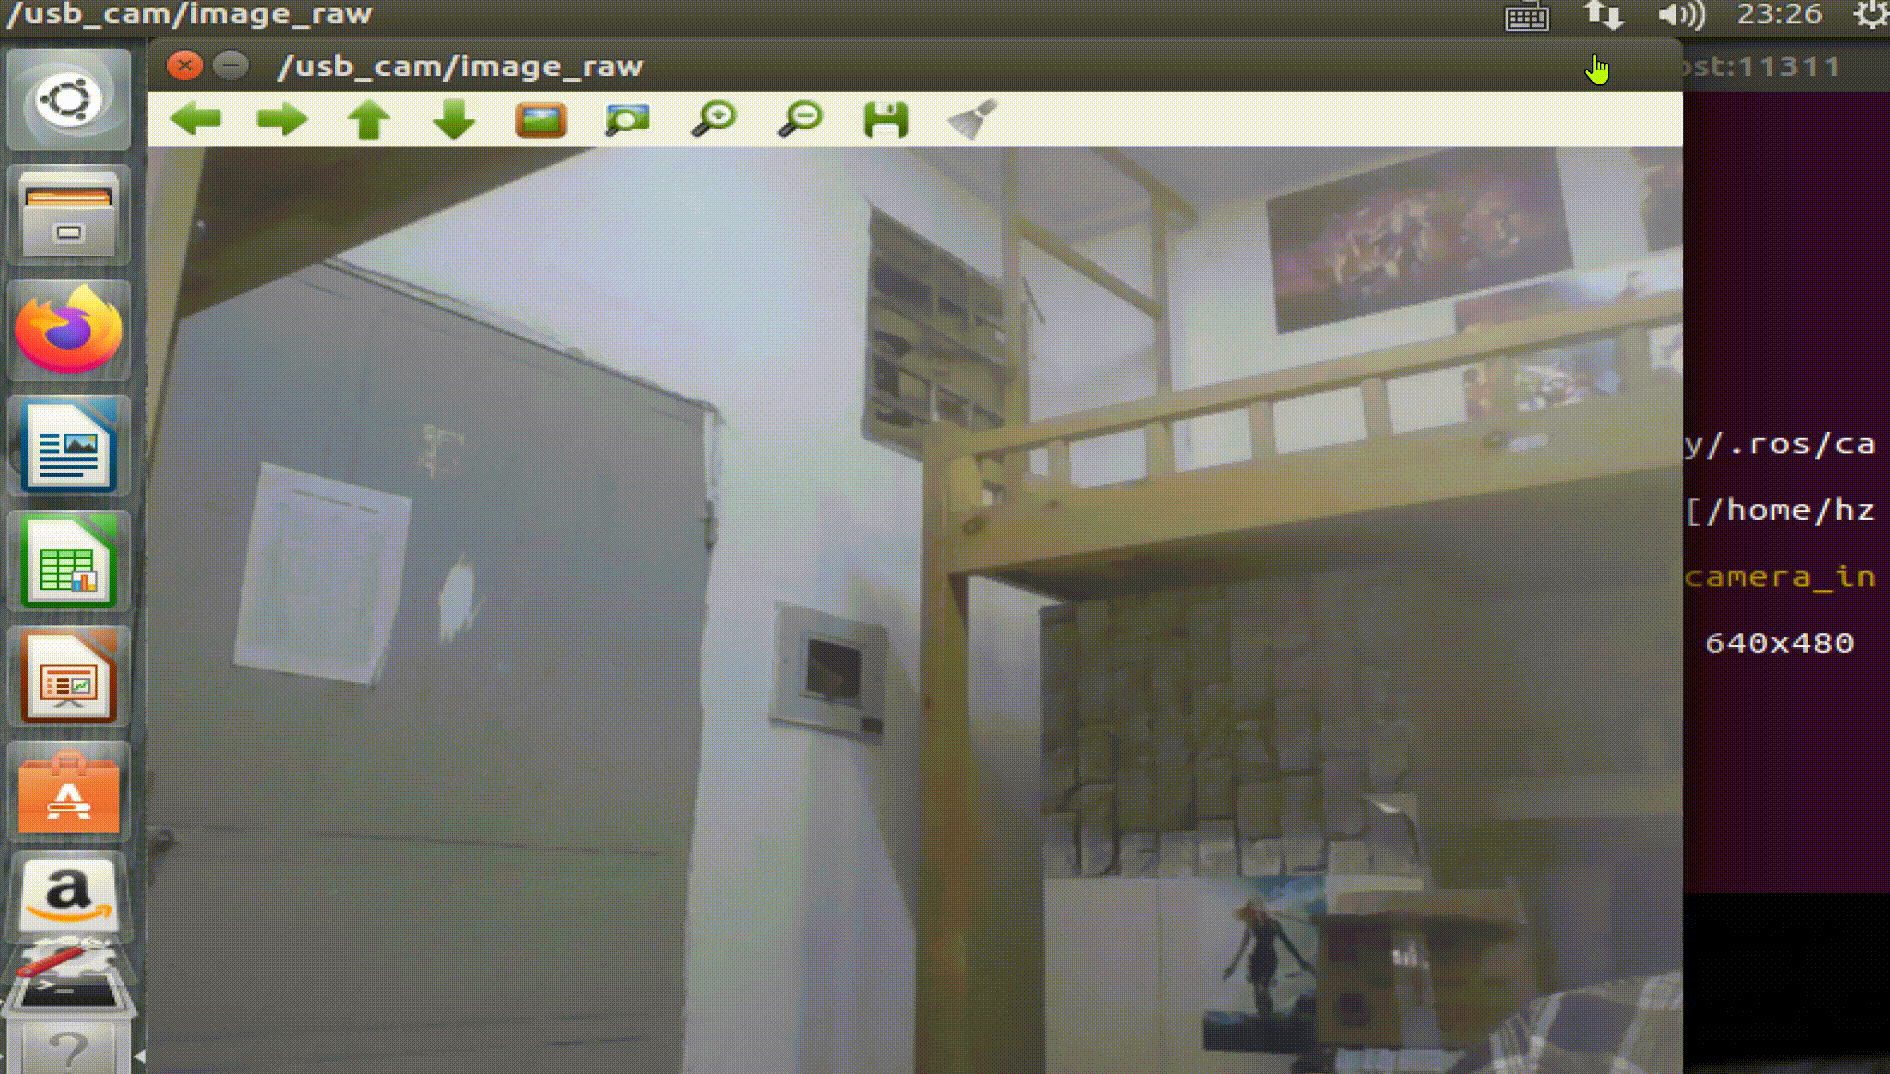
要启动摄像机,命令行如下所示:
[En]
To start the camera, the command line is as follows:
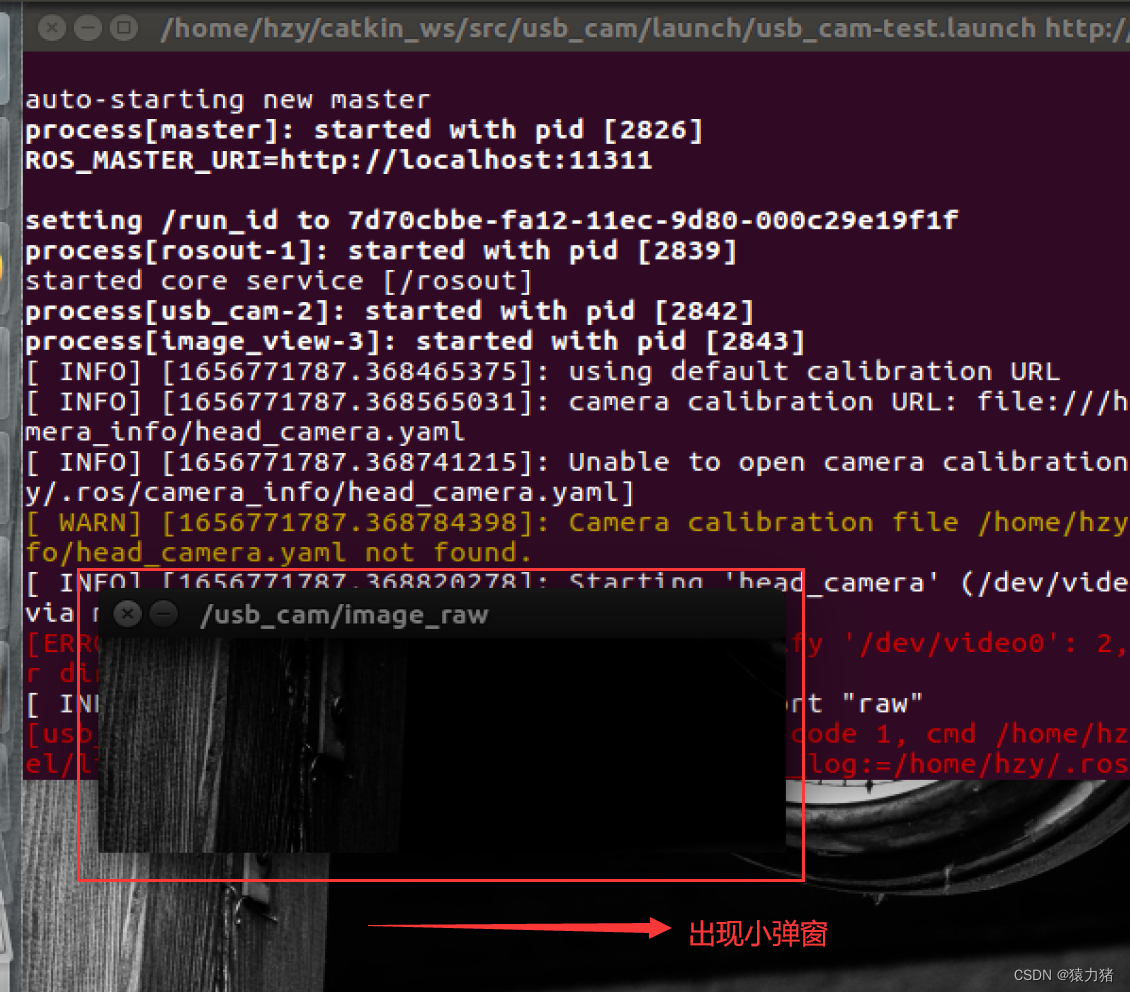
roslaunch usb_cam usb_cam-test.launch
摄像头调用成功,如下图所示:
[En]
The camera was successfully called, as shown in the following figure:

摄像头驱动发布的相关数据如下图所示:
[En]
The relevant data published by the camera driver is shown in the following figure:

摄像头 usb_cam/image_raw 这个话题,发布的消息的具体类型,如下图所示:

那么,图像消息中的成员变量是什么呢?
[En]
So what are the member variables in the image message?
只要把它打印出来,你就知道了!消息类型中的具体成员变量,如下图所示:
[En]
Just print it and you’ll know! The specific member variables in a message type, as shown in the following figure:

- Header:很多话题消息里面都包含的 消息头:包含消息序号,时间戳和绑定坐标系 消息的序号:表示我们这个消息发布是排第几位的,并不需要我们手动去标定,每次 发布消息的时候会自动地去累加 绑定坐标系:表示的是我们是针对哪一个坐标系去发布的header有时候也不需要去配置
- height:图像的纵向分辨率
- width:图像的横向分辨率
- encoding:图像的编码格式,包含RGB、YUV等常用格式,都是原始图像的编码格式,不涉及图像压缩编码
- is_bigendian: 图像数据的大小端存储模式
- step:一行图像数据的字节数量,作为数据的步长参数
- data:存储图像数据的数组,大小为step×height个字节
- format:图像的压缩编码格式(jpeg、png、bmp)
3.导入OpenCV

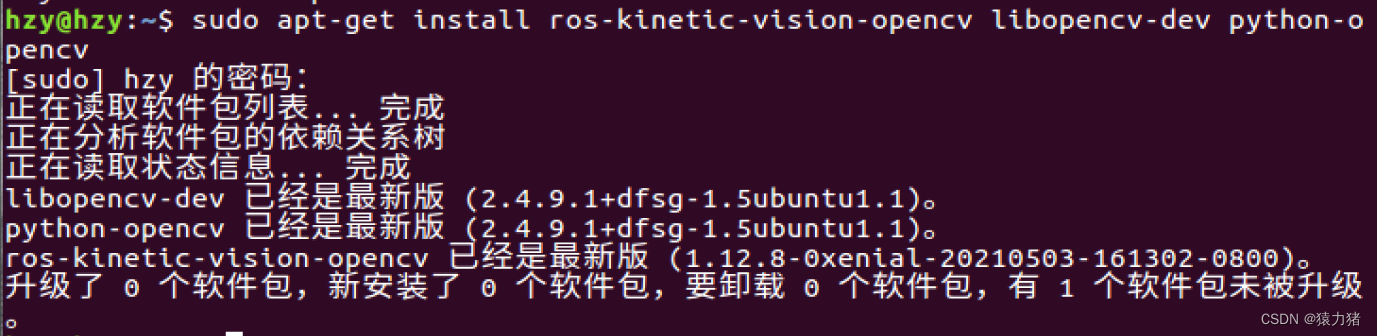
在ROS当中完成OpenCV的安装,命令行如下图所示:
sudo apt-get install ros-kinetic-vision-opencv libopencv-dev python-opencv
安装完成
二、创建工作空间和功能包
1.创建工作空间
mkdir -p ~/catkin_ws/src
cd ~/catkin_ws/src
catkin_init_workspace
- 创建工作空间后,编译根目录下的整个工作空间
[En]
after the workspace is created, compile the entire workspace under the root directory*
cd ~/catkin_ws/catkin_make- 工作空间中会自动生成两个文件夹:devel,build
- devel文件夹中产生几个setup.*sh形成的环境变量设置脚本,使用source命令运行这些脚本文件,则工作空间中的环境变量得以生效
source devel/setup.sh- 将环境变量设置到/.bashrc文件中
gedit ~/.bashrc- 在打开的文件中,将以下代码粘贴到底部以设置环境变量
[En]
in the open file, paste the following code at the bottom to set the environment variable*
source ~/catkin_ws/devel/setup.bash2.创建功能包
开始创建
cd ~/catkin_ws/src
catkin_create_pkg learning std_msgs rospy roscpp
返回到根目录,编译并设置环境变量
[En]
Go back to the root directory, compile and set the environment variable
cd ~/catkin_ws
catkin_make
source ~/catkin_ws/devel/setup.sh
三、人脸识别检测相关代码
基于 Haar 特征的级联分类器检测算法
核心内容,如下所示:
- 灰阶色彩转换
- 缩小摄像头图像
- 直方图均衡化
- 检测人脸
1.python文件
face_detector.py
#!/usr/bin/env python
-*- coding: utf-8 -*-
import rospy
import cv2
import numpy as np
from sensor_msgs.msg import Image, RegionOfInterest
from cv_bridge import CvBridge, CvBridgeError

class faceDetector:
    def __init__(self):
        rospy.on_shutdown(self.cleanup);

        # 创建cv_bridge
        self.bridge = CvBridge()
        self.image_pub = rospy.Publisher("cv_bridge_image", Image, queue_size=1)

        # 获取haar特征的级联表的XML文件,文件路径在launch文件中传入
        cascade_1 = rospy.get_param("~cascade_1", "")
        cascade_2 = rospy.get_param("~cascade_2", "")

        # 使用级联表初始化haar特征检测器
        self.cascade_1 = cv2.CascadeClassifier(cascade_1)
        self.cascade_2 = cv2.CascadeClassifier(cascade_2)

        # 设置级联表的参数,优化人脸识别,可以在launch文件中重新配置
        self.haar_scaleFactor  = rospy.get_param("~haar_scaleFactor", 1.2)
        self.haar_minNeighbors = rospy.get_param("~haar_minNeighbors", 2)
        self.haar_minSize      = rospy.get_param("~haar_minSize", 40)
        self.haar_maxSize      = rospy.get_param("~haar_maxSize", 60)
        self.color = (50, 255, 50)

        # 初始化订阅rgb格式图像数据的订阅者,此处图像topic的话题名可以在launch文件中重映射
        self.image_sub = rospy.Subscriber("input_rgb_image", Image, self.image_callback, queue_size=1)

    def image_callback(self, data):
        # 使用cv_bridge将ROS的图像数据转换成OpenCV的图像格式
        try:
            cv_image = self.bridge.imgmsg_to_cv2(data, "bgr8")
            frame = np.array(cv_image, dtype=np.uint8)
        except CvBridgeError, e:
            print e

        # 创建灰度图像
        grey_image = cv2.cvtColor(frame, cv2.COLOR_BGR2GRAY)

        # 创建平衡直方图,减少光线影响
        grey_image = cv2.equalizeHist(grey_image)

        # 尝试检测人脸
        faces_result = self.detect_face(grey_image)

        # 在opencv的窗口中框出所有人脸区域
        if len(faces_result)>0:
            for face in faces_result:
                x, y, w, h = face
                cv2.rectangle(cv_image, (x, y), (x+w, y+h), self.color, 2)

        # 将识别后的图像转换成ROS消息并发布
        self.image_pub.publish(self.bridge.cv2_to_imgmsg(cv_image, "bgr8"))

    def detect_face(self, input_image):
        # 首先匹配正面人脸的模型
        if self.cascade_1:
            faces = self.cascade_1.detectMultiScale(input_image,
                    self.haar_scaleFactor,
                    self.haar_minNeighbors,
                    cv2.CASCADE_SCALE_IMAGE,
                    (self.haar_minSize, self.haar_maxSize))

        # 如果正面人脸匹配失败,那么就尝试匹配侧面人脸的模型
        if len(faces) == 0 and self.cascade_2:
            faces = self.cascade_2.detectMultiScale(input_image,
                    self.haar_scaleFactor,
                    self.haar_minNeighbors,
                    cv2.CASCADE_SCALE_IMAGE,
                    (self.haar_minSize, self.haar_maxSize))

        return faces

    def cleanup(self):
        print "Shutting down vision node."
        cv2.destroyAllWindows()

if __name__ == '__main__':
    try:
        # 初始化ros节点
        rospy.init_node("face_detector")
        faceDetector()
        rospy.loginfo("Face detector is started..")
        rospy.loginfo("Please subscribe the ROS image.")
        rospy.spin()
    except KeyboardInterrupt:
        print "Shutting down face detector node."
        cv2.destroyAllWindows()
2.lanuch文件
usb_cam.launch
- 摄像头启动文件
<launch>

  <node name="usb_cam" pkg="usb_cam" type="usb_cam_node" output="screen">
    <param name="video_device" value="/dev/video0">
    <param name="image_width" value="640">
    <param name="image_height" value="480">
    <param name="pixel_format" value="yuyv">
    <param name="camera_frame_id" value="usb_cam">
    <param name="io_method" value="mmap">
  </node>

</launch>
face_detector.launch
- 人脸识别启动文件
<launch>
    <node pkg="test2" name="face_detector" type="face_detector.py" output="screen">
        <remap from="input_rgb_image" to="/usb_cam/image_raw">
        <rosparam>
            haar_scaleFactor: 1.2
            haar_minNeighbors: 2
            haar_minSize: 40
            haar_maxSize: 60
        </rosparam>
        <param name="cascade_1" value="$(find robot_vision)/data/haar_detectors/haarcascade_frontalface_alt.xml">
        <param name="cascade_2" value="$(find robot_vision)/data/haar_detectors/haarcascade_profileface.xml">
    </remap></node>
</launch>
3.CvBridge
- ROS 与 OpenCV 之间的数据连接是通过 CvBridge 来实现的
- ROS Image Message与 OpenCV Ipllmage 之间连接的一个桥梁
cv_bridge_test.py
#!/usr/bin/env python
-*- coding: utf-8 -*-

import rospy
import cv2
from cv_bridge import CvBridge, CvBridgeError
from sensor_msgs.msg import Image

class image_converter:
    def __init__(self):
        # 创建cv_bridge,声明图像的发布者和订阅者
        self.image_pub = rospy.Publisher("cv_bridge_image", Image, queue_size=1)
        self.bridge = CvBridge()
        self.image_sub = rospy.Subscriber("/usb_cam/image_raw", Image, self.callback)

    def callback(self,data):
        # 使用cv_bridge将ROS的图像数据转换成OpenCV的图像格式
        try:
            cv_image = self.bridge.imgmsg_to_cv2(data, "bgr8")
        except CvBridgeError as e:
            print e

        # 在opencv的显示窗口中绘制一个圆,作为标记
        (rows,cols,channels) = cv_image.shape
        if cols > 60 and rows > 60 :
            cv2.circle(cv_image, (60, 60), 30, (0,0,255), -1)

        # 显示Opencv格式的图像
        cv2.imshow("Image window", cv_image)
        cv2.waitKey(3)

        # 再将opencv格式额数据转换成ros image格式的数据发布
        try:
            self.image_pub.publish(self.bridge.cv2_to_imgmsg(cv_image, "bgr8"))
        except CvBridgeError as e:
            print e

if __name__ == '__main__':
    try:
        # 初始化ros节点
        rospy.init_node("cv_bridge_test")
        rospy.loginfo("Starting cv_bridge_test node")
        image_converter()
        rospy.spin()
    except KeyboardInterrupt:
        print "Shutting down cv_bridge_test node."
        cv2.destroyAllWindows()
四、代码实测
1.执行命令行
运行在三个终端下,命令行如下:
[En]
Run under three terminals, and the command line is as follows:
启动摄像头
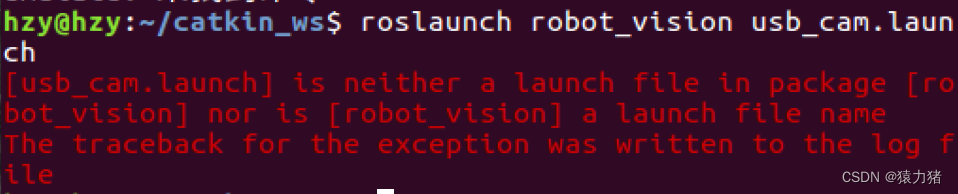
roslaunch robot_vision usb_cam.launch
启动人脸识别
roslaunch robot_vision face_detector.launch
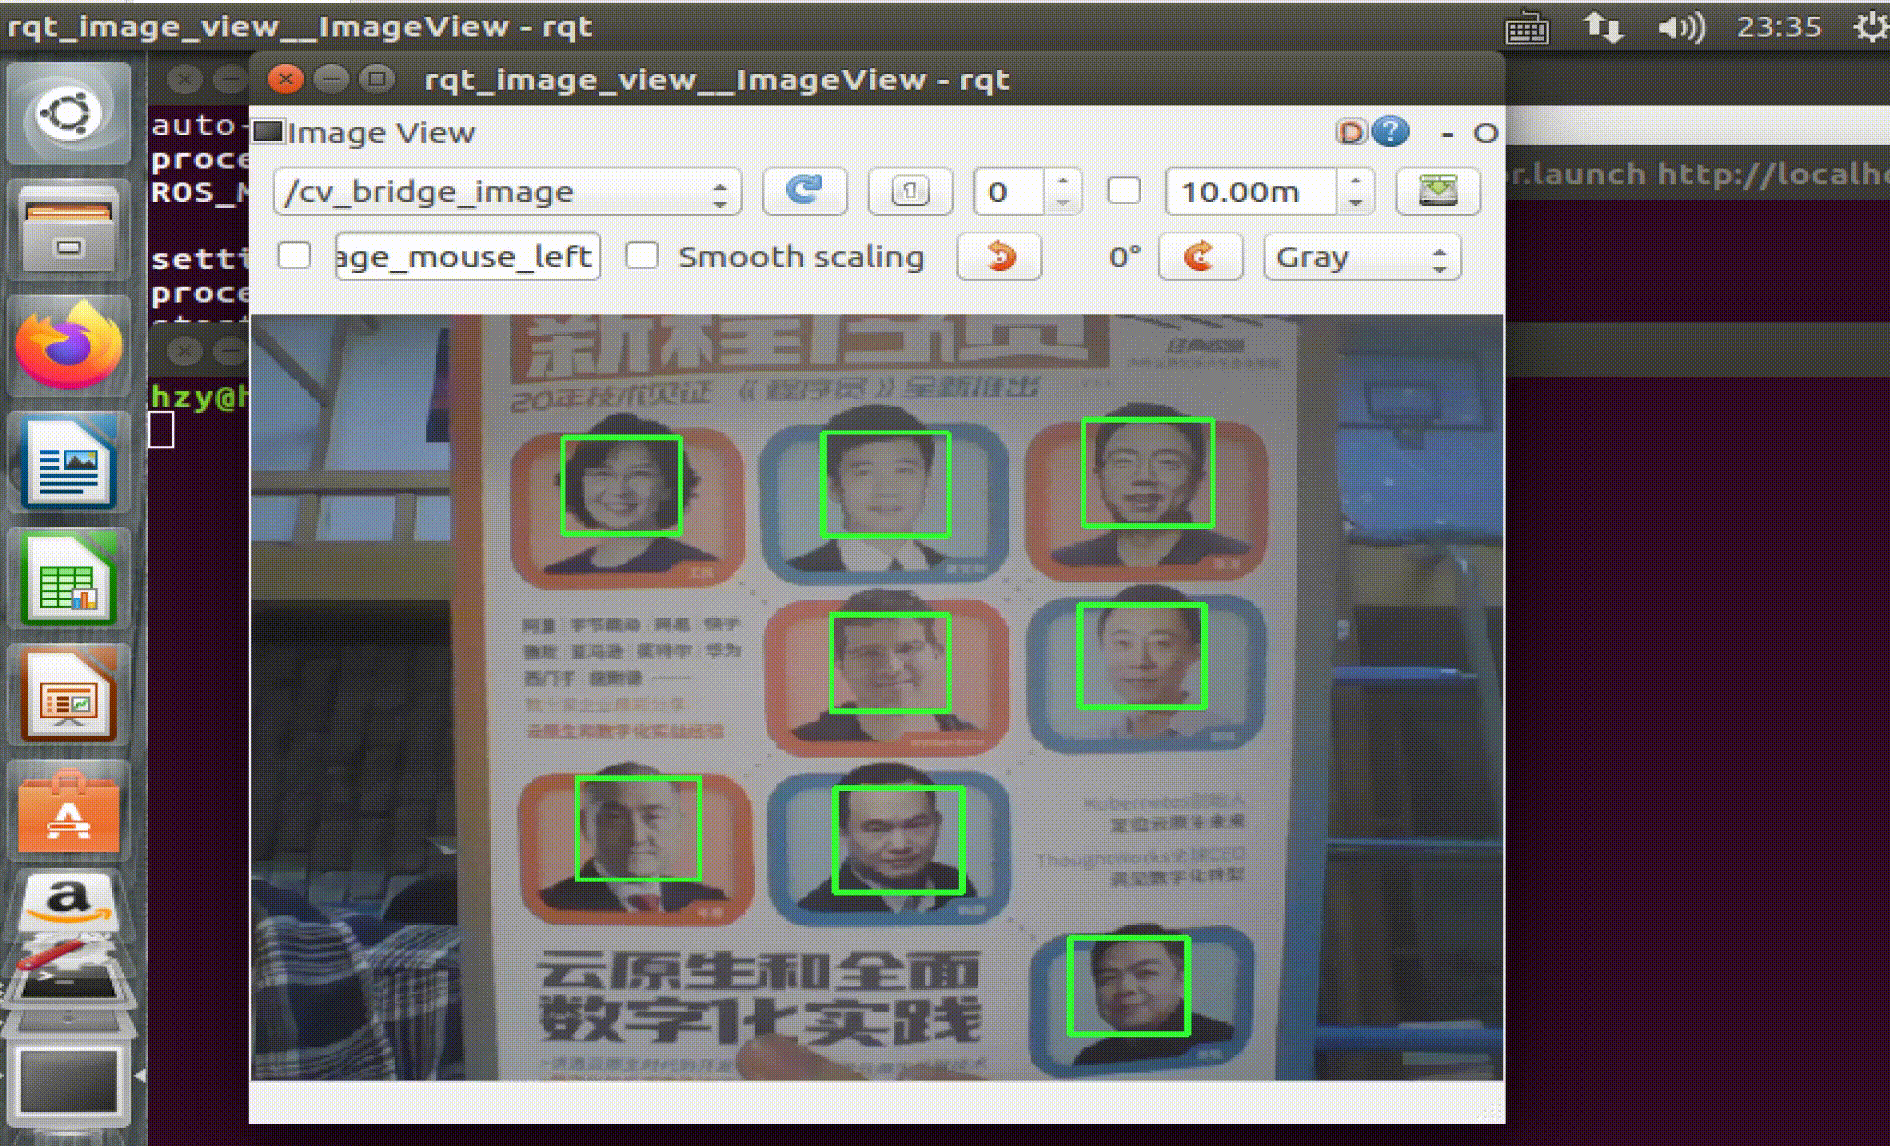
打开人脸识别窗口
rqt_image_view
2.人脸识别效果
拿了C站官方送的书来进行测试,识别的效果还是相当不错的,效果如下图所示:
五、报错解决
报错1:E:无法定位软件包 ros-kinetic-usb-cam
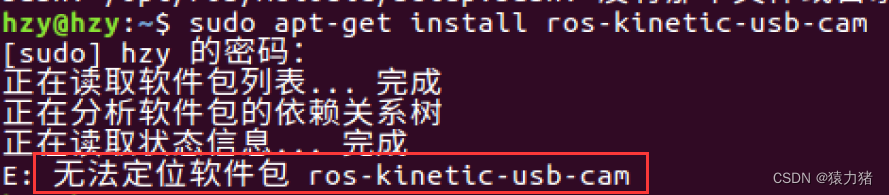
解决方法: 网上下载编译安装
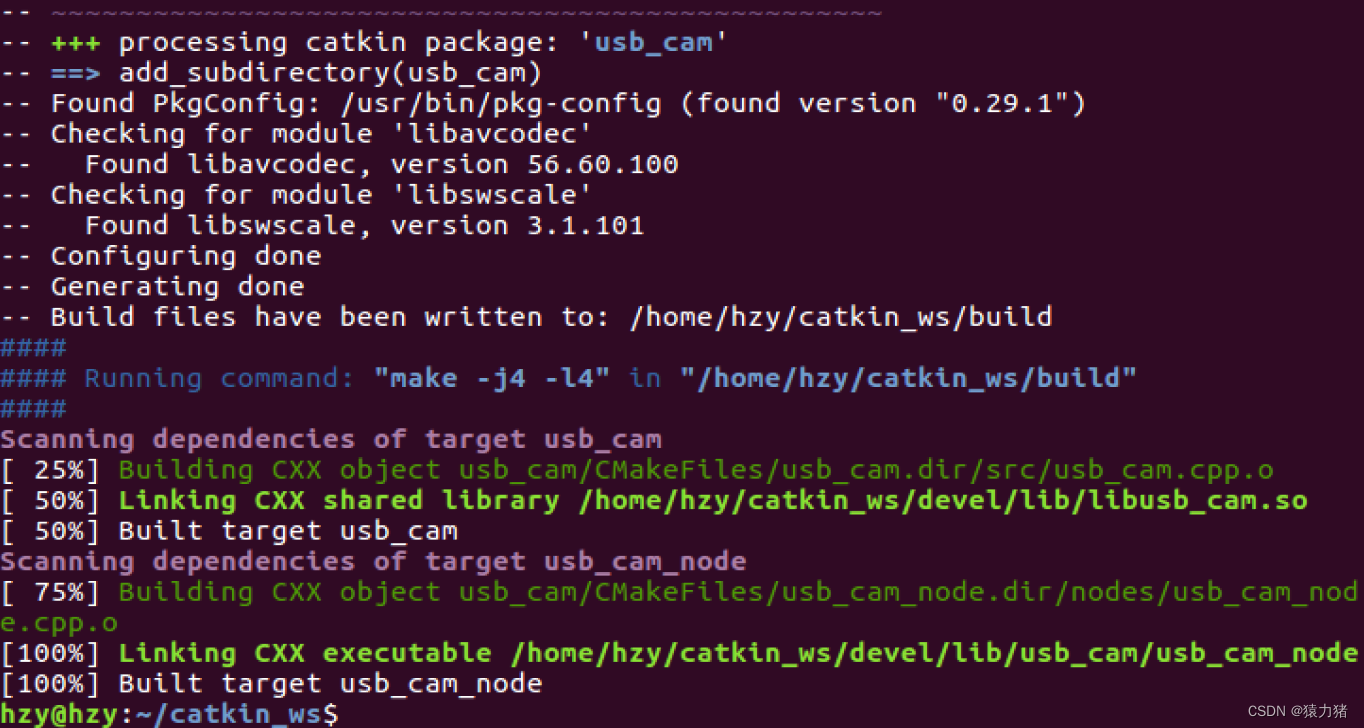
$ cd catkin_ws/src
$ git clone https://github.com/bosch-ros-pkg/usb_cam.git
$ cd ~/catkin_ws
$ catkin_make
成功解决:
报错2:启动摄像头报错

source ~/catkin_ws/devel/setup.bash
成功解决:
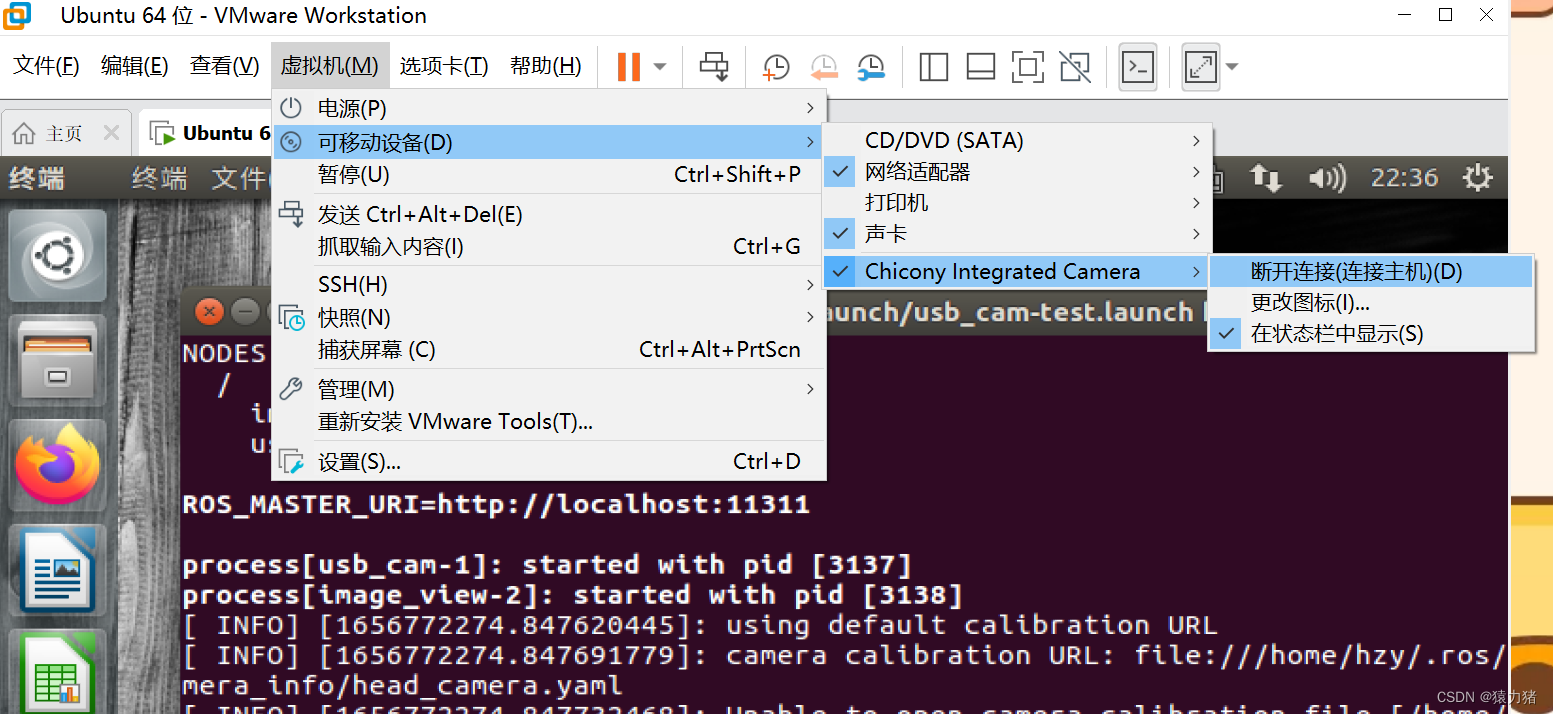
报错3:虚拟机摄像头没连接报错
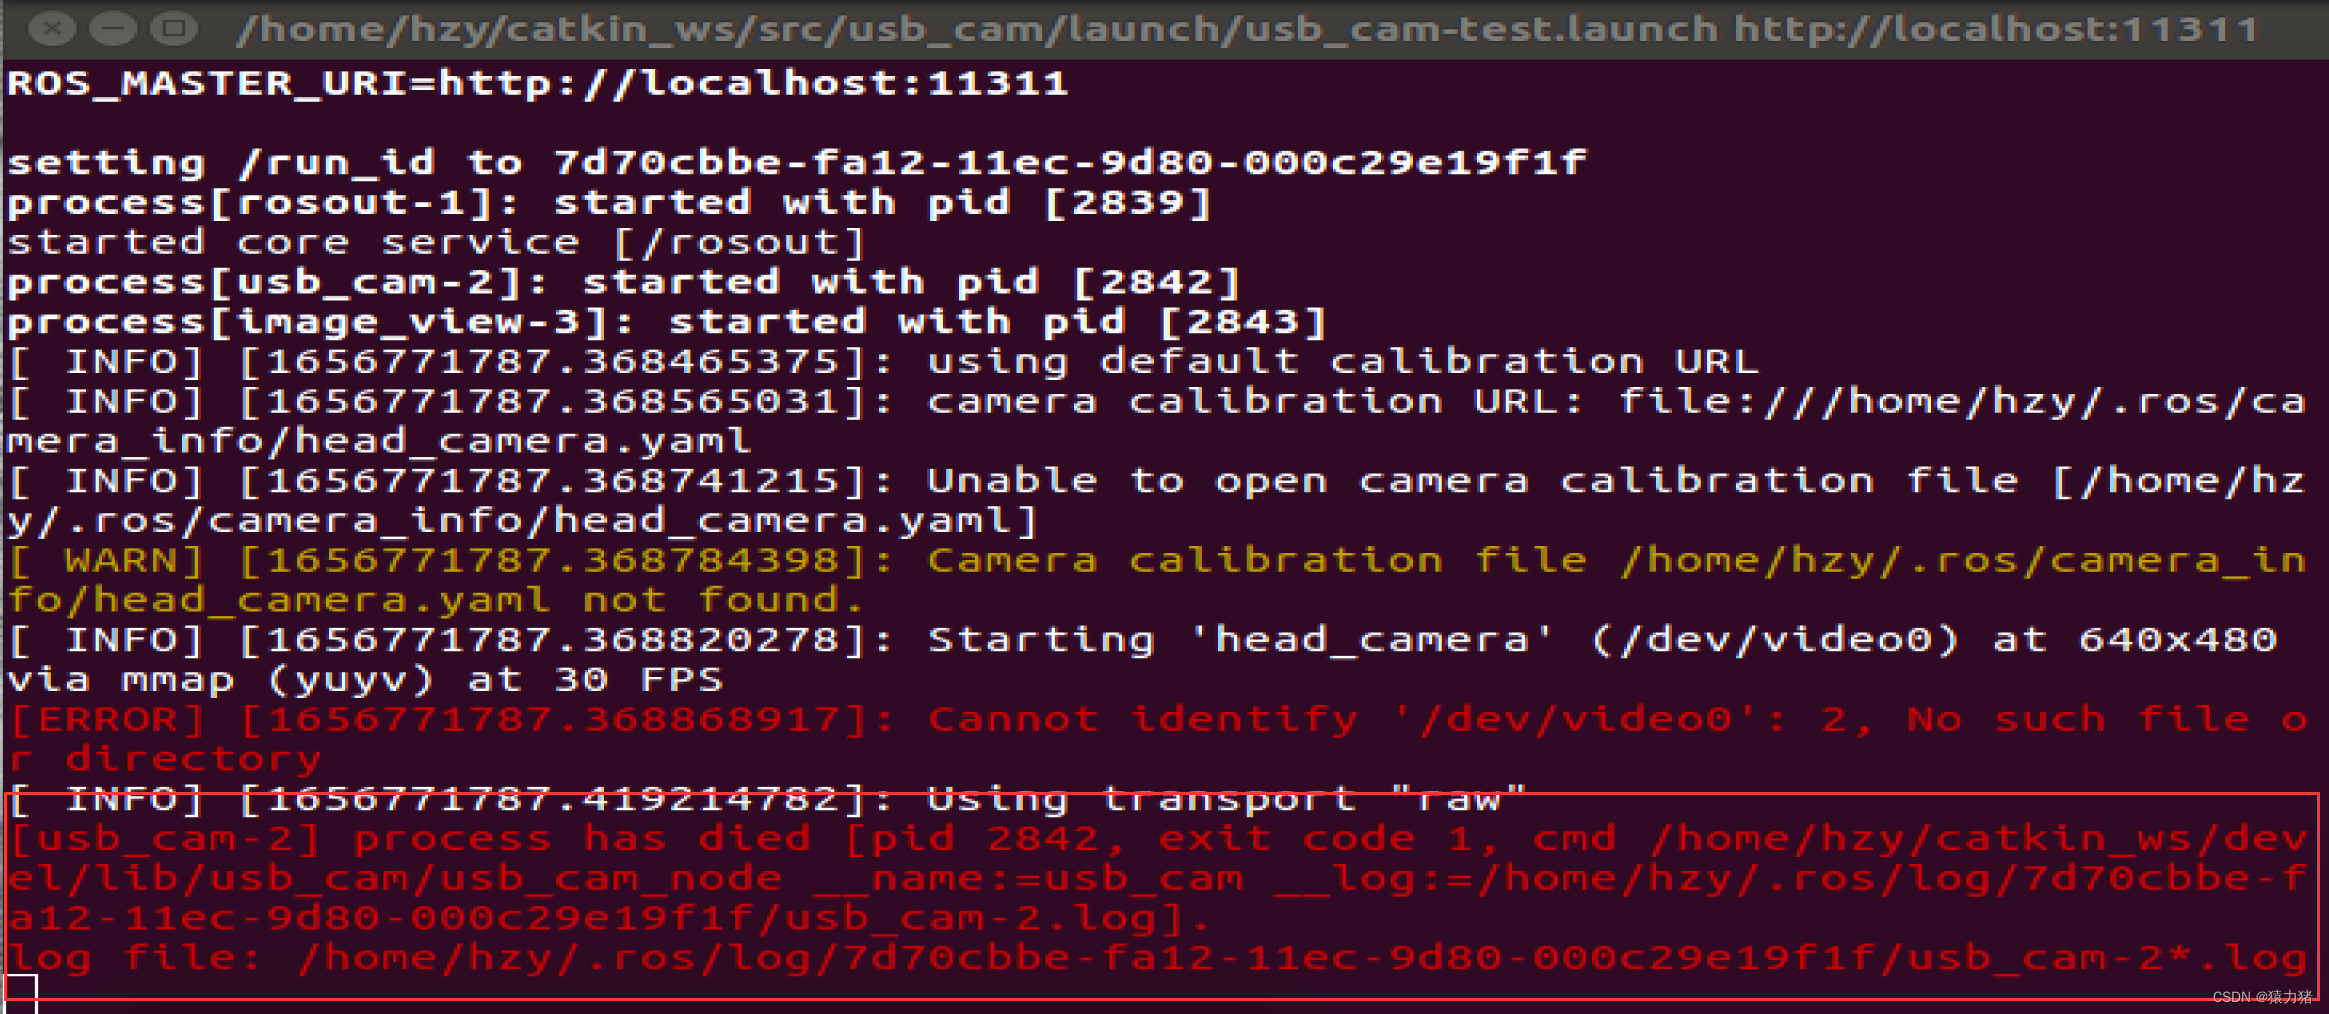
解决方法:打开虚拟机设置,更改usb版本为3.1

移动设备连接摄像头设置
[En]
Mobile devices connect camera settings
六、总结
- 在ROS操作系统中调用 OpenCV 完成人脸识别还是比较有意思的,目前图像处理和人脸识别还是比较常用到的,本文主要记录学习过程,以及遇到的相关报错问题进行记录
- 如何检测特定目标并显示结果?如何对人脸识别进行优化,使其更加准确?目前,我们仍在朝着这个方向进行思考和探索。
[En] how to detect a specific target and display the results? How to optimize the face recognition to be more accurate? Currently, we are still thinking and exploring in this direction.
原文链接:https://blog.csdn.net/m0_61745661/article/details/125578352
Original: https://www.cnblogs.com/helong-123/p/16457395.html
Author: 萌褚
Title: 【Linux学习】OpenCV+ROS 实现人脸识别(Ubantu16.04)
原创文章受到原创版权保护。转载请注明出处:https://www.johngo689.com/523165/
转载文章受原作者版权保护。转载请注明原作者出处!