

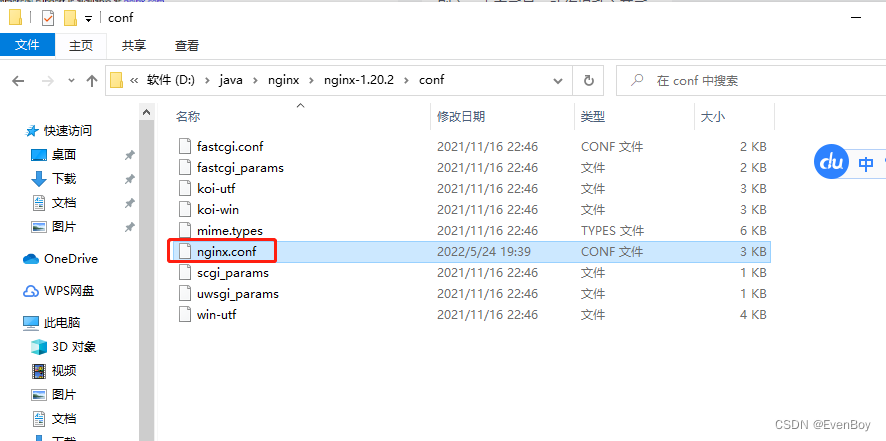
1、官网下载nginx稳定版

2、下载之后,解压到指定的目录
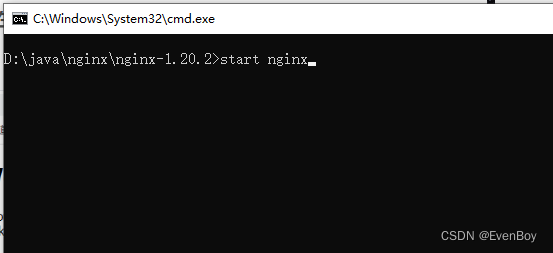
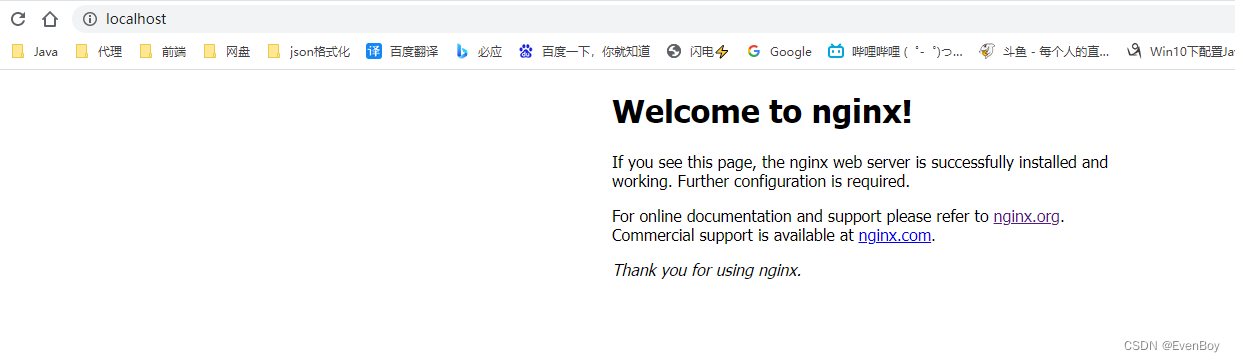
3、在nginx目录下打开cmd控制台,输入start nginx ,然后在浏览器页面输入localhost,出现如下界面则表示安装成功。默认监听80端口号。
4、负载均衡配置(打开nginx.conf)
weight代表权重越大则访问该服务的次数占比就越多
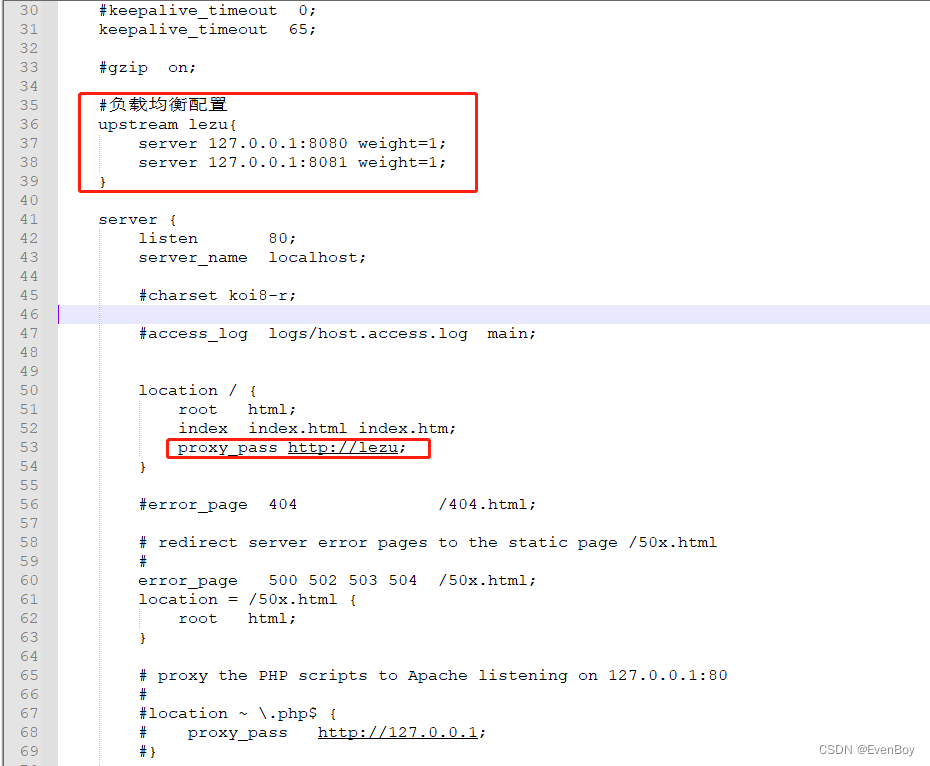
设置负载均衡配置(lezu 可以任意命令)
#user  nobody;
worker_processes  1;

#error_log  logs/error.log;
#error_log  logs/error.log  notice;
#error_log  logs/error.log  info;

#pid        logs/nginx.pid;

events {
    worker_connections  1024;
}

http {
    include       mime.types;
    default_type  application/octet-stream;

    #log_format  main  '$remote_addr - $remote_user [$time_local] "$request" '
    #                  '$status $body_bytes_sent "$http_referer" '
    #                  '"$http_user_agent" "$http_x_forwarded_for"';

    #access_log  logs/access.log  main;

    sendfile        on;
    #tcp_nopush     on;

    #keepalive_timeout  0;
    keepalive_timeout  65;

    #gzip  on;

    #负载均衡配置
    upstream lezu{
        server 127.0.0.1:8080 weight=1;
        server 127.0.0.1:8081 weight=1;
    }

    server {
        listen       80;
        server_name  localhost;

        #charset koi8-r;

        #access_log  logs/host.access.log  main;

        location / {
            root   html;
            index  index.html index.htm;
            proxy_pass http://lezu;
        }

        #error_page  404              /404.html;

        # redirect server error pages to the static page /50x.html
        #
        error_page   500 502 503 504  /50x.html;
        location = /50x.html {
            root   html;
        }

        # proxy the PHP scripts to Apache listening on 127.0.0.1:80
        #
        #location ~ \.php$ {
        #    proxy_pass   http://127.0.0.1;
        #}

        # pass the PHP scripts to FastCGI server listening on 127.0.0.1:9000
        #
        #location ~ \.php$ {
        #    root           html;
        #    fastcgi_pass   127.0.0.1:9000;
        #    fastcgi_index  index.php;
        #    fastcgi_param  SCRIPT_FILENAME  /scripts$fastcgi_script_name;
        #    include        fastcgi_params;
        #}

        # deny access to .htaccess files, if Apache's document root
        # concurs with nginx's one
        #
        #location ~ /\.ht {
        #    deny  all;
        #}
    }

    # another virtual host using mix of IP-, name-, and port-based configuration
    #
    #server {
    #    listen       8000;
    #    listen       somename:8080;
    #    server_name  somename  alias  another.alias;

    #    location / {
    #        root   html;
    #        index  index.html index.htm;
    #    }
    #}

    # HTTPS server
    #
    #server {
    #    listen       443 ssl;
    #    server_name  localhost;

    #    ssl_certificate      cert.pem;
    #    ssl_certificate_key  cert.key;

    #    ssl_session_cache    shared:SSL:1m;
    #    ssl_session_timeout  5m;

    #    ssl_ciphers  HIGH:!aNULL:!MD5;
    #    ssl_prefer_server_ciphers  on;

    #    location / {
    #        root   html;
    #        index  index.html index.htm;
    #    }
    #}

}
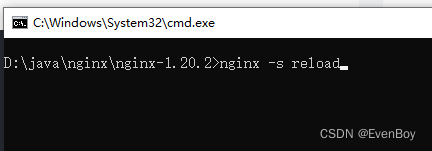
配置完成之后通过 nginx -s reload 命令来刷新配置文件
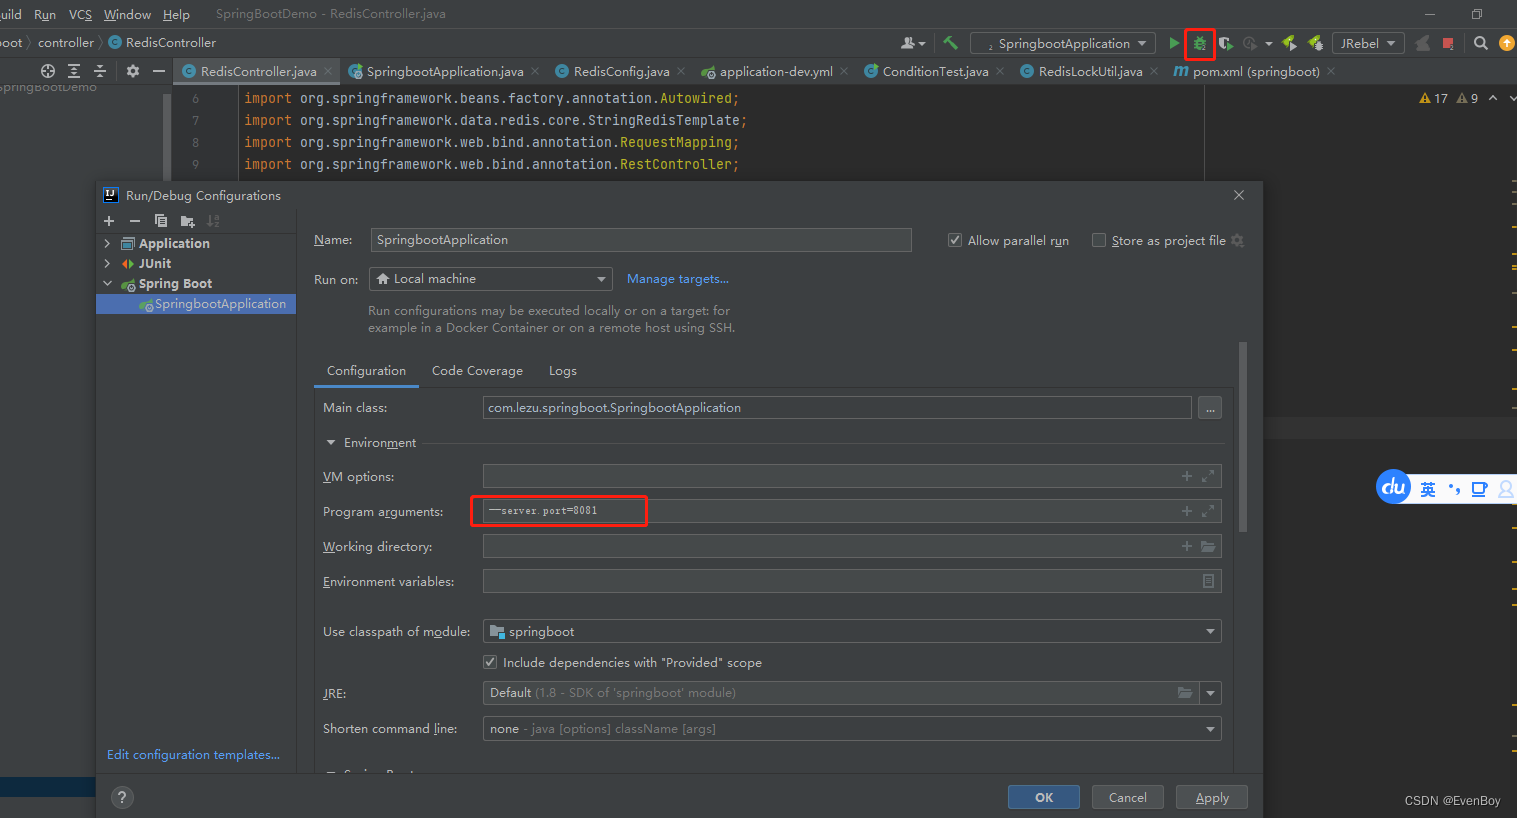
5、springboot启动两个项目设置端口
–server.port=8080
–server.port=8081
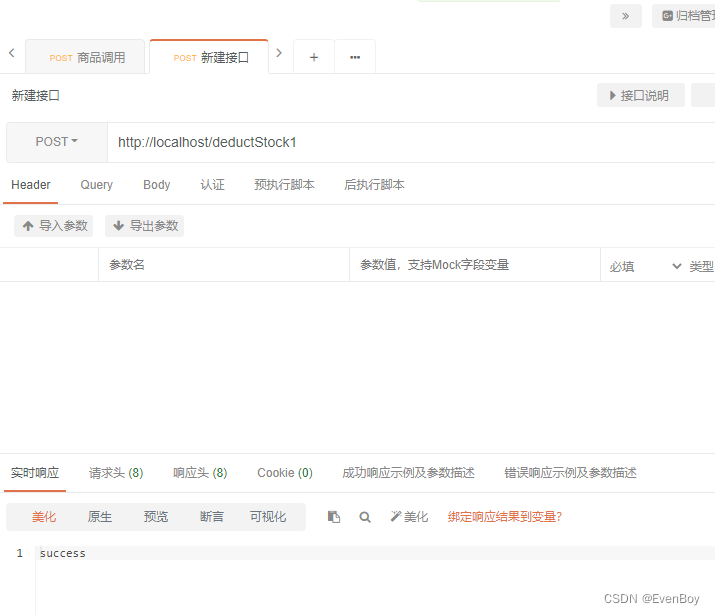
6、通过接口测试工具进行测试访问
/**
* 单机业务
*
* @return
*/
@RequestMapping("/deductStock1")
public String deductStock1() throws InterruptedException {
/**
* 单机下单操作
* 存在的问题:
* 并发量过大会存在超卖
*/
//商品数量
// int stock = Integer.parseInt(redisTemplate.opsForValue().get("stock"));
// if (stock > 0) {
// int resultStock = stock - 1;
// redisTemplate.opsForValue().set("stock", resultStock + "");
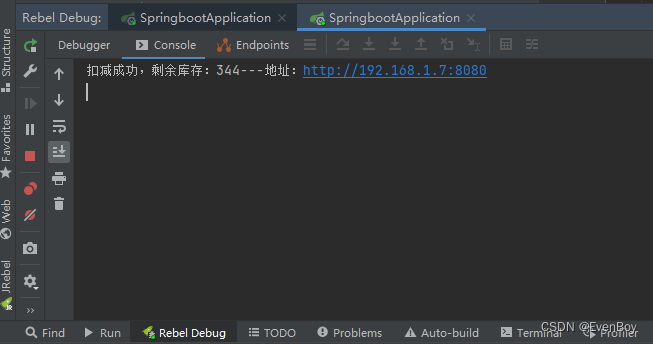
// System.out.println("扣减成功,剩余库存:" + resultStock);
// } else {
// System.out.println("扣减失败,库存不足!");
// }
/**
* 使用synchronized来进行加锁操作
* 存在的问题:
* 分布式多台机器应用下会存在超卖
*/
synchronized (this) {
int stock = Integer.parseInt(redisTemplate.opsForValue().get("stock"));
if (stock > 0) {
int resultStock = stock - 1;
redisTemplate.opsForValue().set("stock", resultStock + "");
System.out.println("扣减成功,剩余库存:" + resultStock);
} else {
System.out.println("扣减失败,库存不足!");
}
}
/**
* 使用ReentrantLock加锁
* 存在的问题:
* 分布式多台机器应用下会存在超卖
*/
// lock.lock();
// try {
// int stock = Integer.parseInt(redisTemplate.opsForValue().get("stock"));
// if (stock > 0) {
// int resultStock = stock - 1;
// redisTemplate.opsForValue().set("stock", resultStock + "");
// System.out.println("扣减成功,剩余库存:" + resultStock);
// } else {
// System.out.println("扣减失败,库存不足!");
// }
// } catch (Exception e) {
// e.printStackTrace();
// return "error";
// } finally {
// lock.unlock();
// }
return "success";
}
成功实现负载均衡效果

nginx命令
查看Nginx的版本号:nginx -V
启动Nginx:start nginx
快速停止或关闭Nginx:nginx -s stop
正常停止或关闭Nginx:nginx -s quit
配置文件修改重装载命令:nginx -s reload
查看windows任务管理器下Nginx的进程命令:tasklist /fi “imagename eq nginx.exe”
Original: https://blog.csdn.net/weixin_42169734/article/details/124953186
Author: EvenBoy
Title: windows中nginx配置负载均衡
原创文章受到原创版权保护。转载请注明出处:https://www.johngo689.com/813441/
转载文章受原作者版权保护。转载请注明原作者出处!