

前言
上文中我们用Golang写了一个HTTP server,本篇文章我们讲述如何容器化这个应用,为后续部署到kubernetes 做准备。
关键词:Docker, Containerization, Golang, 容器化, Docker Hub login, Container Registry, 容器仓库,云原生
Dockerfile
我们采用Docker分阶段构建方式来编写Dockerfile, 这种做法的最大好处就是缩小image的大小。
第一阶段构建如下,目的编译出我们的可执行二进制文件。
Use the offical golang image to create a binary.

This is based on Debian and sets the GOPATH to /go.

https://hub.docker.com/_/golang
FROM golang:1.18-buster as builder

Create and change to the app directory.

WORKDIR /app

Retrieve application dependencies.

This allows the container build to reuse cached dependencies.

Expecting to copy go.mod and if present go.sum.

COPY go.* ./
RUN go mod download

Copy local code to the container image.

COPY . ./

Build the binary.

RUN go build -mod=readonly -v -o server
如果没有VPN,那么需要添加 GOPROXY, 例如
bash;gutter:true;
RUN go env -w GOPROXY=https://goproxy.cn,direct && go mod download</p>
<pre><code>
进入第二阶段构建,真正的构建出生产用的镜像,代码如下:
注意 COPY --from=builder ,这里的 builder 和第一阶段的 as builder 是一一对应的
</code></pre>
<p>Use the official Debian slim image for a lean production container.</p>
<p>https://hub.docker.com/_/debian
https://docs.docker.com/develop/develop-images/multistage-build/#use-multi-stage-builds
FROM debian:buster-slim
RUN set -x && apt-get update && DEBIAN_FRONTEND=noninteractive apt-get install -y \
ca-certificates && \
rm -rf /var/lib/apt/lists/*</p>
<p>Copy the binary to the production image from the builder stage.</p>
<p>COPY --from=builder /app/server /app/server</p>
<p>Run the web service on container startup.</p>
<p>CMD ["/app/server"]</p>
<pre><code>
两个阶段的构建代码都复制到 Dockerfile 如下

## Build Image
需提前安装好docker, tag 也需要根据自己实际情况修改,wadexu007是我Docker hub的account, demo是 repository名, 1.0.0是镜像tag号
;gutter:true;
docker build -t wadexu007/demo:1.0.0 .


https://www.cnblogs.com/wade-xu/p/16708050.html
Push Image
接下来我们得把Image push到一个镜像仓库,例如 Docker hub, 或者 ECR, GCR, ACR 等公有云平台仓库。也可以用开源的 Harbor 自建仓库。
下面介绍 Docker hub
首先到 Docker hub 注册一个账号 https://hub.docker.com
如果有账号直接Sign In
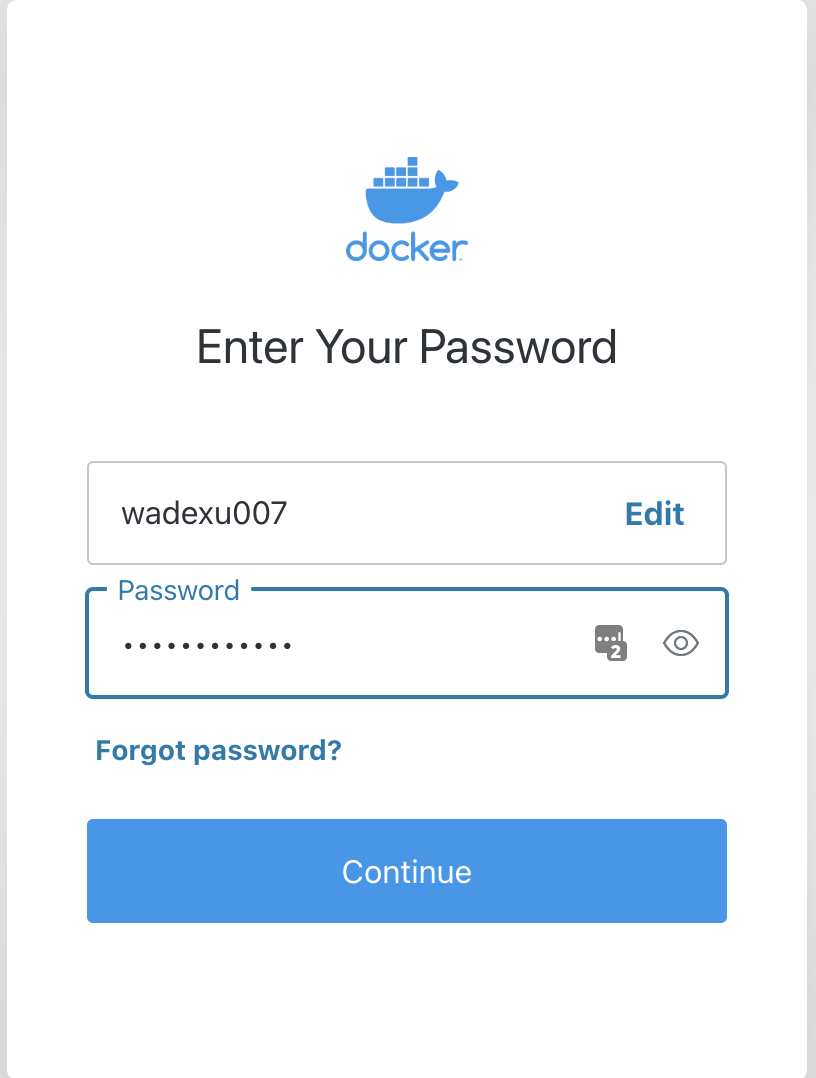
点击右上角–> Account Settings
Security –> New Access Tokens
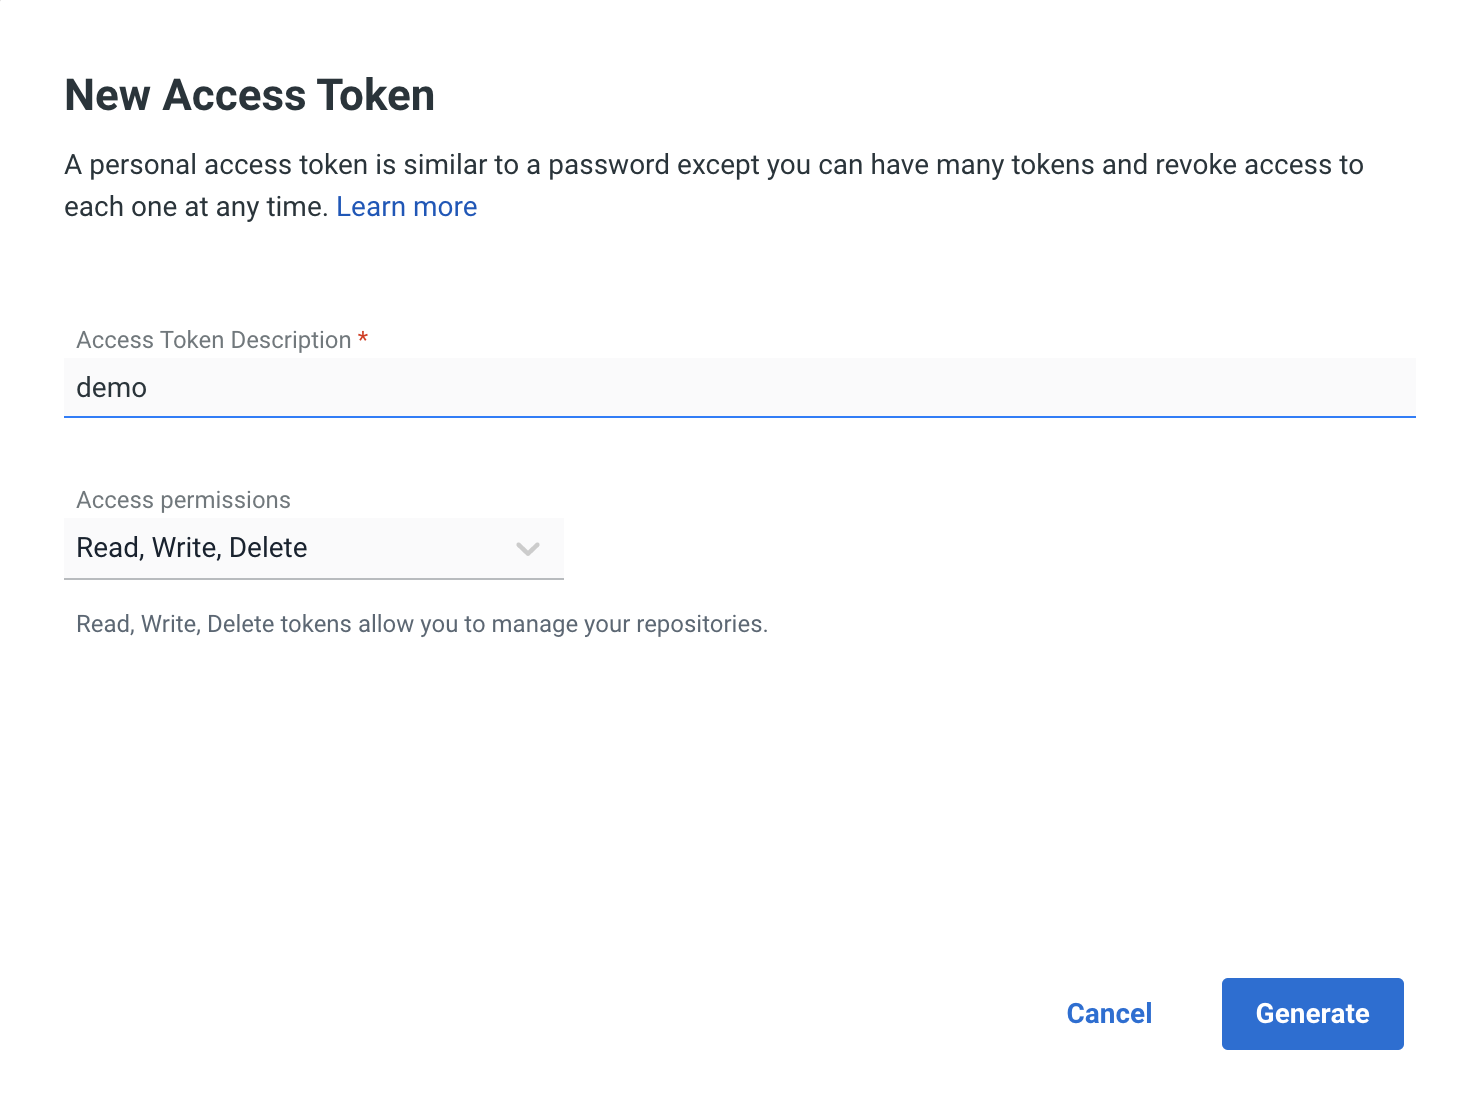
Generate a new one. Then docker login, replace wadexu007 with your account name.
bash;gutter:true;
docker login -u wadexu007</p>
<pre><code>
after paste access token
;gutter:true;
Login Succeeded
也可以查看docker config.json 或者直接编辑。
第二个就是我刚刚docker login 之后的配置。第一个是我本机 GCR – Google Cloud Registry,第三个是JCR – 京东云的Registry
% cat ~/.docker/config.json
{
    "auths": {
        "asia.gcr.io": {
            "auth": "xxx"
        },
        "https://index.docker.io/v1/": {
            "auth": "xxx"
        },
        "xxx-cn-north-1.jcr.service.jdcloud.com": {
            "auth": "xxx"
        }
    }
}%
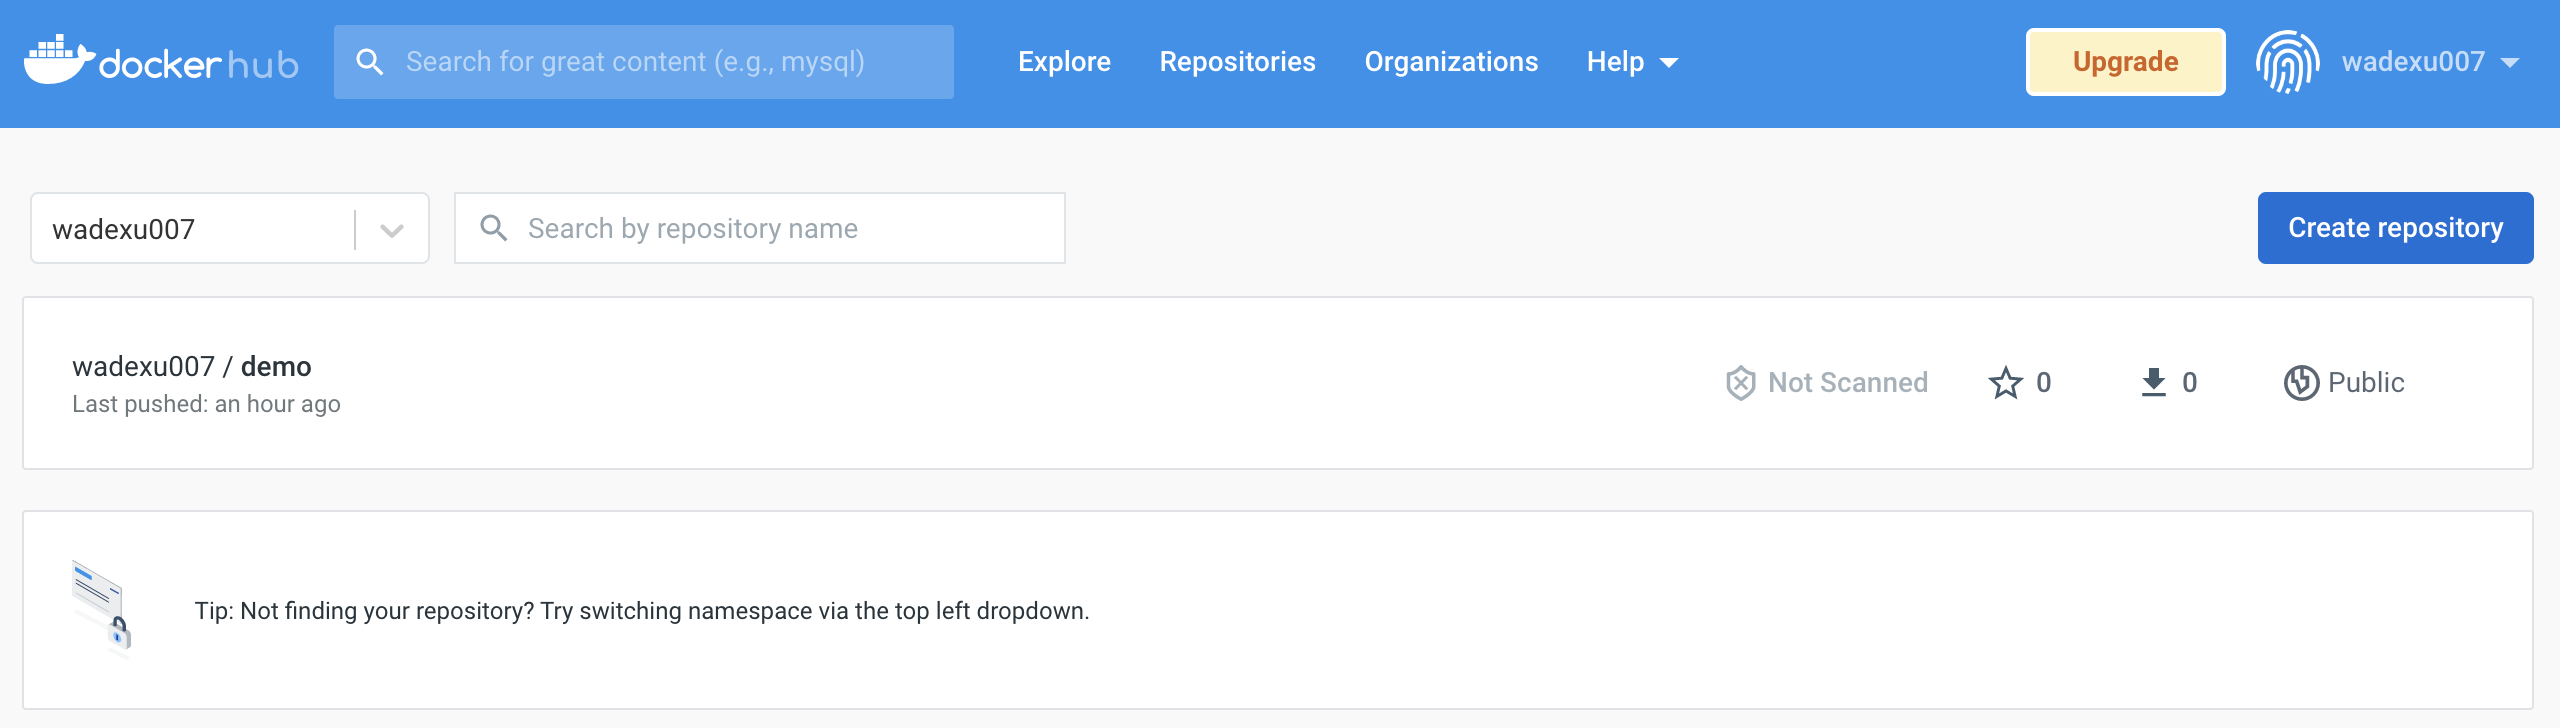
回到 Docker hub控制台, Create repository 创建一个 demo repository
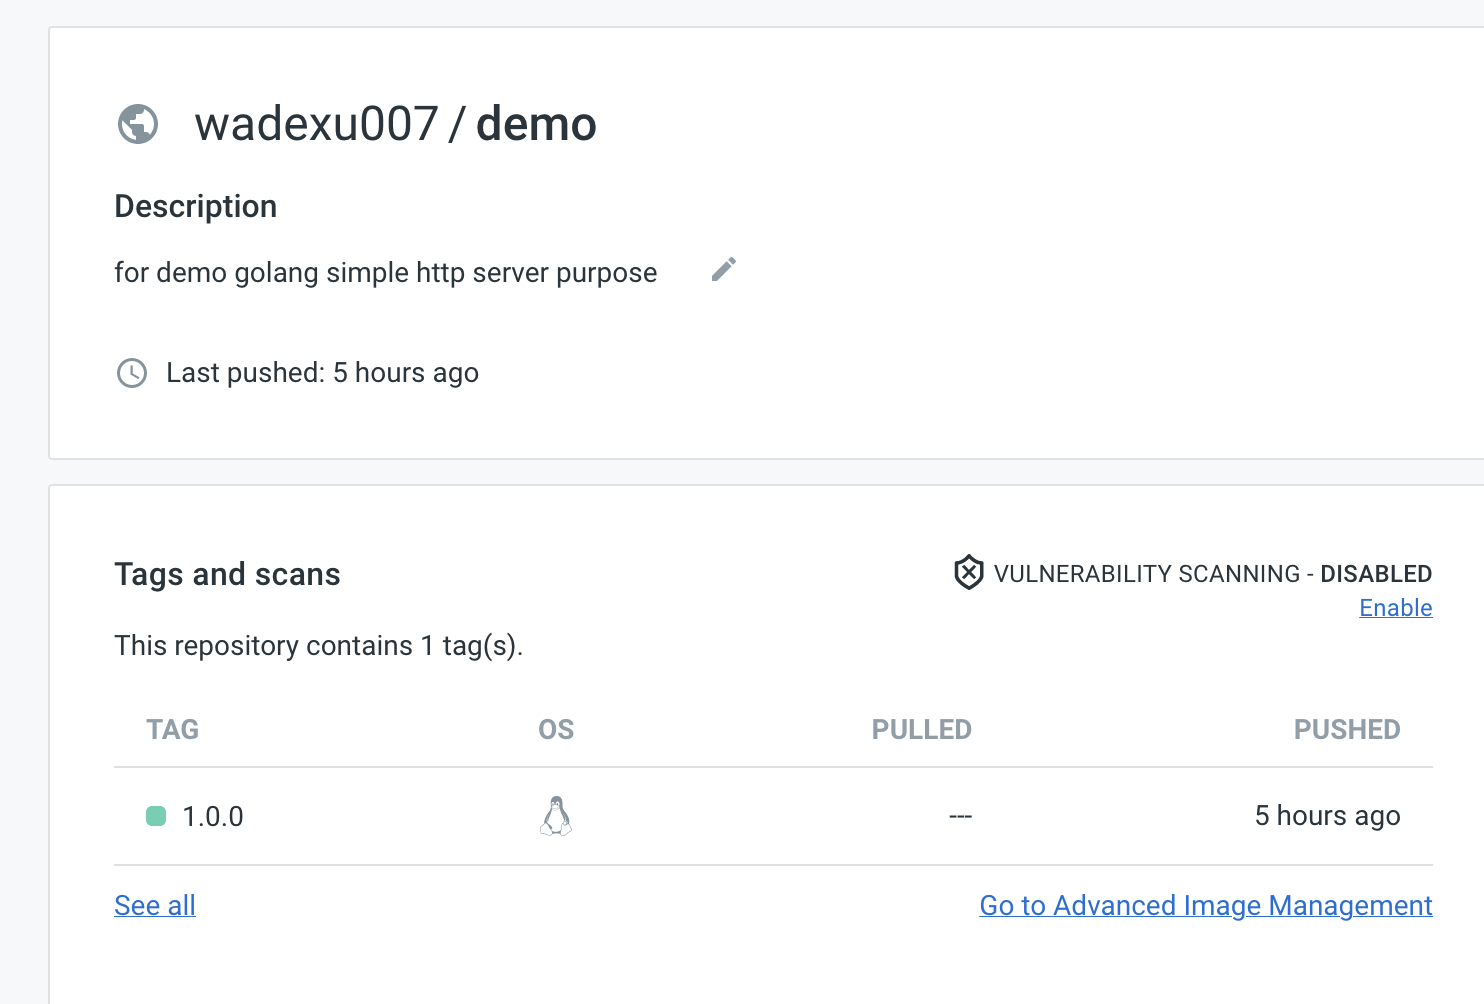
最后执行 push 命令
把本地image push到远端
bash;gutter:true;
docker push wadexu007/demo:1.0.0
查看结果
https://www.cnblogs.com/wade-xu/p/16708050.html
感谢阅读,如果您觉得本文的内容对您的学习有所帮助,您可以打赏和推荐,您的鼓励是我创作的动力。
Original: https://www.cnblogs.com/wade-xu/p/16708050.html
Author: WadeXu
Title: 云原生之旅 – 2)Docker 容器化你的应用
原创文章受到原创版权保护。转载请注明出处:https://www.johngo689.com/802256/
转载文章受原作者版权保护。转载请注明原作者出处!