

scrapy爬虫基本指令要点
英语词汇
genspider:生成爬虫 itcast:传智播客
itcast.cn:传智播客的网址 deploy:部署
pipeline:管道
1.安装scrapy
pip install scrapy
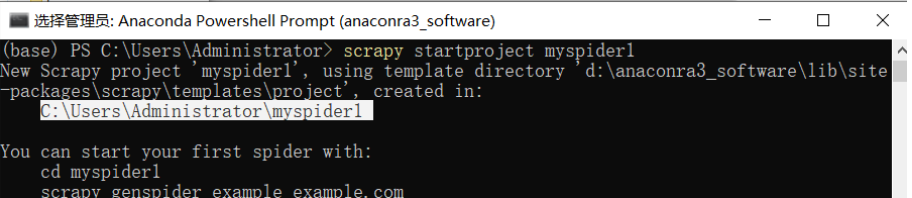
2.创建项目
scrapy startproject myspider1

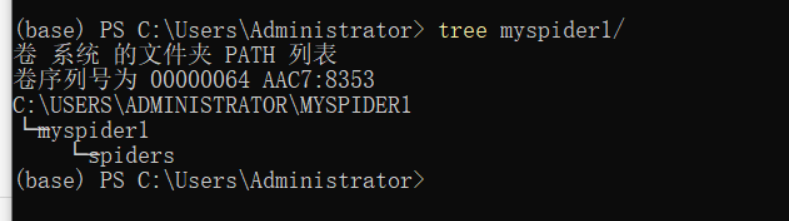
; 3.查看新建项目的根目录
cd myspider1
tree myspider1/
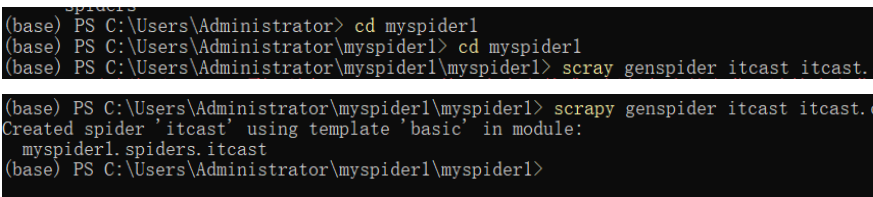
4.创建爬虫
scrapy genspider 爬虫名字 允许爬取的域名(url)
例子:
cd myspider1/ myspider1
scrapy genspider itcast itcast.cn
; 5.修改刚创建好的itcast文件中的源码
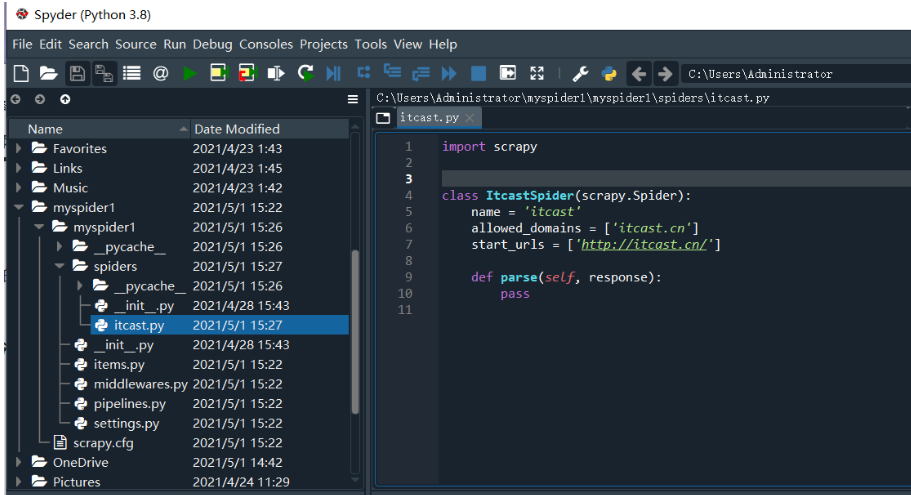
import scrapy

class ItcastSpider(scrapy.Spider):

    name = 'itcast'

    allowed_domains = ['itcast.cn']

    start_urls = ['http://itcast.cn/']

    def parse(self, response):
        with open('itcase.html','wb') as f:
            f.write(response.body)
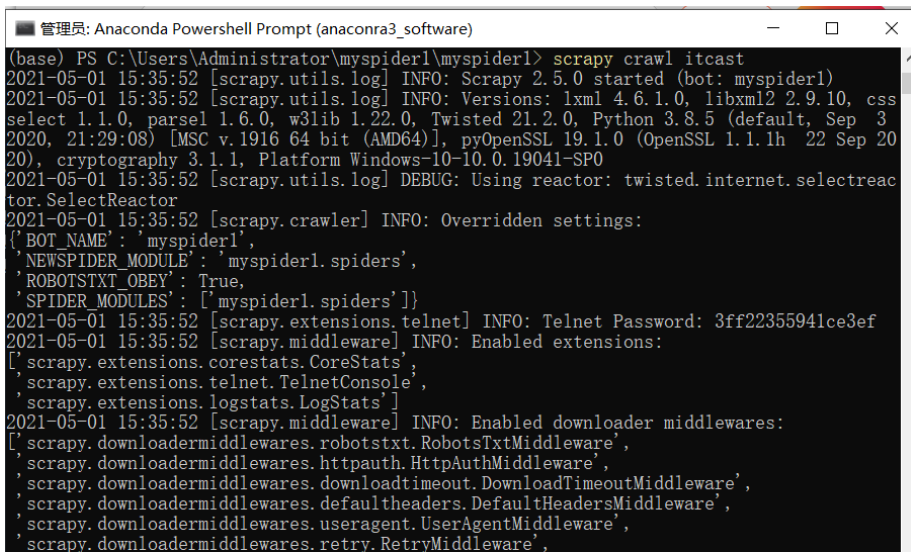
6.运行 scrapy
命令:在项目目录下执行scrapy crawl 爬虫名字
生成日志文件: scrapy crawl itcast #crawl :爬取
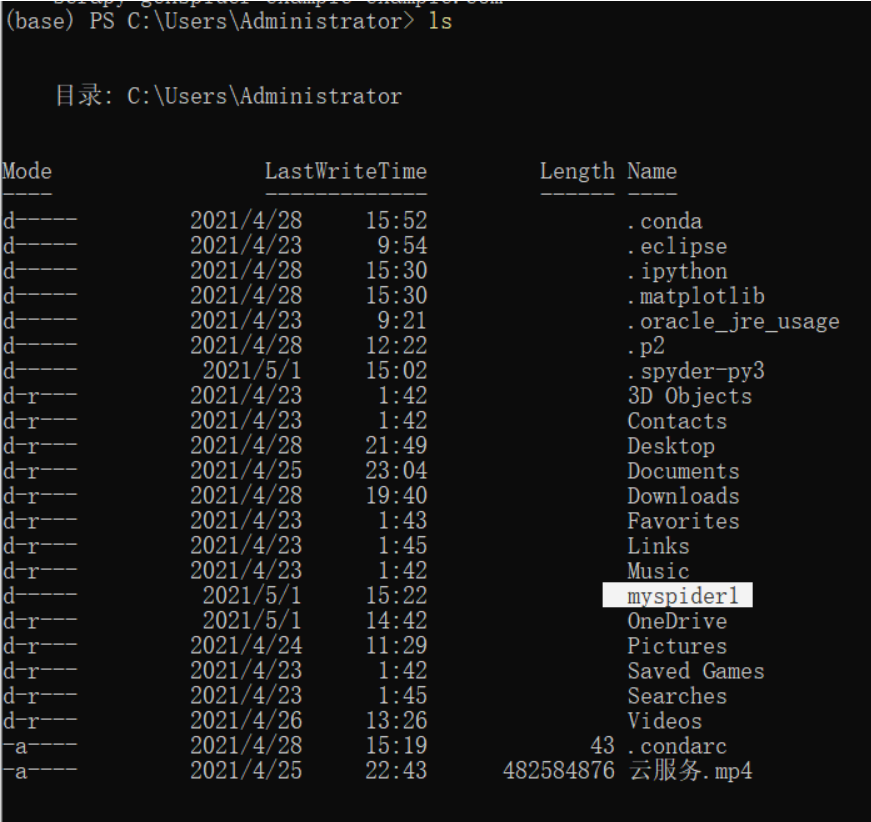
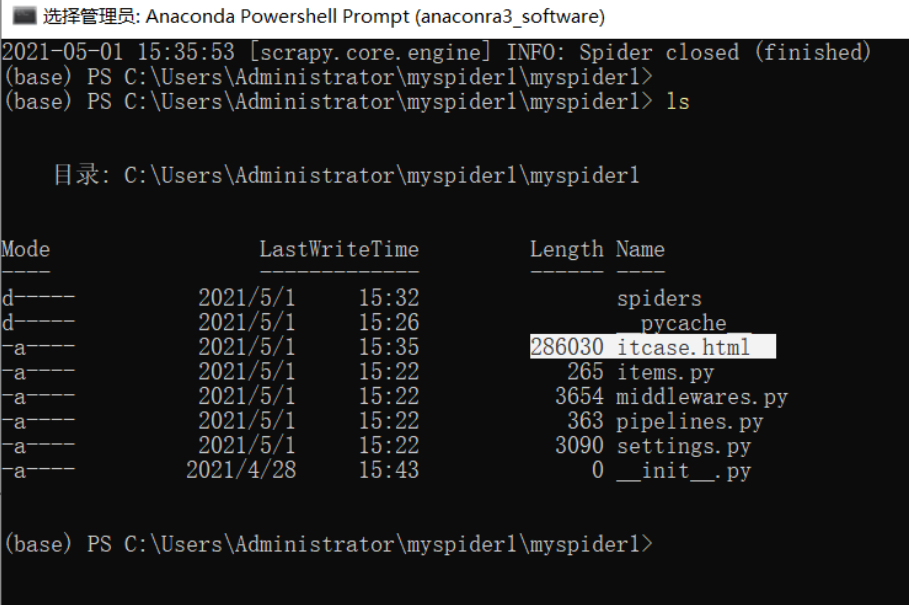
; 7.ls命令查看生成的html文件
8.完成爬虫
itcast.py内部的源码:
修改起始的url
检查修改允许的域名
在parse方法中实现爬取逻辑
import scrapy

class ItcastSpider(scrapy.Spider):

    name = 'itcast'

    allowed_domains = ['itcast.cn']

    start_urls = ['http://www.itcast.cn/channel/teacher.shtml#javaee']

def parse(self, response):

        node_list = response.xpath('//div[@class="main_bot"]')

for node in node_list:

    temp = {}

    temp['name'] = node.xpath('./h2/text()').extract_first()
    temp['title'] = node.xpath('./h3/./span/text()')[0].extract()
    temp['desc'] = node.xpath('./p/./span/text()').extract_first()

    yield temp
Original: https://blog.csdn.net/LanyKey11/article/details/116332851
Author: lanykey
Title: 简化scrapy爬虫
原创文章受到原创版权保护。转载请注明出处:https://www.johngo689.com/792709/
转载文章受原作者版权保护。转载请注明原作者出处!