

首先创建一个爬虫文件dgrds.py
–– coding: utf-8 ––
import scrapy
from scrapy_redis.spiders import RedisSpider
class DgrdsSpider(RedisSpider):
name = ‘dgrds’
redis_key = ‘dgrds:start_urls’
def parse(self, response):
for i in range(2499930, 2499940):
yield scrapy.Request(‘https://www.douguo.com/cookbook/’ + str(i) + ‘.html’, callback=self.parse2)
def parse2(self, response):
if (response.status == 200):
title = response.css(‘.rinfo h1.title::text’).get(”)
view_nums = response.css(‘.vcnum span:first-of-type::text’).get(”)
collection_nums = response.css(‘.vcnum .collectnum::text’).get(”)
user_name = response.css(‘.author-info .nickname::text’).get(”)
user_image = response.css(‘.author-img img::attr(src)’).get(”)
tags = ”
tag_arr = response.css(‘.fenlei span’)
if tag_arr is not None:
for tg in tag_arr:
tags += ‘;’ + tg.css(‘a::text’).get(”)
basic_url = ”
youku = ”
id = 0
isvideo = response.css(‘#banner + a’)
if isvideo is not None:
next_url = response.css(‘#banner + a::attr(href)’).get(”)
id = next_url.replace(‘/recipevideo/’, ”)
basic_url = ‘https://www.douguo.com/cookbook/’ + id + ‘.html’
item = {
‘cate’: ”,
‘title’: title,
‘view_nums’: view_nums,
‘collection_nums’: collection_nums,
‘user_name’: user_name,
‘user_image’: user_image,
‘tags’: tags,
‘basic_url’: basic_url
}
yield scrapy.Request(response.urljoin(next_url), meta=item, callback=self.parse4)
def parse4(self, response):
url = response.css(’embed::attr(src)’).get(”)
item = {
‘cate’: response.meta[‘cate’],
‘title’: response.meta[‘title’],
‘view_nums’: response.meta[‘view_nums’],
‘collection_nums’: response.meta[‘collection_nums’],
‘user_name’: response.meta[‘user_name’],
‘user_image’: response.meta[‘user_image’],
‘tags’: response.meta[‘tags’],
‘basic_url’: response.meta[‘basic_url’]
}
item[‘video_url’] = url
yield item
然后修改setting.py配置文件
–– coding: utf-8 ––
Scrapy settings for dgredis project
For simplicity, this file contains only settings considered important or
commonly used. You can find more settings consulting the documentation:
https://docs.scrapy.org/en/latest/topics/settings.html
https://docs.scrapy.org/en/latest/topics/downloader-middleware.html
https://docs.scrapy.org/en/latest/topics/spider-middleware.html
BOT_NAME = ‘dgredis’
SPIDER_MODULES = [‘dgredis.spiders’]
NEWSPIDER_MODULE = ‘dgredis.spiders’
Crawl responsibly by identifying yourself (and your website) on the user-agent
USER_AGENT = ‘dgredis (+http://www.yourdomain.com)’
Obey robots.txt rules
ROBOTSTXT_OBEY = False
Configure maximum concurrent requests performed by Scrapy (default: 16)
CONCURRENT_REQUESTS = 32
Configure a delay for requests for the same website (default: 0)
See https://docs.scrapy.org/en/latest/topics/settings.html#download-delay
See also autothrottle settings and docs
DOWNLOAD_DELAY = 3
The download delay setting will honor only one of:
CONCURRENT_REQUESTS_PER_DOMAIN = 16
CONCURRENT_REQUESTS_PER_IP = 16
Disable cookies (enabled by default)
COOKIES_ENABLED = False
Disable Telnet Console (enabled by default)
TELNETCONSOLE_ENABLED = False
Override the default request headers:
DEFAULT_REQUEST_HEADERS = {
‘Accept’: ‘text/html,application/xhtml+xml,application/xml;q=0.9,/;q=0.8′,
‘Accept-Language’: ‘en’,
}
Enable or disable spider middlewares
See https://docs.scrapy.org/en/latest/topics/spider-middleware.html
SPIDER_MIDDLEWARES = {
‘dgredis.middlewares.DgredisSpiderMiddleware’: 543,
}
Enable or disable downloader middlewares
See https://docs.scrapy.org/en/latest/topics/downloader-middleware.html
DOWNLOADER_MIDDLEWARES = {
‘dgredis.middlewares.DgredisDownloaderMiddleware’: 543,
}
Enable or disable extensions
See https://docs.scrapy.org/en/latest/topics/extensions.html
EXTENSIONS = {
‘scrapy.extensions.telnet.TelnetConsole’: None,
}
Configure item pipelines
See https://docs.scrapy.org/en/latest/topics/item-pipeline.html
ITEM_PIPELINES = {
‘dgredis.pipelines.DgredisPipeline’: 300,
‘scrapy_redis.pipelines.RedisPipeline’: 400,
}
Enable and configure the AutoThrottle extension (disabled by default)
See https://docs.scrapy.org/en/latest/topics/autothrottle.html
AUTOTHROTTLE_ENABLED = True
The initial download delay
AUTOTHROTTLE_START_DELAY = 5
The maximum download delay to be set in case of high latencies
AUTOTHROTTLE_MAX_DELAY = 60
The average number of requests Scrapy should be sending in parallel to
each remote server
AUTOTHROTTLE_TARGET_CONCURRENCY = 1.0
Enable showing throttling stats for every response received:
AUTOTHROTTLE_DEBUG = False
Enable and configure HTTP caching (disabled by default)
See https://docs.scrapy.org/en/latest/topics/downloader-middleware.html#httpcache-middleware-settings
HTTPCACHE_ENABLED = True
HTTPCACHE_EXPIRATION_SECS = 0
HTTPCACHE_DIR = ‘httpcache’
HTTPCACHE_IGNORE_HTTP_CODES = []
HTTPCACHE_STORAGE = ‘scrapy.extensions.httpcache.FilesystemCacheStorage’
MYSQL_HOST = ‘127.0.0.1’
MYSQL_PORT = ‘3306’
MYSQL_USER = ‘root’
MYSQL_PASS = ”
MYSQL_DB = ‘test’
HTTPERROR_ALLOWED_CODES = [404, 301]
DUPEFILTER_CLASS = “scrapy_redis.dupefilter.RFPDupeFilter”
SCHEDULER = “scrapy_redis.scheduler.Scheduler”
SCHEDULER_PERSIST = True
SCHEDULER_QUEUE_CLASS = “scrapy_redis.queue.SpiderPriorityQueue”
SCHEDULER_QUEUE_CLASS = “scrapy_redis.queue.SpiderQueue”
SCHEDULER_QUEUE_CLASS = “scrapy_redis.queue.SpiderStack”
LOG_LEVEL = ‘DEBUG’
Introduce an artifical delay to make use of parallelism. to speed up the
crawl.
DOWNLOAD_DELAY = 1
然后修改管道文件pipeline.py
–– coding: utf-8 ––
Define your item pipelines here
Don’t forget to add your pipeline to the ITEM_PIPELINES setting
See: https://docs.scrapy.org/en/latest/topics/item-pipeline.html
import pymysql
from twisted.enterprise import adbapi
class DgredisPipeline:
def init(self, dbpool):
self.dbpool = dbpool
@classmethod
def from_settings(cls, settings):
adbparams = dict(
host=settings[‘MYSQL_HOST’],
db=settings[‘MYSQL_DB’],
user=settings[‘MYSQL_USER’],
password=settings[‘MYSQL_PASS’],
charset=’utf8′,
cursorclass=pymysql.cursors.DictCursor
)
dbpool = adbapi.ConnectionPool(‘pymysql’, **adbparams)
return cls(dbpool)
def process_item(self, item, spider):
query = self.dbpool.runInteraction(self.do_insert, item) # 指定操作方法和操作数据
添加异常处理
query.addCallback(self.handle_error) # 处理异常
def do_insert(self, cursor, item):
对数据库进行插入操作,并不需要commit,twisted会自动commit
insert_sql = “””
insert into douguoaa(title,user_name,user_image,view_nums,collection_nums,basic_url,video_url,tags,cate_name) VALUES(%s,%s,%s,%s,%s,%s,%s,%s,%s)
“””
cursor.execute(insert_sql, (
item[‘title’], item[‘user_name’], item[‘user_image’], item[‘view_nums’], item[‘collection_nums’],
item[‘basic_url’],
item[‘video_url’], item[‘tags’], item[‘cate’]))
def handle_error(self, failure):
if failure:
print(failure)
修改完这三个文件就可以支持分布式爬取。去重。异步写入数据库功能了
cd切换到爬虫项目的spider文件夹,执行命令 scrapy runspider dgrds.py ,这时候爬虫出去等待发送指令状态
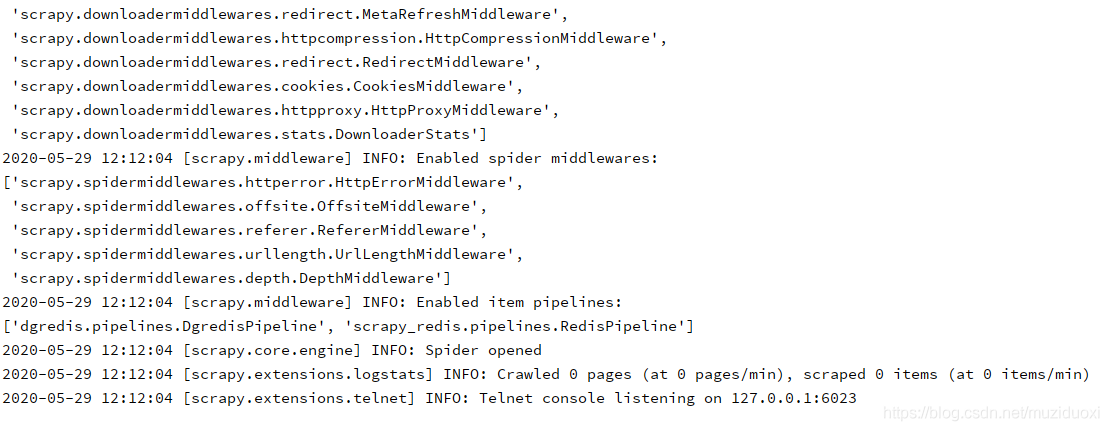

然后在redis-cli端发送爬取指令,也就是指定start_urls,命令:lpush dgrds:start_urls http://www.douguo.com,点击回车后上面的图片代码接收到指令后会自动执行爬取
这个是基础爬虫文件,规则爬取crawSpider跟这个类似,只需指定Rule规则即可
That’s All
Thanks!
原文链接:https://blog.csdn.net/muziduoxi/article/details/106422873
Original: https://blog.csdn.net/weixin_35204634/article/details/113128429
Author: 我有改名卡
Title: scrapy分布式写入到mysql_scrapy-redis分布式爬虫去重异步写入mysql数据库实例代码…
原创文章受到原创版权保护。转载请注明出处:https://www.johngo689.com/792521/
转载文章受原作者版权保护。转载请注明原作者出处!