

目录
1 作者说
在我下面的这篇文章中曾尝试过安装旧版本PyRosetta 3, 但是最后好像无疾而终.
Windows下Rosetta Commons ,PyRosetta软件安装方法,API在线及离线文档,Zeal工具安装方法
官方也提供了PyRosetta 4的安装方法,看着有点繁琐,这里提供一种比较合理的方法安装.
如果你该软件的基础知识,支持的平台,Rosetta和PyRosetta之间关系等有着迷茫的话,不妨先去 官方 FAQ ,磨刀不误砍柴工,真的是必备基础
2 前置条件
如果你和我一样,Windows11系统, Ubuntu安装过,那么推荐你使用下述方法
PyRosetta的安装可以通过:
- conda安装
- 源代码编译安装
两种方式都需要先在PyRosetta官网申请学术下载证书取得具有下载权限的用户名和密码。
3 Conda方式安装
2.1 conda安装
这里重点讲如何通过conda安装, 那么conda是什么? 暂且将其理解为包管理工具
官方考虑到没有root权限的用户的使用需求,给出了一条捷径,使用申请到的学术下载证书中的用户名和密码,可以建立一条特殊的conda channel,具体格式是: https://USERNAME:PASSWORD@conda.graylab.jhu.edu
假如证书中的用户名和密码分别是CDamogu和abcdefg
那么你的conda channel就是 https://CDamogu:abcdefg@conda.graylab.jhu.edu
但是具体什么时候用呢?后面会详细说明
- 安装conda
在Conda 官网 选择适合自己平台的版本右键复制下载链接并使用wget命令下载,运行安装包并根据提示安装,安装后还要激活才能使用,参考代码如下:


图片是拿windows距离,这里我们要装入Ubuntu,所以选择Linux的
wget https://repo.anaconda.com/miniconda/Miniconda3-py39_4.12.0-Linux-x86_64.sh

bash Miniconda3-latest-Linux-x86_64.sh

cd ~/miniconda3/bin

source ./activate
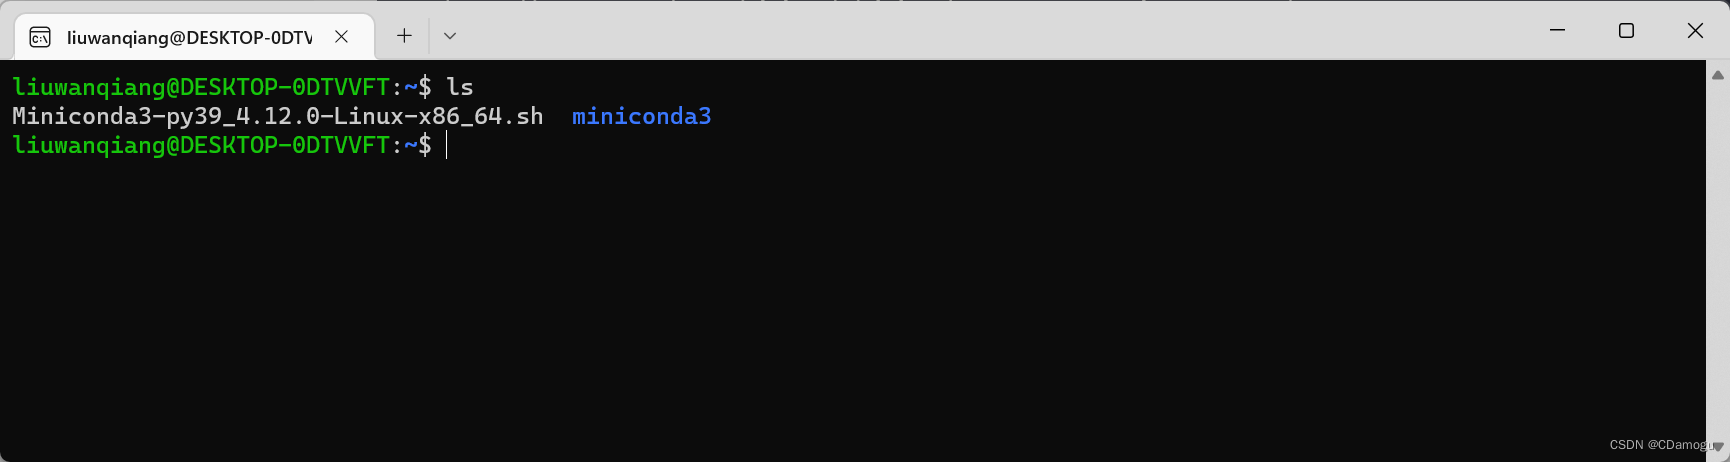
如果对linux稍微有点基础的,会比较好,如果没有的话建议先看看cd,ls,等指令,下图是我已经安装好的
1.2. 激活与退出:
激活之后会看到命令提示符前出现了(base),说明已经在conda的默认环境中, 之后每次登陆服务器想要进入和退出conda环境,在conda环境中安装应用可通过以下代码实现: (这种感觉有点像Python的Venv环境的进入与退出)
conda activate

conda deactivate

conda install XXX
1.3. 添加下载频道(镜像源):
conda的channel就是集成了各类应用的应用池,为conda用户提供搜索和下载,这里通过添加国内的镜像源提供稳定高速的conda使用,参考代码如下:
conda config --add channels https://mirrors.tuna.tsinghua.edu.cn/anaconda/pkgs/free/
conda config --add channels https://mirrors.tuna.tsinghua.edu.cn/anaconda/pkgs/main/
conda config --add channels https://mirrors.tuna.tsinghua.edu.cn/anaconda/cloud/conda-forge/
conda config --add channels https://mirrors.tuna.tsinghua.edu.cn/anaconda/cloud/bioconda/
1.4 将 https://USERNAME:PASSWORD@conda.graylab.jhu.edu 添加到.condarc的channel列表中,参考代码如下:

vim ~/.condarc

channels:
  - https://mirrors.tuna.tsinghua.edu.cn/anaconda/pkgs/free/
  - https://mirrors.tuna.tsinghua.edu.cn/anaconda/pkgs/main/
  - https://mirrors.tuna.tsinghua.edu.cn/anaconda/cloud/conda-forge/
  - https://mirrors.tuna.tsinghua.edu.cn/anaconda/cloud/bioconda/
  - https://CDamogu:abcdefg@conda.graylab.jhu.edu
2.2. conda下载
PyRosetta下载和位于 ./miniconda3/pkgs/
conda install pyrosetta

conda install pyrosetta=<version>
3 PyRosetta使用方法
3.1 脚本参考
Structure Based Prediction of Neoantigen Immunogenicity
脚本内容如下, 具体实现的东西还是参考上述文献,目前也处于摸索阶段
'''
peptide_MHC-modeling.py
PyRosetta4 script for predictive structural modeling of
nonameric peptide-MHC structures.

Easily adaptable to other peptide lengths.

Usage: python peptide_MHC-modeling.py template peptide n
where template is the starting structure in PDB format
peptide is the nonameric peptide to be modeled
and n is the number of decoys to generate.

It is assumed that the peptide is present in the template model as
a separate chain, designated chain C.

-- GLJ Keller and TP Riley
'''

from __future__ import print_function
import os
from sys import argv
from random import randint

from pyrosetta import * ; from pyrosetta.rosetta import *
init(extra_options = "-extrachi_cutoff 12 -ex1 -ex2 -ex3 -corrections::restore_talaris_behavior")

from pyrosetta.toolbox import mutate_residue
_, template, peptide, n = argv
template_model = pose_from_pdb(template)
scorefxn = create_score_function('talaris2014')
positionlist = range(template_model.pdb_info().pdb2pose('C',1),template_model.pdb_info().pdb2pose('C',9)+1)

output_dir = '_models_{0}'.format(peptide)
if not os.path.exists(output_dir): os.mkdir(output_dir)
os.chdir(output_dir)

jd = PyJobDistributor(peptide, int(n), scorefxn)
jd.native_pose = template_model
while not jd.job_complete:

    mutant = Pose() ; mutant.assign(template_model)

    for i, res in enumerate(peptide):
        mutate_residue(mutant, positionlist[i], res, 0.0, scorefxn)

    remodel_target = Pose() ; remodel_target.assign(mutant)

    peptide_ft = rosetta.protocols.loops.Loop(positionlist[1], positionlist[7], positionlist[randint(2, 6)])
    peptide_loops = rosetta.protocols.loops.Loops() ; peptide_loops.add_loop(peptide_ft)

    rosetta.protocols.loops.set_single_loop_fold_tree(remodel_target, peptide_ft)

    task_pack = rosetta.core.pack.task.TaskFactory.create_packer_task(remodel_target)
    task_pack.restrict_to_repacking() ; task_pack.or_include_current(True)
    pack = rosetta.protocols.minimization_packing.PackRotamersMover(scorefxn, task_pack)

    pack.apply(remodel_target)

    loops_refine_CCD = rosetta.protocols.loops.loop_mover.refine.LoopMover_Refine_CCD(peptide_loops, scorefxn)
    loops_refine_CCD.max_inner_cycles(10)
    loops_refine_CCD.apply(remodel_target)

    pack.apply(remodel_target)
    jd.output_decoy(remodel_target)
3.2 使用方式
下载脚本.py后,将其放入 ./miniconda3/pkgs/pyrosetta/lib/python/site-packages/ 路径下,启动conda环境通过python调用,在我这大概4分钟完成一个结构的建模,输出.pdb结构文件和一个包含物化信息的文本.
3.3 建议
- 具体路径名根据下载版本不同可能存在差异,请根据具体情况修改
- 面对大批量的建模任务时建议编写循环脚本配合OS模块实现自动化
Original: https://blog.csdn.net/qq_33704787/article/details/126088816
Author: CDamogu
Title: PyRosetta 安装方法之Conda安装
原创文章受到原创版权保护。转载请注明出处:https://www.johngo689.com/771629/
转载文章受原作者版权保护。转载请注明原作者出处!