

前面的学习咱们都是在Jupyter中进行,PyCharm的引入能提高我们编码的效率,且该IDE提供了一些高级功能,以用于支持Django框架下的专业Web开发。能帮助我们把后台离线运行的结果经过简单排版后输送到网页端。
1.Flask应用的基本框架
from  flask import Flask
#引入Flask这个web框架模块

@app.route("/")

def index():
    return "Hi,Flask!"

if "__main__"==__name__:
    app.run(port="5008")
#port为端口地址,可自定义
@app.route(”/”)是一种接收函数并返回一个新的函数的装饰器。
运行上述代码,在浏览器输入:”http://127.0.0.1:5008″
2.渲染页面
创建新的文件夹”templates”(不可更改命名),在其下创建网页xxx.html

一定要非常注意 py文件和html文件之间的层级关系!
新建之后,修改我们的py文件,使后台数据投射到前端。
from flask import Flask,render_template
@app.route('/')
def index():
    return render_template('index.html')
if "__main__"==__name__:
    app.run(port="5008")
3.视频分镜的应用
利用Hash均值提取视频分镜
py文件代码
from flask import Flask,render_template
import cv2
import os

app=Flask(__name__)

def aHash(img):
    img=cv2.resize(img,(8,8))
    gray = cv2.cvtColor(img, cv2.COLOR_BGR2GRAY)
    s = 0
    hash_str = ""
    for i in range(8):
        for j in range(8):
            s = s + gray[i, j]
    avg = s / 64
    for i in range(8):
        for j in range(8):
            if gray[i, j] > avg:
                hash_str=hash_str+"1"
            else:
                hash_str=hash_str+"0"
    return hash_str

def cmpHash(hash1,hash2):
    n=0
    if len(hash1)!=len(hash2):
        return -1
    for i in range(len(hash1)):
        if hash1[i]!=hash2[i]:
            n=n+1
    return n

def genFrame():
    v_path='static/stereotype3.mp4'
    image_save='static/shot'
    if not(os.path.exists(image_save)):
        os.mkdir(image_save)

    cap=cv2.VideoCapture(v_path)
    fc=cap.get(cv2.CAP_PROP_FRAME_COUNT)
#NEW!!!
    _,img1=cap.read()
    cv2.imwrite('static/shot/image{}.jpg'.format(0),img1)
    for i in range(int(fc)-1):
         _,img2=cap.read()
         hash1=aHash(img1)
         hash2=aHash(img2)
         n=cmpHash(hash1,hash2)
         if n>25:
              cv2.imwrite('static/shot/image{}.jpg'.format(i),img2)
         img1 = img2

@app.route('/')
def index():
    genFrame()

    path="static/shot"
    filename=os.listdir(path)
    filename.sort(key=lambda x: int(x[5:-4]))#能让最后显示的图片顺序体现先后顺序
    framecount=len(filename)

    return render_template('index.html',filename=filename,framecount=framecount)

if "__main__"==__name__:
    app.run(port="5008")
出现了更简洁的检索、提取方式,当均值hash越高时,代表前后两张图的区别度越大,于是我们提取后一张截图,也因为提取的是后一张截图,所以我们遍历的总数应该在原来的基础上减1
html文件代码:
<!DOCTYPE html>
<html lang="en">
<head>
<meta charset="UTF-8">
<title>Flask分镜</title>
</head>
<body>
视频分镜
<video width="640" height="480" controls autoplay>
<source src="static/stereotype3.mp4" type="video/mp4">
<object data="static/stereotype3.mp4" width="640" height="480">
<embed width="640" height="480" src="static/stereotype3.mp4">
</object>
</video>
帧数:{{framecount}}
{% for i in filename %}
<img height="40" src="static/pic/{{i}}">
{{filename[i]}}
{% endfor %}
</body>
</html>
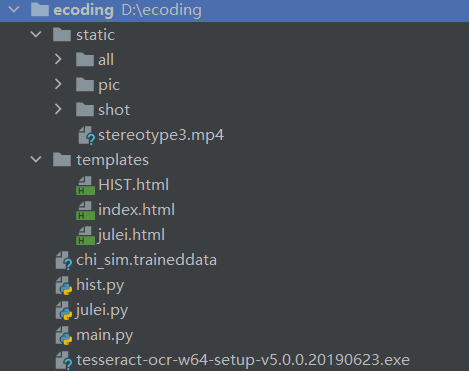
实现效果:
虽然没有学过html的格式书写,但在这块如果出些分镜头图片无法正常显示的问题,我们可以右键选择图片地址,进入地址查看位置,为我们的格式修改提供方向。
利用直方图提取视频分镜
py文件:
from flask import Flask,render_template
import cv2
import os

app=Flask(__name__)

通过得到RGB每个通道的直方图来计算相似度
def classify_hist_with_split(image1, image2, size=(256, 256)):
    image1 = cv2.resize(image1, size)
    image2 = cv2.resize(image2, size)

    sub_image1 = cv2.split(image1)
    sub_image2 = cv2.split(image2)
    sub_data = 0

    for im1, im2 in zip(sub_image1, sub_image2):
        sub_data += calculate(im1, im2)
    sub_data = sub_data / 3
    return sub_data

def calculate(image1, image2):
    hist1 = cv2.calcHist([image1], [0], None, [256], [0.0, 255.0])
    hist2 = cv2.calcHist([image2], [0], None, [256], [0.0, 255.0])
    degree = 0
    for i in range(len(hist1)):
        if hist1[i] != hist2[i]:
            degree = degree + (1 - abs(hist1[i] - hist2[i]) / max(hist1[i], hist2[i]))
        else:
            degree = degree + 1
    degree = degree / len(hist1)
    return degree

def genFrame():
    v_path='static/stereotype3.mp4'
    image_save='static/pic'
    if not(os.path.exists(image_save)):
        os.mkdir(image_save)

    cap=cv2.VideoCapture(v_path)
    fc=cap.get(cv2.CAP_PROP_FRAME_COUNT)

    _,img1=cap.read()
    cv2.imwrite('static/pic/image{}.jpg'.format(0),img1)
    for i in range(int(fc)-1):
         _,img2=cap.read()
         n=classify_hist_with_split(img1,img2)

         if (n<0.5): cv2.imwrite('static pic image{}.jpg'.format(i), img2) img1="img2" @app.route(' ') def hist(): genframe() path="static/pic" filename="os.listdir(path)" filename.sort(key="lambda" x: int(x[5:-4])) framecount="len(filename)" return render_template('index.html',filename="filename,framecount=framecount)" if "__main__"="=__name__:" app.run(port="5008" )< code></0.5):>
html文件:
<!DOCTYPE html>
<html lang="en">
<head>
<meta charset="UTF-8">
<title>Flask分镜</title>
</head>
<body>
视频分镜
<video width="640" height="480" controls autoplay>
<source src="static/stereotype3.mp4" type="video/mp4">
<object data="static/stereotype3.mp4" width="640" height="480">
<embed width="640" height="480" src="static/stereotype3.mp4">
</object>
</video>
帧数:{{framecount}}
{% for i in filename %}
<img height="40" src="static/pic/{{i}}">
{{filename[i]}}
{% endfor %}
</body>
</html>
直方图这块与Hash均值的处理差别不大,基本上是套用。
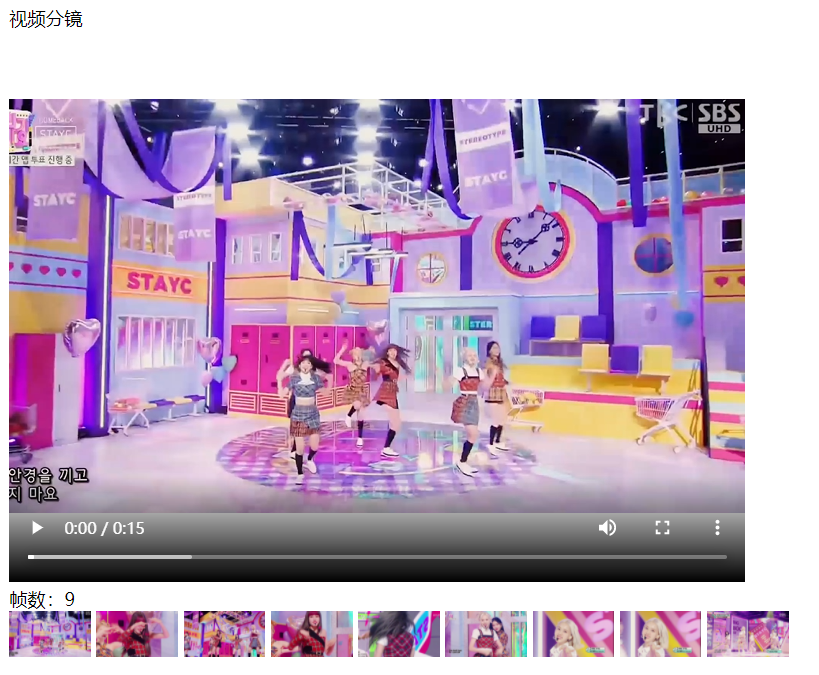
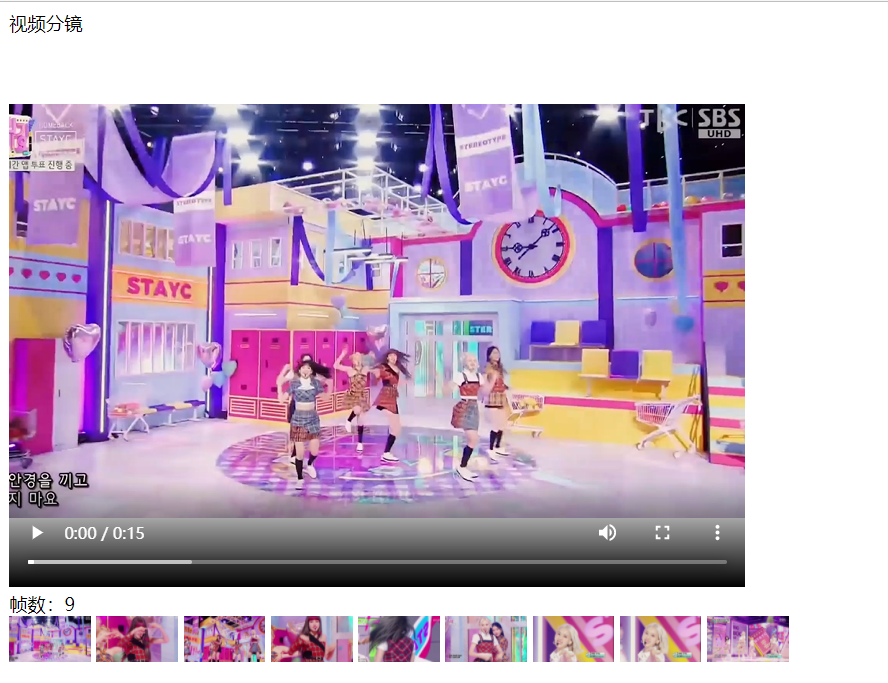
处理结果:
Original: https://blog.csdn.net/jema01/article/details/121278444
Author: jema01
Title: 均值Hash、直方图分镜在Flask框架下的应用
原创文章受到原创版权保护。转载请注明出处:https://www.johngo689.com/748182/
转载文章受原作者版权保护。转载请注明原作者出处!