

一、用户名+密码+jwt验证实现登录验证
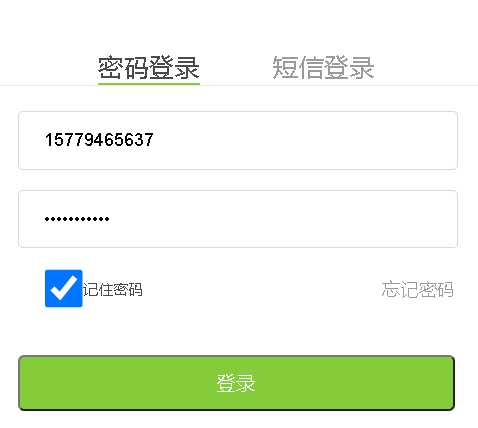
下面是VUE前端登录界面部分代码
                  记住密码

                忘记密码

              登录
              没有账号 立即注册
// 登录
methods: {
loginhander() {
if (this.username == '' || this.password == '') {
this.$message.error("用户名或密码不能为空")
return;
}
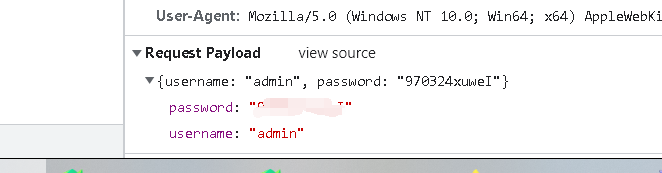
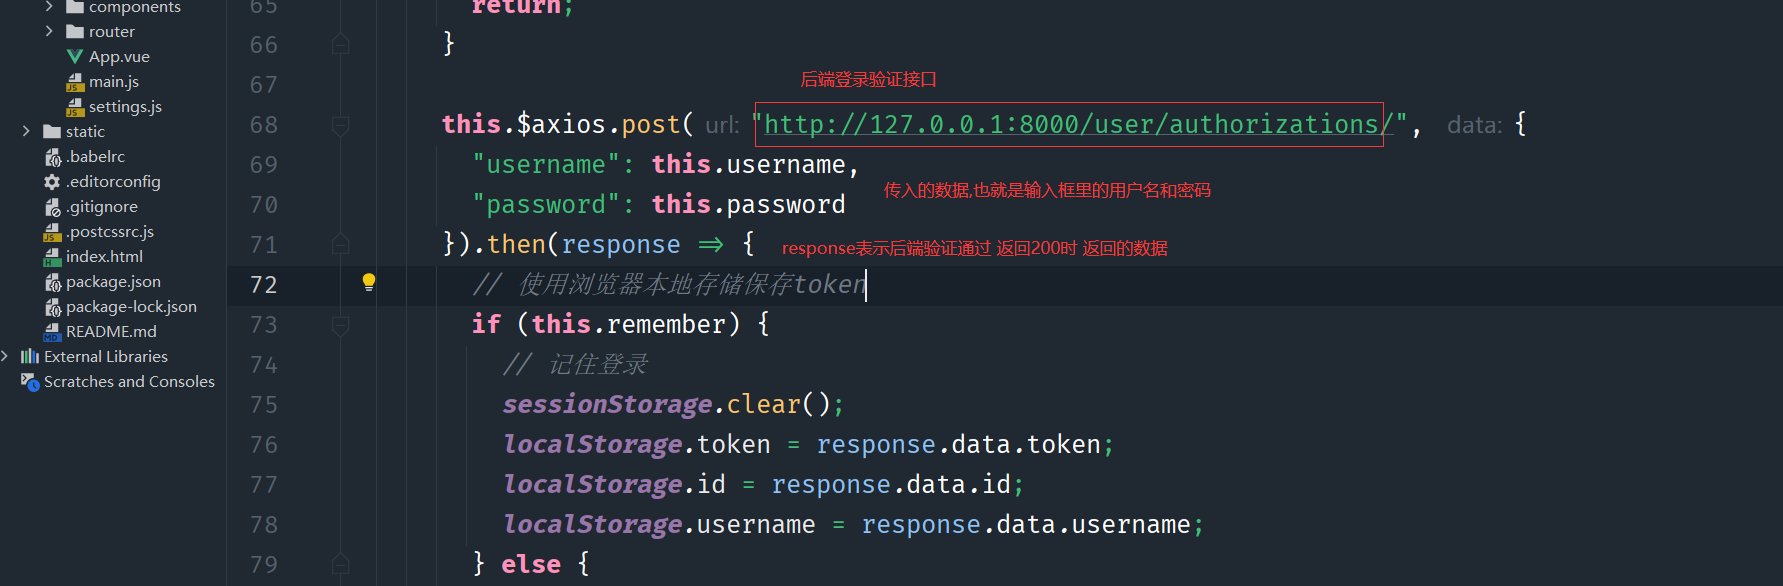
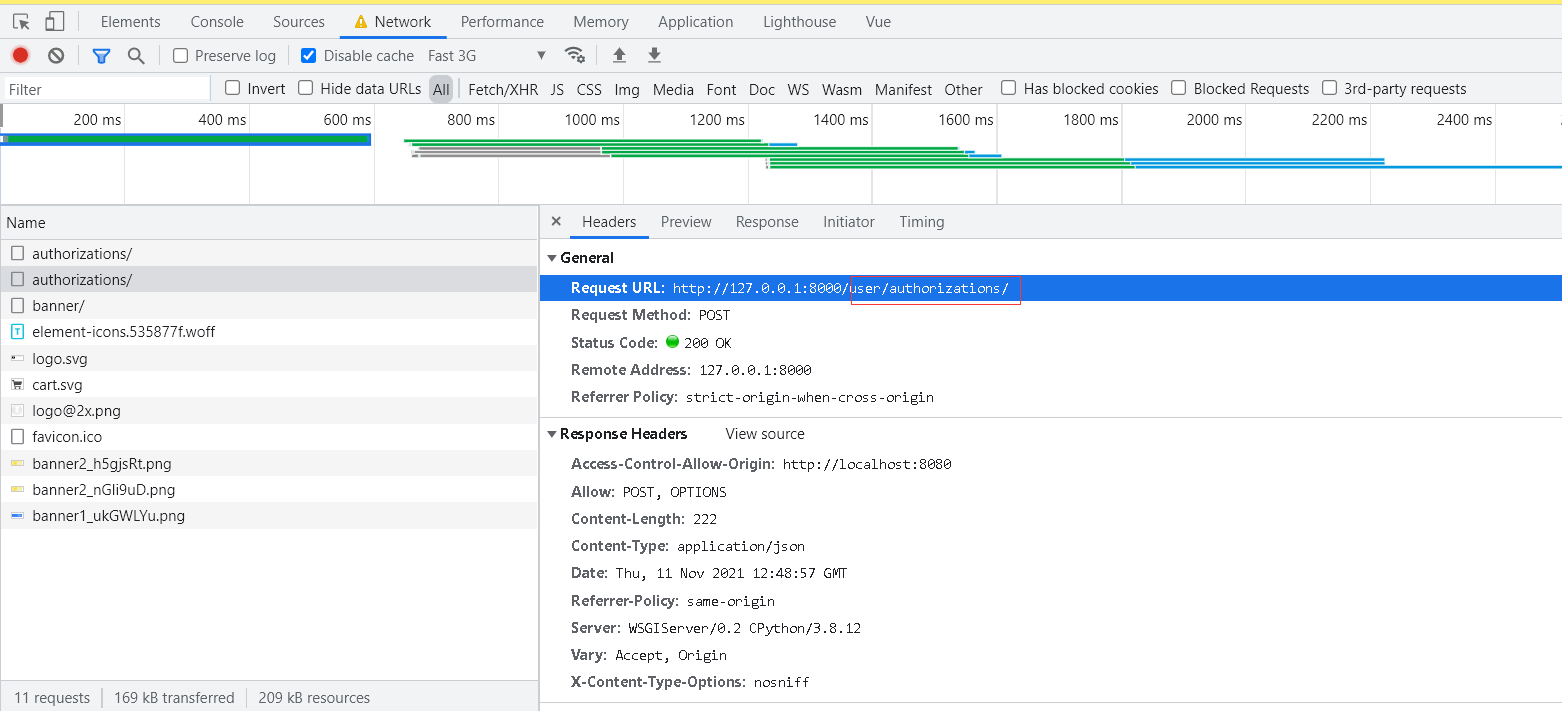
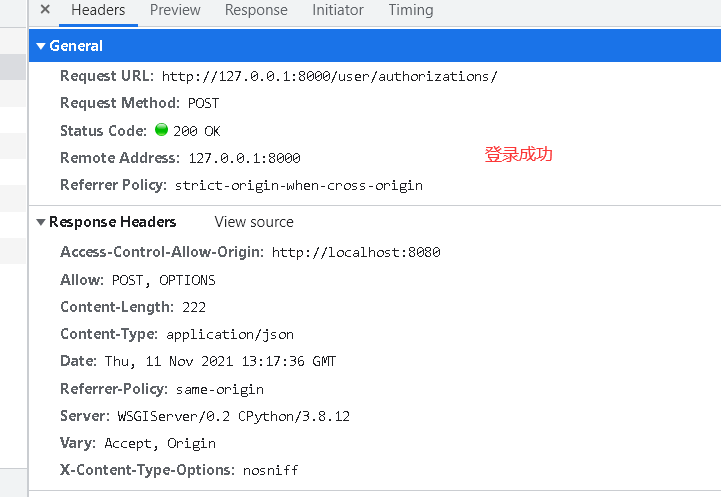
this.$axios.post("http://127.0.0.1:8000/user/authorizations/", {
"username": this.username,
"password": this.password
}).then(response => {
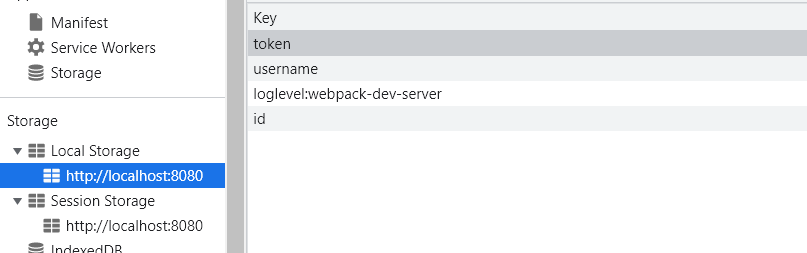
// 使用浏览器本地存储保存token
if (this.remember) {
// 记住登录
sessionStorage.clear();
localStorage.token = response.data.token;
localStorage.id = response.data.id;
localStorage.username = response.data.username;
} else {
// 未记住登录
localStorage.clear();
sessionStorage.token = response.data.token;
sessionStorage.id = response.data.id;
sessionStorage.username = response.data.username;
}
// 页面跳转回到上一个页面 也可以使用 this.$router.push("/") 回到首页
this.$router.go(-1)
}).catch(error => {
this.$message.error("登录失败")
})
},
}
DRF默认已经提供了认证系统Auth模块
注册一个子应用 python …/…/manage.py startapp user
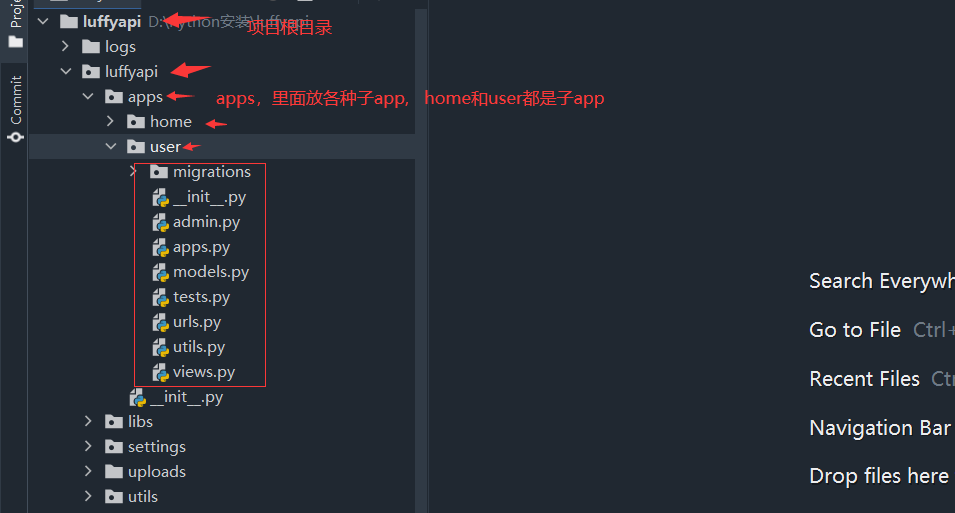


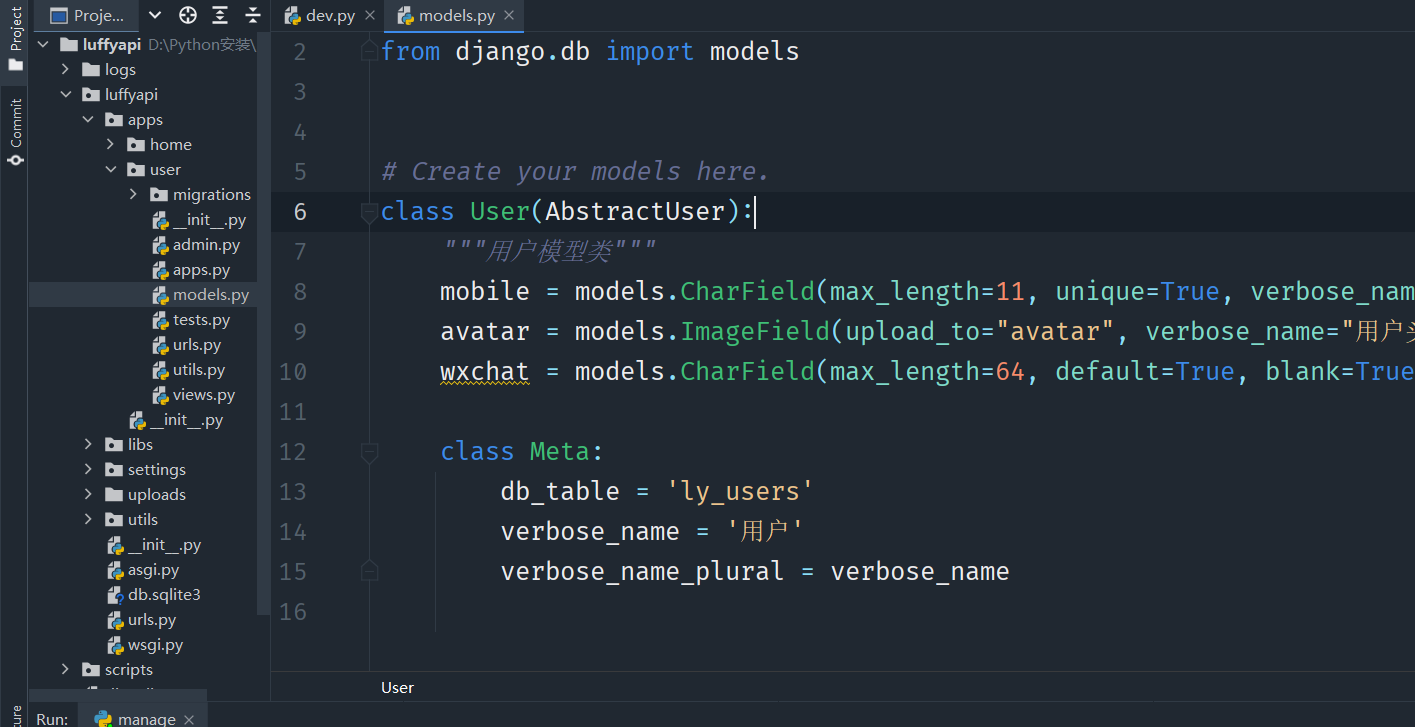
在创建好的子Appuser下models.py中定义用户的用户模型类。
我们自定义的用户模型类还不能直接被Django的认证系统所识别,需要在配置文件中告知Django认证系统使用我们自定义的模型类。
在配置文件中进行设置
python manage.py makemigrations
python manage.py migrate
接下来安装Django REST framework JWT
在用户注册或登录后,我们想记录用户的登录状态,或者为用户创建身份认证的凭证。我们不再使用Session认证机制,而使用Json Web Token认证机制。
安装 pip install djangorestframework-jwt
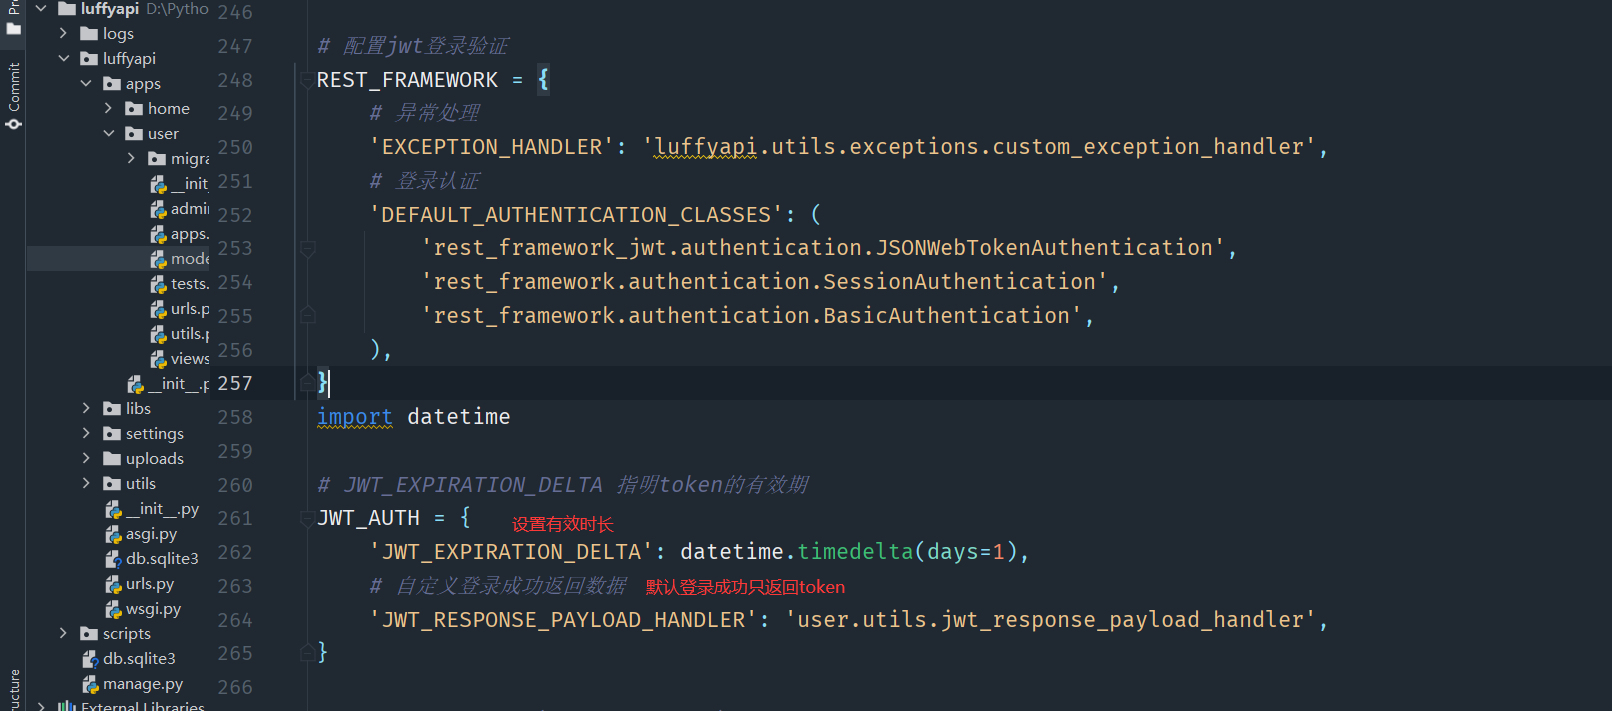
settings/dev.py,进行配置
也可以手动生成jwt,在用户注册或登录成功后,在序列化器中返回用户信息以后同时返回token即可。
from rest_framework_jwt.settings import api_settings

jwt_payload_handler = api_settings.JWT_PAYLOAD_HANDLER
jwt_encode_handler = api_settings.JWT_ENCODE_HANDLER

payload = jwt_payload_handler(user)
token = jwt_encode_handler(payload)
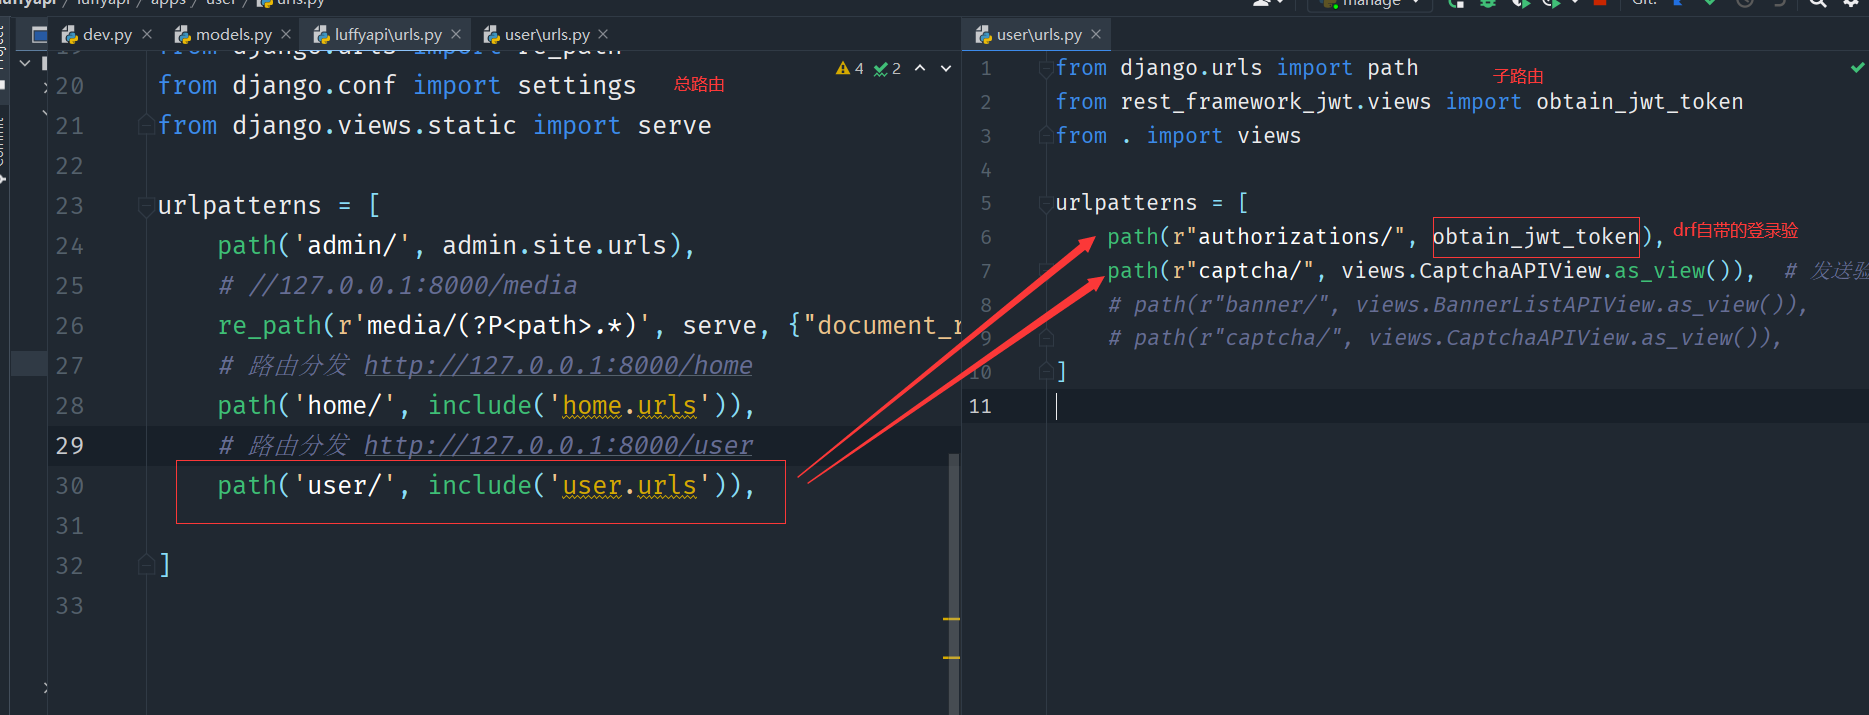
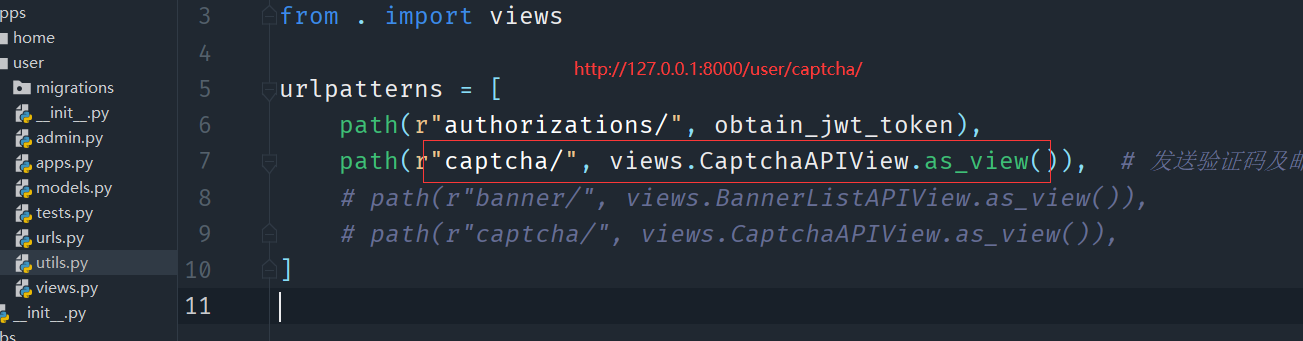
接下来准备路由
前端输入用户名和密码
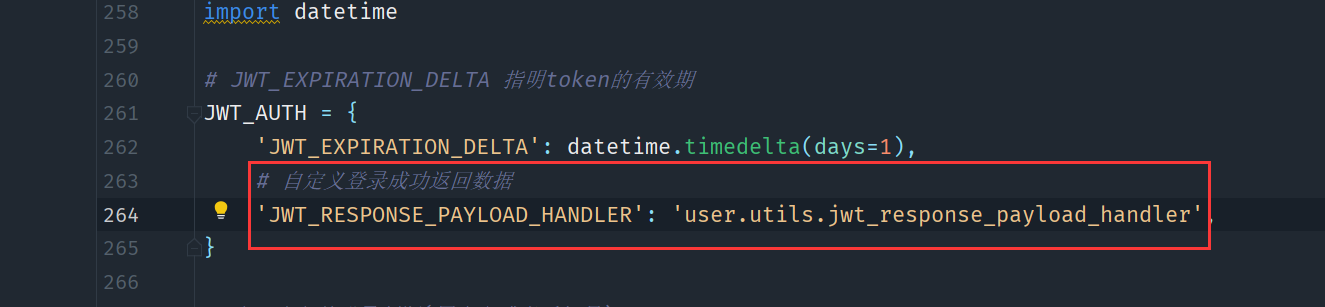
如果想要返回其他信息,则可以进行设置
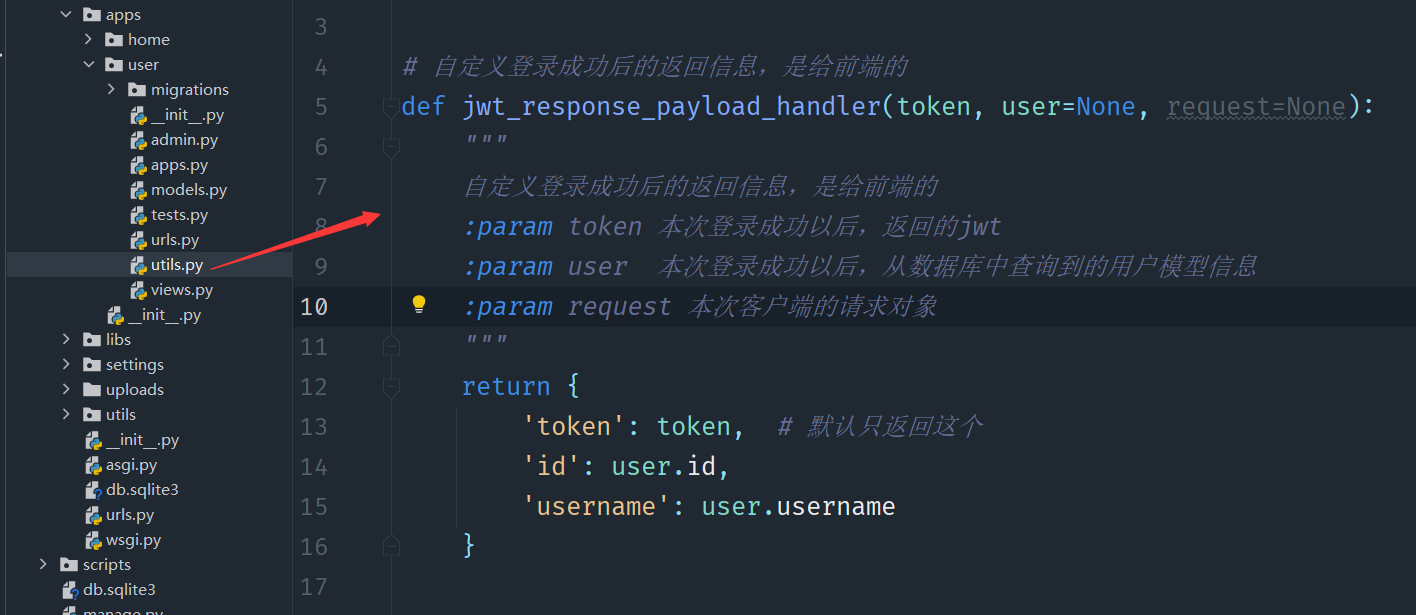
修改settings/dev.py配置文件
二、多条件登录(默认obtain_jwt_token只能用户名和密码登录),但是我们想实现邮箱+密码和手机号+密码登录
DRF的认证系统在收到用户名与密码时会调用authenticate()验证用户名和密码
authenticate(self, request, username=None, password=None, **kwargs)方法的参数说明:
- request 本次认证的请求对象
- username 本次认证提供的用户账号
- password 本次认证提供的密码
在users/utils.py中编写:
def get_user_by_account(account):
"""
    根据帐号获取user对象
    :param account: 账号,可以是用户名username,也可以是手机号mobile, 或者其他的数据
    :return: User对象 或者 None
"""
    try:
        user = User.objects.filter(Q(username=account) | Q(mobile=account) | Q(email=account)).first()
    except User.DoesNotExist:
        return None
    else:
        return user

from .models import User
from django.db.models import Q
from django.contrib.auth.backends import ModelBackend

class UsernameMobileAuthBackend(ModelBackend):
    def authenticate(self, request, username=None, password=None, **kwargs):

        user = get_user_by_account(username)

        if user is not None and user.check_password(password) and user.is_authenticated:
            return user
        else:
            return None
在配置文件settings/dev.py中告知DRF使用我们自定义的认证后端
AUTHENTICATION_BACKENDS = [
    'user.utils.UsernameMobileAuthBackend',
]
然后就可以实现了。
三、邮箱+验证码登录验证
1.前端发送验证码接口准备
          {{ text }}
          登录
          没有账号 立即注册
//发送验证码
sendsms() {
//邮箱不能为空
if (this.email == '') {
this.$message.error("邮箱不能为空")
return;
}
//校验邮箱格式是否正确
var regEmail = /^[A-Za-z0-9\u4e00-\u9fa5]+@[a-zA-Z0-9_-]+(\.[a-zA-Z0-9_-]+)+$/
if (!regEmail.test(this.email)) {
this.$message.error('邮箱格式不正确')
return;
}
//禁用发送按钮
this.disabled = true;
//开启倒计时
let count = 0;
let tag = setInterval(() => {
if (++count >= 60) {
clearInterval(tag);
this.disabled = false;
this.text = "发送验证码";
return;
}
this.text = ${60 - count}秒后获取;
}, 1000);
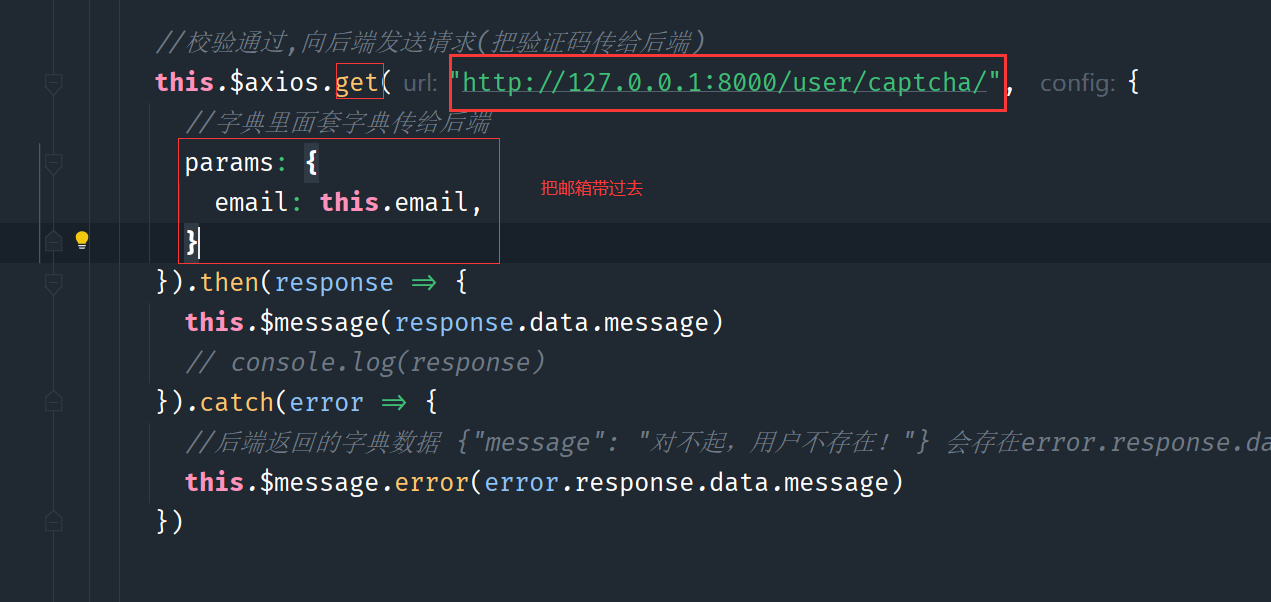
//校验通过,向后端发送请求(把验证码传给后端)
this.$axios.get("http://127.0.0.1:8000/user/captcha/", {
//字典里面套字典传给后端
params: {
email: this.email,
}
}).then(response => {
this.$message(response.data.message)
// console.log(response)
}).catch(error => {
//后端返回的字典数据 {"message": "对不起,用户不存在!"} 会存在error.response.data中
this.$message.error(error.response.data.message)
})
},
当邮箱格式都正确时,进行发送请求
后端封装好接口,进行数据接收和校验:
params: {
email: this.email,
}
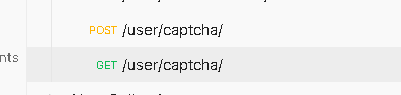
class CaptchaAPIView(APIView):
def get(self, request):
"""获取验证码"""
email = request.query_params.get("email")
user = get_user_by_account(email)
if user is None:
return Response({"message": "对不起,用户不存在!"}, status=http_status.HTTP_400_BAD_REQUEST)
code = random.randrange(1000, 9999)
print("验证码:", code)
message = "您好!您的注册验证码是{},1分钟内有效,请勿泄露,谨防被骗。".format(code)
smtp_tran(message, email)
conn = get_redis_connection('default')
conn.set(email, code, ex=60)
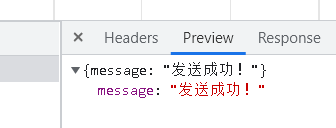
return Response({"message": "发送成功!"}, status=http_status.HTTP_200_OK)
def post(self, request):
"""验证码的验证方法"""
user = request.data
myuser = get_user_by_account(user['email'])
if myuser is None:
return Response({"message": "用户邮箱不存在!"}, status=http_status.HTTP_400_BAD_REQUEST)
conn = get_redis_connection()
redis_code = conn.get(myuser.email)
if not redis_code:
return Response({"message": "验证码失效,请重新发送!"}, status=http_status.HTTP_400_BAD_REQUEST)
redis_str_code = redis_code.decode('utf-8')
if user['code'].strip() != redis_str_code:
return Response({"message": "验证码错误!"}, status=http_status.HTTP_400_BAD_REQUEST)
payload = jwt_payload_handler(myuser)
token = jwt_encode_handler(payload)
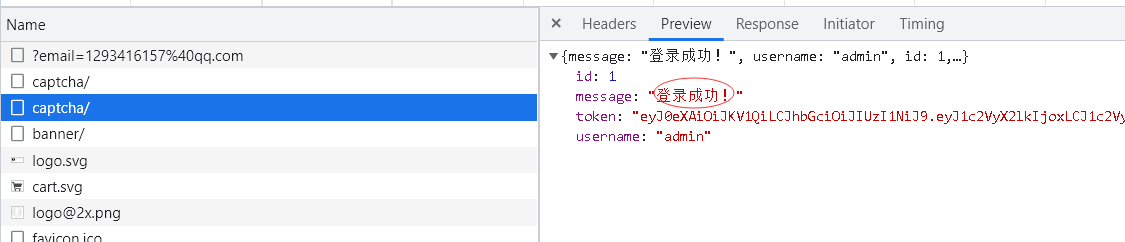
return Response({"message": "登录成功!", "username": myuser.username, "id": myuser.id, "token": token},
status=http_status.HTTP_200_OK)
smtp_tran(message, email)函数是发送验证码函数,可以单独建一个py文件:
import smtplib

from email.mime.text import MIMEText

def smtp_tran(message, email):
    msg = MIMEText(message, 'html', 'utf-8')
    HOST = 'smtp.qq.com'
    SUBJECT = '邮箱验证码'
    FROM = '发送的邮件@qq.com'
    TO = email
    msg['Subject'] = SUBJECT
    msg['From'] = FROM
    msg['To'] = TO

    server = smtplib.SMTP_SSL(HOST, 465)
    server.login(FROM, '你的授权码')
    server.sendmail(FROM, [TO], msg.as_string())
    server.quit()
然后测试一下:前端输入框输入qq邮箱进行发送:
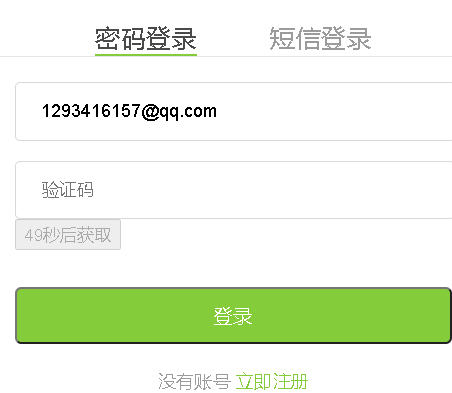
然后进行邮箱登录:http://127.0.0.1:8000/user/captcha/ 接口地址
smsloginhander() {
//不能为空
if (this.email == '' || this.code == '') {
this.$message.error("邮箱或者验证码不能为空")
return;
}
//校验邮箱格式是否正确
var regEmail = /^[A-Za-z0-9\u4e00-\u9fa5]+@[a-zA-Z0-9_-]+(\.[a-zA-Z0-9_-]+)+$/
if (!regEmail.test(this.email)) {
this.$message({
message: '邮箱格式不正确',
type: 'error'
})
return;
}
//校验通过,向后端发送请求
this.$axios.post("http://127.0.0.1:8000/user/captcha/", {
"email": this.email,
"code": this.code
}).then(response => {
// 验证码通过以后,才发送账号和密码进行登录(当邮箱和验证码都成功后,然后再次调用jwt登录验证)
//后端传过来的数据{"message": "登录成功!", "username": myuser.username, "id": myuser.id, "token": token}
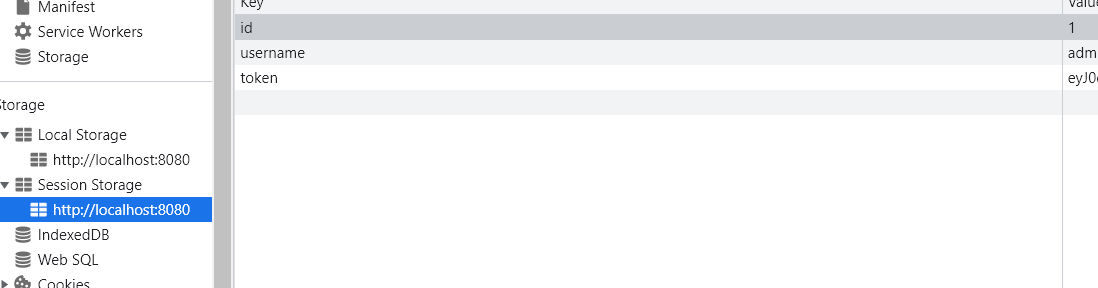
localStorage.clear();
sessionStorage.clear();
sessionStorage.token = response.data.token;
sessionStorage.id = response.data.id;
sessionStorage.username = response.data.username;
// this.$message(response.data.message)
this.$router.push("/")
}).catch(error => {
// console.log("error.response=", error.response)
this.$message.error(error.response.data.message)
})
后端接收数据进行校验:
    def post(self, request):
        """验证码的验证方法"""

        user = request.data

        myuser = get_user_by_account(user['email'])
        if myuser is None:

            return Response({"message": "用户邮箱不存在!"}, status=http_status.HTTP_400_BAD_REQUEST)

        conn = get_redis_connection()
        redis_code = conn.get(myuser.email)

        if not redis_code:
            return Response({"message": "验证码失效,请重新发送!"}, status=http_status.HTTP_400_BAD_REQUEST)
        redis_str_code = redis_code.decode('utf-8')

        if user['code'].strip() != redis_str_code:
            return Response({"message": "验证码错误!"}, status=http_status.HTTP_400_BAD_REQUEST)

        payload = jwt_payload_handler(myuser)
        token = jwt_encode_handler(payload)

        return Response({"message": "登录成功!", "username": myuser.username, "id": myuser.id, "token": token},
                        status=http_status.HTTP_200_OK)
手动生成jwt
Django REST framework JWT 扩展的说明文档中提供了手动签发JWT的方法
from rest_framework_jwt.settings import api_settings

jwt_payload_handler = api_settings.JWT_PAYLOAD_HANDLER
jwt_encode_handler = api_settings.JWT_ENCODE_HANDLER

payload = jwt_payload_handler(user)
token = jwt_encode_handler(payload)

ok啦
Original: https://blog.csdn.net/xmt970324/article/details/121275425
Author: 猿民
Title: DRF+VUE实现密码与验证码登录
原创文章受到原创版权保护。转载请注明出处:https://www.johngo689.com/735669/
转载文章受原作者版权保护。转载请注明原作者出处!