

操作系统:windows10
IDE:Pycharm
python版本:anaconda Pyhon3.7
pytorch版本:torch 1.7.1
cuda版本:11.0
cudnn版本:8.2.1
首先安装对应的cuda和cudnn依赖库:
1.给conda添加如下镜像,并在安装时显示来源:
conda config --add channels https://mirrors.tuna.tsinghua.edu.cn/anaconda/pkgs/free/
conda config --add channels https://mirrors.tuna.tsinghua.edu.cn/anaconda/pkgs/main/
conda config --set show_channel_urls yes
2.安装cuda11.0:
可以参照https://blog.csdn.net/qq_37163925/article/details/106222654博文进行安装。
3.安装cudatoolkit(这里利用conda工具安装):
conda install cudatoolkit=11.0
4.安装cudnn8.2.1(conda自动给我安装了8.2.1版本的cudnn):
conda install --channel https://conda.anaconda.org/nvidia cudnn
接下来,即可安装torch 1.7.1和torchvision0.8.2:
1.使用pip命令安装:
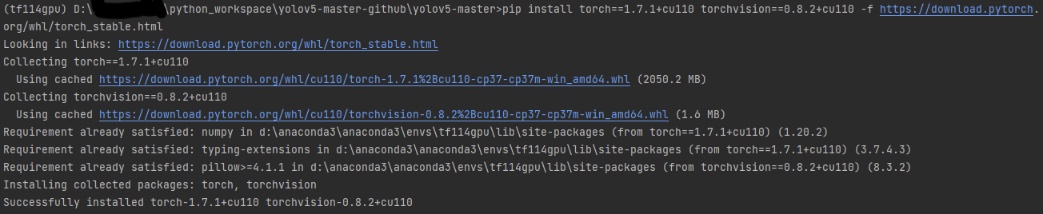
pip install torch==1.7.1+cu110 torchvision==0.8.2+cu110 -f https://download.pytorch.org/whl/torch_stable.html
安装完成分别显示如下:
cuda11.0:


cudnn8.2.1:

torch 1.7.1与torchvision0.8.2:
Original: https://blog.csdn.net/weixin_44481086/article/details/120737882
Author: 雨叒
Title: 利用Anaconda3安装torch 1.7.1和torchvision0.8.2(简洁版)
原创文章受到原创版权保护。转载请注明出处:https://www.johngo689.com/710492/
转载文章受原作者版权保护。转载请注明原作者出处!