

使用pytorch构建神经网络系列
第四章 使用pytorch实现CNN
目录
1.卷积层
input channel = 1
Number of kernel = 3
kernel_size=3* 3
stride=1
padding=0
layer = nn.Conv2d(1,3,kernel_size=3, stride=1, padding=0)
x = torch.rand(1,1,28,28)
out = layer.forward(x)
out.shape
torch.Size([1, 3, 26, 26])
padding = 1
layer = nn.Conv2d(1,3,kernel_size=3, stride=1, padding=1)
x = torch.rand(1,1,28,28)
out = layer.forward(x)
out.shape
torch.Size([1, 3, 28, 28])
stride=2, padding=1
layer = nn.Conv2d(1,3,kernel_size=3, stride=2, padding=1)
x = torch.rand(1,1,28,28)
out = layer(x)
out.shape
torch.Size([1, 3, 14, 14])
Inner weight & bias
layer.weight
Parameter containing:
tensor([[[[ 0.2707, -0.0963,  0.1320],
          [-0.3079,  0.2748, -0.2578],
          [-0.2599, -0.2093,  0.1575]]],

        [[[-0.1442, -0.1604, -0.0696],
          [-0.1756, -0.2574, -0.0920],
          [-0.0144,  0.2705,  0.1098]]],

        [[[-0.2493, -0.1132,  0.3068],
          [-0.0886, -0.1119,  0.2752],
          [ 0.0672, -0.2881, -0.1102]]]], requires_grad=True)
layer.weight.shape, layer.bias.shape
(torch.Size([3, 1, 3, 3]), torch.Size([3]))
2.Pooling
reduce size


Max pooling

y = out
layer = nn.MaxPool2d(2,stride=2)
out = layer(y)
y.shape,out.shape
(torch.Size([1, 3, 14, 14]), torch.Size([1, 3, 7, 7]))
upsampling
放大采样:
x = out
out = F.interpolate(x, scale_factor=2, mode='nearest')
out.shape
torch.Size([1, 3, 14, 14])
3.ReLU

inplace= True 节省内存空间
layer = nn.ReLU(inplace= True)
4.batch norm
利于我们搜索最优解
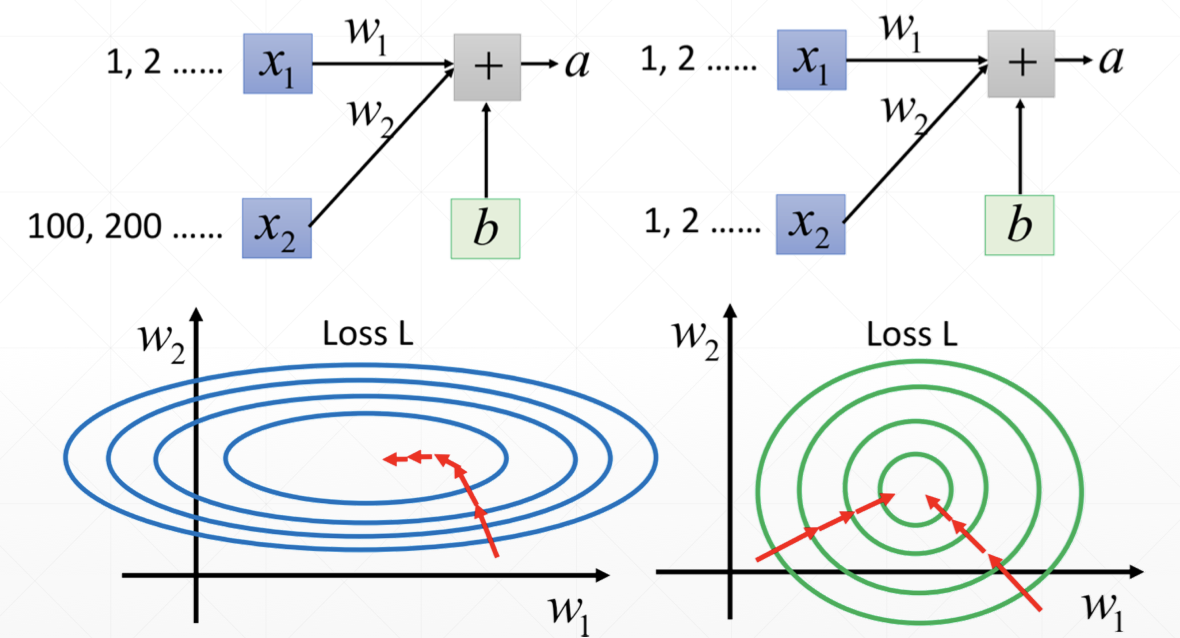
Feature scaling
image Normalization:
RGB三通道数据分别减去均值除以标准差:

Normalization:

Batch Normalization
belta 和 gama 需要记录信息进行梯度更新,均值方差不需要

x = torch.rand(100,16,784)
layer = nn.BatchNorm1d(16)
out = layer(x)
layer.running_mean, layer.running_var
(tensor([0.0500, 0.0502, 0.0500, 0.0499, 0.0501, 0.0501, 0.0500, 0.0499, 0.0501,
         0.0498, 0.0500, 0.0497, 0.0502, 0.0501, 0.0500, 0.0499]),
 tensor([0.9083, 0.9083, 0.9083, 0.9084, 0.9084, 0.9083, 0.9083, 0.9083, 0.9083,
         0.9084, 0.9083, 0.9083, 0.9084, 0.9083, 0.9084, 0.9083]))
Pipeline:

‘affine’设置为True表示需要梯度更新belta 和 gama
只在training的时候更新belta 和 gama,在test的时候要切换到evaluation:
layer.eval()
Advantages
Converge faster
Better performance
Robust
5.ResNet


; 6.nn.modules
直接调用一些基本的类
nn.Linear
nn.BatchNorm2d
nn.Conv2d

Every Layer is nn.Module
Container
net(x)

parameters
查看参数:

modules
modules: all nodes
children: direct children
嵌套

to(device)

save and load

train/test

implement own layer
可以在Sequential 中直接调用:

own linear layer
是创建自己的网络层

7.数据增强
Flip,Rotate,Random Move & Crop,GAN
torchvision包:
transforms.Compose
Flip

Rotate

缩放:
transforms.Resize
裁剪:
transforms.RandomCrop
增加noise
!Data argumentation will help But not too much
参考:网易云课程
Original: https://blog.csdn.net/weixin_47018261/article/details/113174899
Author: 哈哈小火锅
Title: 使用pytorch实现CNN
原创文章受到原创版权保护。转载请注明出处:https://www.johngo689.com/690996/
转载文章受原作者版权保护。转载请注明原作者出处!