

文章目录
- 前言
- 一、新建Qt项目[ProjCV]
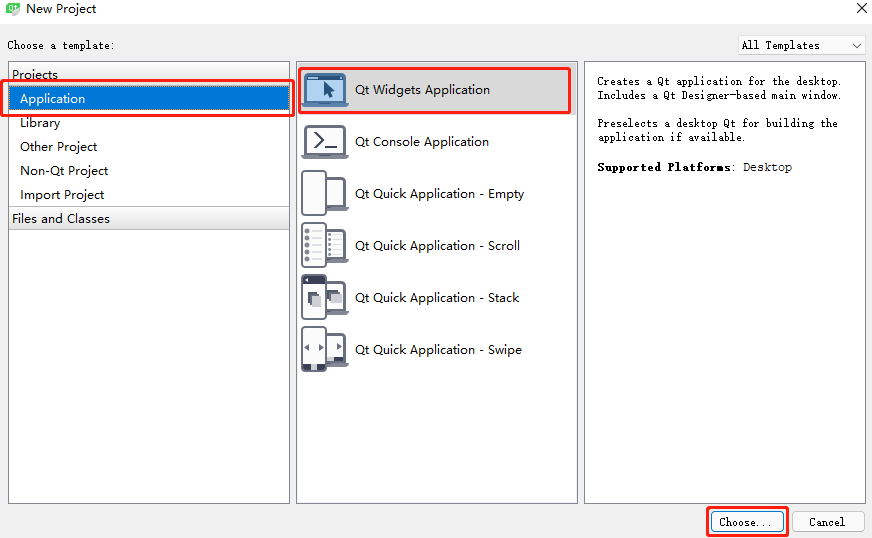
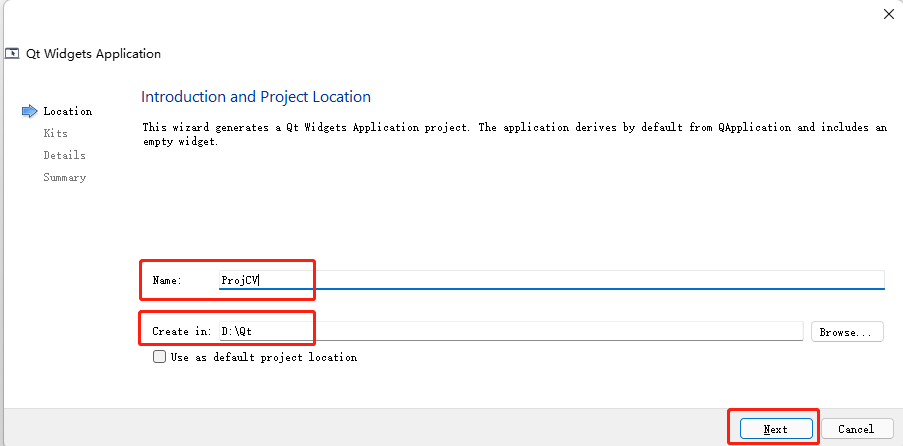
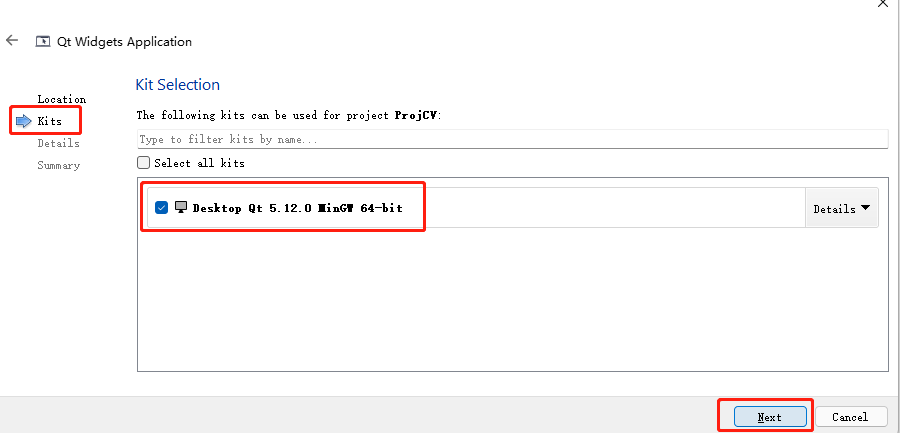
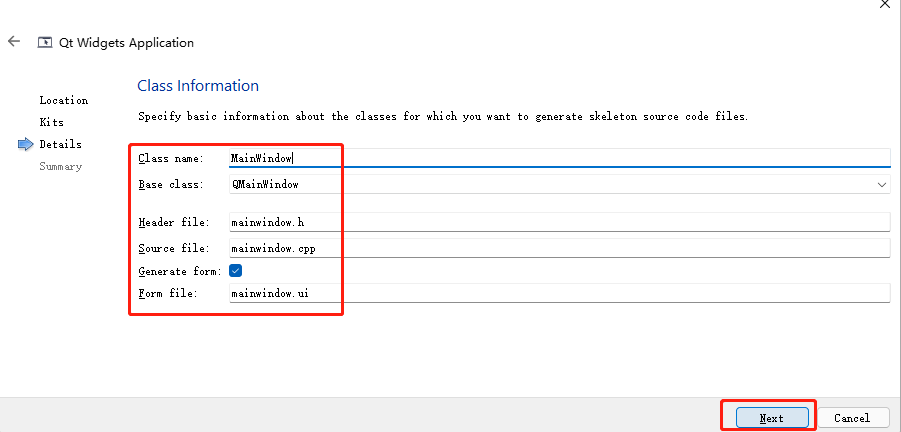
* - 1. Qt–如下7图所示建立新项目,命名:ProjCV,Detials页面内容采用默认,可以自己规划命名。
- 2. OpenCV–在.pro和.h文件中添加配置
- 二、UI设计
- 三、mainwindow.h文件
- 四、mainwindow.cpp文件
- 五、运行展示
- 总结
前言
越来越多的开发人员选择基于开源的Qt框架与OpenCV来实现界面和算法,其原因不单单是无版权问题,更多是两个社区的发展蓬勃,可用来学习的资料与例程特别丰富。以下是关于利用Qt控件GraphicsView显示OpenCV读入的图像,并另存。
软件版本:Qt-5.12.0/OpenCV-4.5.3
平台:Windows10/11–64
一、新建Qt项目[ProjCV]
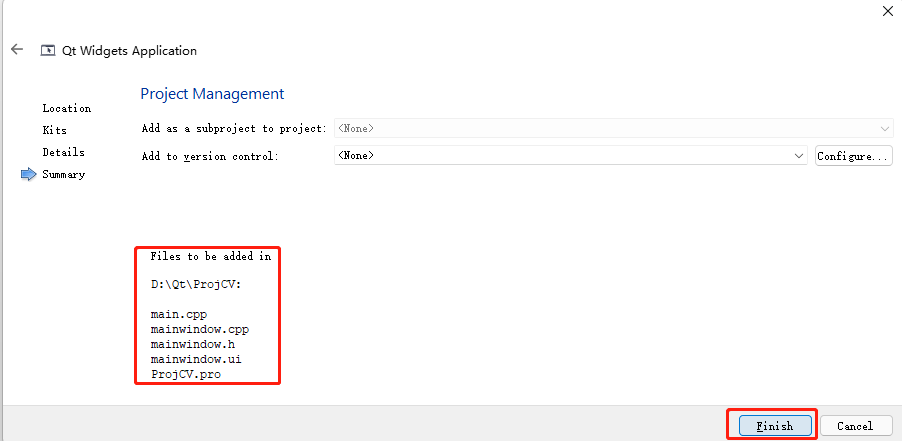
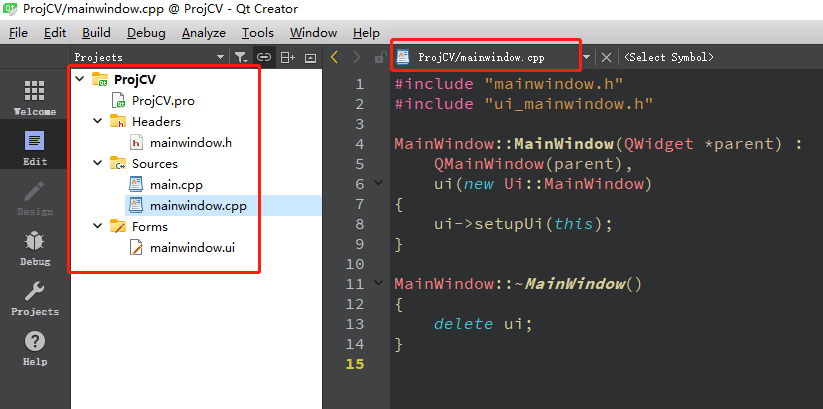
1. Qt–如下7图所示建立新项目,命名:ProjCV,Detials页面内容采用默认,可以自己规划命名。


; 2. OpenCV–在.pro和.h文件中添加配置
(1)ProjCV.pro文件添加如下代码:
INCLUDEPATH += C:/opencv-4.5.3/build/install/include
LIBS += C:/opencv-4.5.3/build/install/x64/mingw/lib/libopencv_world*.a

(2)mainwindow.h文件添加头包含:
#include "opencv2/opencv.hpp"

二、UI设计
制作如下Form:
    menuBar添加:
        1.  Open,添加 triggered() 槽;
        2. Save,添加 triggered() 槽;
    centralWidget添加:GraphicsView控件;


三、mainwindow.h文件
头文件包含增加:
#include <qgraphicsscene>
#include <qgraphicspixmapitem>
#include <qfiledialog>
槽函数:
void on_actionOpen_triggered()
void on_action_Save_triggered();
对象增加:
scene;
srcPixmap;
srcImage;
srcMat;
</qfiledialog></qgraphicspixmapitem></qgraphicsscene>
#ifndef MAINWINDOW_H
#define MAINWINDOW_H

#include
#include "opencv2/opencv.hpp"
#include
#include
#include

namespace Ui {
class MainWindow;
}

class MainWindow : public QMainWindow
{
    Q_OBJECT

public:
    explicit MainWindow(QWidget *parent = nullptr);
    ~MainWindow();

private slots:

    void on_actionOpen_triggered();

    void on_action_Save_triggered();

private:
    Ui::MainWindow *ui;

    QGraphicsScene* scene;
    QGraphicsPixmapItem* srcPixmap;
    QImage* srcImage;

    cv::Mat* srcMat;
};

#endif
四、mainwindow.cpp文件
以下代码实现:
    1、初始化scene, srcPixmap, srcImage, srcMat对象;
    2、将对象元素添加到场景中;
    3、将场景对象添加到视图中进行显示
#include "mainwindow.h"
#include "ui_mainwindow.h"

#include

MainWindow::MainWindow(QWidget *parent) :
    QMainWindow(parent),
    ui(new Ui::MainWindow)
{
    ui->setupUi(this);

    scene = new QGraphicsScene();
    srcPixmap = new QGraphicsPixmapItem();
    srcImage = new QImage();
    srcMat = new cv::Mat();

    scene->addItem(srcPixmap);

    ui->graphicsView->setScene(scene);

    ui->graphicsView->setViewportUpdateMode(QGraphicsView::FullViewportUpdate);

}

MainWindow::~MainWindow()
{
    delete ui;
}

void MainWindow::on_actionOpen_triggered()
{

    QString fileName = QFileDialog::getOpenFileName(this,
                                                    "Open Image",
                                                    QDir::currentPath(),
                                                    "Image (*.jpg *.png *.bmp)");

    if (!fileName.isEmpty())
    {
        *srcMat = cv::imread(fileName.toStdString());
    }
    else
    {
        ui->statusBar->showMessage("Please make sure the file exist.", 0);
        return;
    }

    if (!srcMat->empty())
    {
        QImage* tmpImage = new QImage(srcMat->data, srcMat->cols, srcMat->rows,
                          static_cast<int>(srcMat->step),
                          QImage::Format_RGB888);
        srcPixmap->setPixmap(QPixmap::fromImage(
                              tmpImage->rgbSwapped()));

        ui->statusBar->showMessage("Open Successful", 0);
        delete tmpImage;
    }
    else
    {
        ui->statusBar->showMessage("The image is empty!", 0);
    }
}

void MainWindow::on_action_Save_triggered()
{
    QString fileName = QFileDialog::getSaveFileName(this,
                                                    "Save Image",
                                                    QDir::currentPath(),
                                                    "Image (*.jpg *.png *.bmp)");
    if (!fileName.isEmpty())
    {

        cv::imwrite(fileName.toStdString(), *srcMat);
        ui->statusBar->showMessage("Save Successful", 0);
    }
    else
    {
        ui->statusBar->showMessage("Please make sure the file exist.", 0);
        return;
    }

}
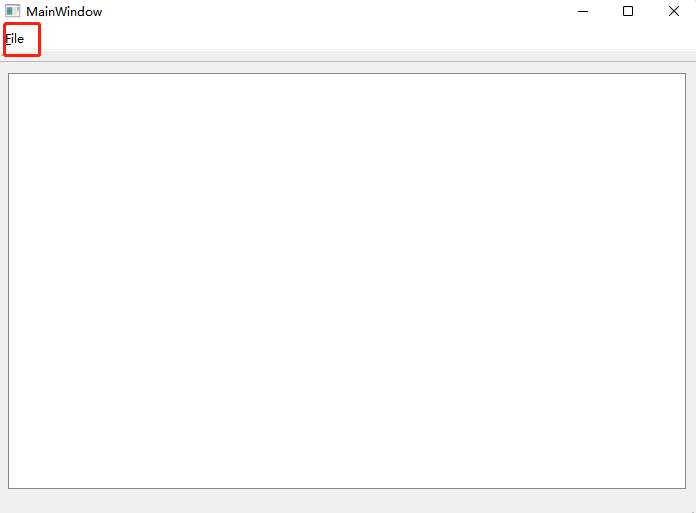
五、运行展示
点击File可选择打开或者另存图片;

总结
以上是关于利用Qt控件GraphicsView显示OpenCV读入的图像,简明扼要的进行了总结,需要进一步理解Qt中视图–>场景–>对象元素的关系。其中疑问或错误,欢迎联系交流,微信:electrical_program
Original: https://blog.csdn.net/richard_yuu/article/details/124140746
Author: richard_yuu
Title: 【Qt&OpenCV QGraphicsView显示OpenCV读入的图片】
原创文章受到原创版权保护。转载请注明出处:https://www.johngo689.com/641178/
转载文章受原作者版权保护。转载请注明原作者出处!