

SpringSecurity
快速入门
1、导入依赖
    org.springframework.boot
    spring-boot-starter-security
2、测试三种权限
2.7以前的版本
package com.mhy.security.config;

import org.springframework.security.config.annotation.authentication.builders.AuthenticationManagerBuilder;
import org.springframework.security.config.annotation.web.builders.HttpSecurity;
import org.springframework.security.config.annotation.web.configuration.EnableWebSecurity;
import org.springframework.security.config.annotation.web.configuration.WebSecurityConfigurerAdapter;
import org.springframework.security.crypto.bcrypt.BCryptPasswordEncoder;

@EnableWebSecurity
public class OldSecurityConfig extends WebSecurityConfigurerAdapter {

    @Override
    protected void configure(HttpSecurity http) throws Exception {
        //请求的规则
        http.authorizeHttpRequests()
                .antMatchers("/").permitAll()
                .antMatchers("/level1/**").hasRole("vip1")
                .antMatchers("/level2/**").hasRole("vip2")
                .antMatchers("/level3/**").hasRole("vip3");

        // 没有权限跳到login页
        http.formLogin();
    }

    @Override
    protected void configure(AuthenticationManagerBuilder auth) throws Exception {
        auth.inMemoryAuthentication().passwordEncoder(new BCryptPasswordEncoder())
                .withUser("shuisanya").password(new BCryptPasswordEncoder().encode("123456")).roles("vip2","vip3")
                .and()
                .withUser("root").password(new BCryptPasswordEncoder().encode("123456")).roles("vip1")
                .and()
                .withUser("haha").password(new BCryptPasswordEncoder().encode("123456")).roles("vip1","vip2","vip3");

    }
}
2.7以后的版本
package com.mhy.security.config;

import org.springframework.context.annotation.Bean;
import org.springframework.context.annotation.Configuration;
import org.springframework.security.config.annotation.web.builders.HttpSecurity;
import org.springframework.security.config.annotation.web.configuration.EnableWebSecurity;
import org.springframework.security.core.userdetails.User;
import org.springframework.security.core.userdetails.UserDetails;
import org.springframework.security.core.userdetails.UserDetailsService;

import org.springframework.security.crypto.bcrypt.BCryptPasswordEncoder;
import org.springframework.security.provisioning.InMemoryUserDetailsManager;
import org.springframework.security.web.SecurityFilterChain;

@EnableWebSecurity
@Configuration
public class NewSecurityConfig {
    @Bean
    public SecurityFilterChain securityFilterChain(HttpSecurity http) throws Exception {
        // @formatter:off
//        http
//                .authorizeHttpRequests()
//                .antMatchers("/").permitAll()
//                .antMatchers("/level1/**").hasRole("vip1")
//                .antMatchers("/level2/**").hasRole("vip2")
//                .antMatchers("/level3/**").hasRole("vip3");

        http.authorizeHttpRequests((authorize) -> {
            authorize.antMatchers("/").permitAll()
                    .antMatchers("/level1/**").hasRole("vip1")
                    .antMatchers("/level2/**").hasRole("vip2")
                    .antMatchers("/level3/**").hasRole("vip3");
        });

        http.formLogin();
        // @formatter:on
        return http.build();
    }

    @Bean
    public UserDetailsService userDetailsService() {
        UserDetails user1 = User.withDefaultPasswordEncoder()
                                .username("shuisanya")
                                .password("123456")
                                .roles("vip1","vip2","vip3")
                                .build();
        UserDetails user2 = User.withDefaultPasswordEncoder()
                                .username("root")
                                .password("123456")
                                .roles("vip2","vip3")
                                .build();
        UserDetails user3 = User.withDefaultPasswordEncoder()
                                .username("haha")
                                .password("123456")
                                .roles("vip1")
                                .build();
        return new InMemoryUserDetailsManager(user1,user2,user3);
    }
}
3、测试自己设置加密
@Bean
public UserDetailsService userDetailsService() {
    UserDetails userDetails = User.withUsername("123456")
        .passwordEncoder(new Pbkdf2PasswordEncoder()::encode)
        .password("123456")
        .roles("vip2")
        .build();
    UserDetails user1 = User.withUsername("shuisanya")
        .passwordEncoder(new Pbkdf2PasswordEncoder()::encode)
        .password("123456")
        .roles("vip1","vip2","vip3")
        .build();
    UserDetails user2 = User.withUsername("root")
        .passwordEncoder(new Pbkdf2PasswordEncoder()::encode)
        .password("123456")
        .roles("vip2","vip3")
        .build();
    UserDetails user3 = User.withUsername("haha")
        .passwordEncoder(new Pbkdf2PasswordEncoder()::encode)
        .password("123456")
        .roles("vip1")
        .build();
    return new InMemoryUserDetailsManager(userDetails,user1,user2,user3);
}

@Bean
public PasswordEncoder passwordEncoder(){
    return new Pbkdf2PasswordEncoder();
}
连接数据库使用
导入依赖,这里使用mybatisPlus
     mysql
     mysql-connector-java

     com.baomidou
     mybatis-plus-boot-starter
     3.5.2
编写配置文件
spring.thymeleaf.cache=false

spring.datasource.driver-class-name=com.mysql.cj.jdbc.Driver
spring.datasource.url=jdbc:mysql://localhost:3306/mybatis_plus?useSSL=true&useUnicode=true&characterEncoding=UTF-8&serverTimezone=UTC
spring.datasource.username=root
spring.datasource.password=123456

配置日志
mybatis-plus.configuration.log-impl=org.apache.ibatis.logging.stdout.StdOutImpl
开启逻辑删除
mybatis-plus.global-config.db-config.logic-delete-field=deleted
mybatis-plus.global-config.db-config.logic-delete-value=1
mybatis-plus.global-config.db-config.logic-not-delete-value=0
实现UserDetailsService接口的编写
@Service("userDetailsServiceImpl")
public class UserDetailsServiceImpl implements UserDetailsService {

    private UserMapper userMapper;
    @Autowired
    public void setUserMapper(UserMapper userMapper) {
        this.userMapper = userMapper;
    }

    @Override
    public UserDetails loadUserByUsername(String username) throws UsernameNotFoundException {
        QueryWrapper wrapper = new QueryWrapper<>();
        wrapper.eq("username",username);
        com.mhy.security.pojo.User user = userMapper.selectOne(wrapper);

        if (user == null){
            throw new UsernameNotFoundException("该用户不存在!");
        }

        List vip2 = AuthorityUtils.commaSeparatedStringToAuthorityList("vip2"); //权限 一般是从数据库来实现

        return new User(username,PasswordEncoderUtils.encode(user.getPassword()),vip2);
}
三种授权的配置
三种授权的配置
首页
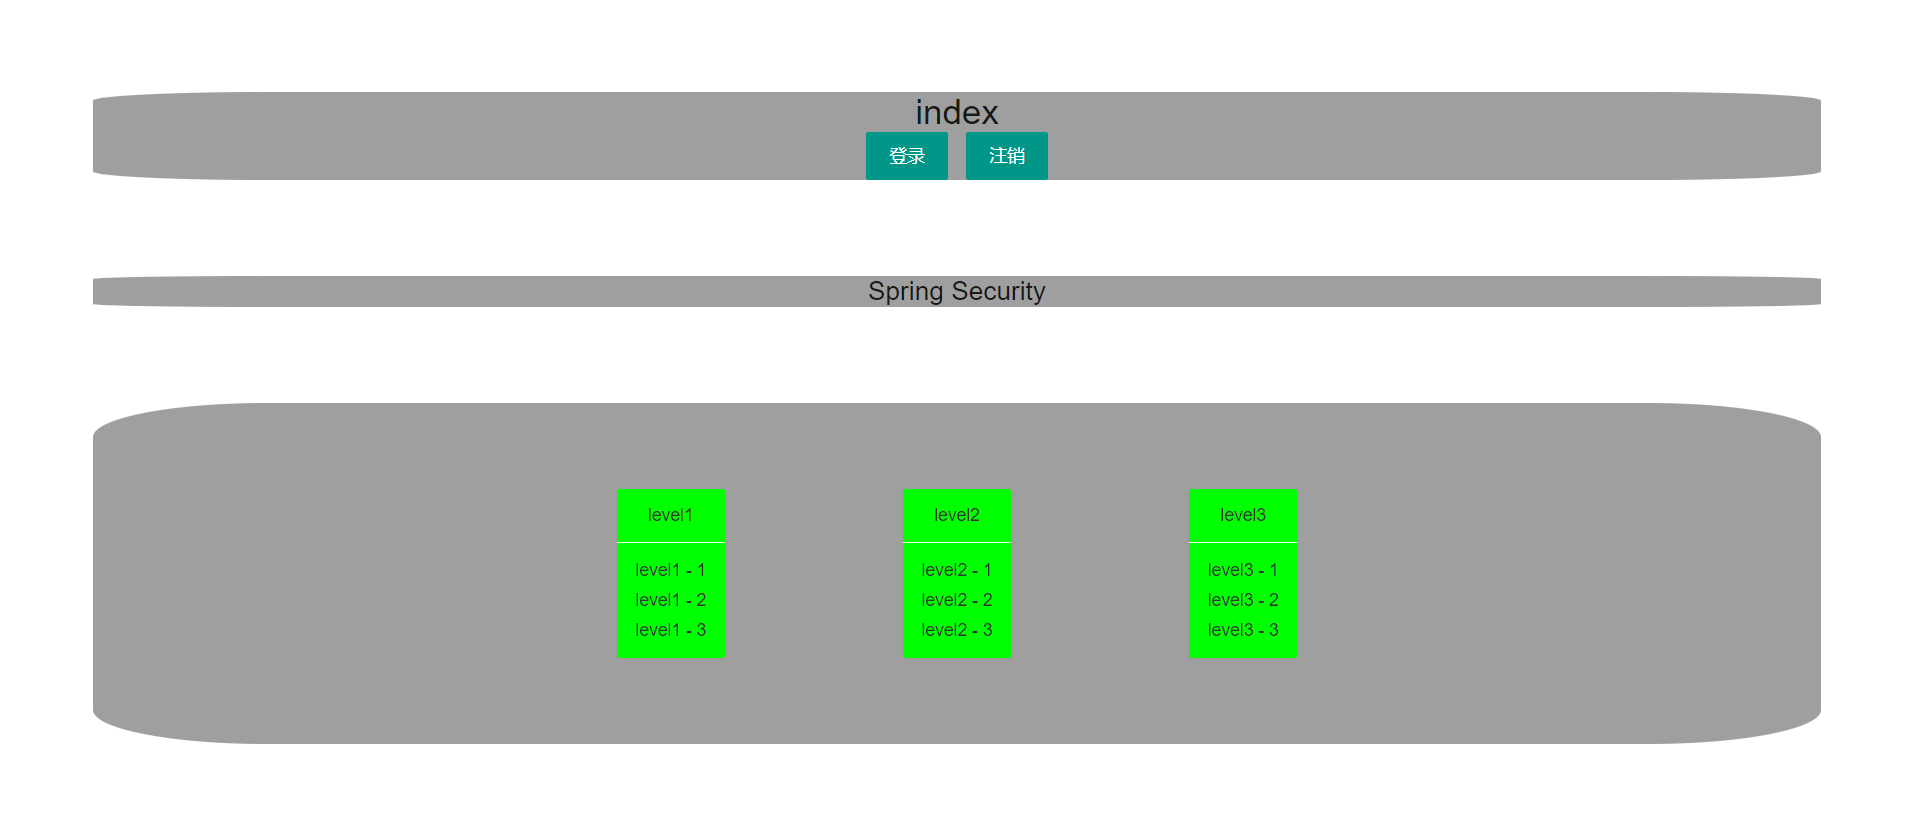

第一种 hasAuthority
这个参数只能配置一种授权
场景:
- 访问/level1/**这个下面的所有只能是vip1才可以访问
- 访问/level2/**这个下面的所有只能是vip2才可以访问
- 访问/level3/**这个下面的所有只能是vip3才可以访问
@EnableWebSecurity
@Configuration
public class NewSecurityConfig {
    @Bean
    public SecurityFilterChain securityFilterChain(HttpSecurity http) throws Exception {
        http.authorizeHttpRequests((authorize) -> {
            authorize
                    .antMatchers("/").permitAll()
                    .antMatchers("/level1/**").hasAuthority("vip1")
                    .antMatchers("/level2/**").hasAuthority("vip2")
                    .antMatchers("/level3/**").hasAuthority("vip3");
        });

        http
                .formLogin() //开启登入功能
                .loginPage("/toLogin") //开启等去去的页面,去自己的页面
                .loginProcessingUrl("/login"); //登录请求的方法,这个是spring security帮你做

        http.csrf().disable(); //关闭csrf防火墙

        http.logout().logoutSuccessUrl("/"); //退出登录的页面

        return http.build();
    }

    @Bean
    public PasswordEncoder passwordEncoder(){
        return new Pbkdf2PasswordEncoder();
    }

}
第二种 hasRole
这个参数只能配置一种授权,但它会默认给你配置的授权名称前加一个 ROLE_
AuthorityAuthorizationManager类中的源码
private static final String ROLE_PREFIX = "ROLE_";
public static  AuthorityAuthorizationManager hasRole(String role) {
    Assert.notNull(role, "role cannot be null");
    return hasAuthority(ROLE_PREFIX + role);
}
场景:
- 访问/level1/**这个下面的所有只能是vip1才可以访问
- 访问/level2/**这个下面的所有只能是vip2才可以访问
- 访问/level3/**这个下面的所有只能是vip3才可以访问
配置类
@EnableWebSecurity
@Configuration
public class NewSecurityConfig {
    @Bean
    public SecurityFilterChain securityFilterChain(HttpSecurity http) throws Exception {
        http.authorizeHttpRequests((authorize) -> {
            authorize
                    .antMatchers("/").permitAll()
                    .antMatchers("/level1/**").hasRole("vip1") // 这里实际上是ROLE_vip1
                    .antMatchers("/level2/**").hasRole("vip2") // 这里实际上是ROLE_vip1
                    .antMatchers("/level3/**").hasRole("vip3");// 这里实际上是ROLE_vip3
        });
        http
                .formLogin() //开启登入功能
                .loginPage("/toLogin") //开启等去去的页面,去自己的页面
                .loginProcessingUrl("/login"); //登录请求的方法,这个是spring security帮你做

        http.csrf().disable(); //关闭csrf防火墙

        http.logout().logoutSuccessUrl("/"); //退出登录的页面

        return http.build();
    }

    @Bean
    public PasswordEncoder passwordEncoder(){
        return new Pbkdf2PasswordEncoder();
    }

}
使用在编写实现UserDetailsService时候需要注意
@Override
public UserDetails loadUserByUsername(String username) throws UsernameNotFoundException {
QueryWrapper wrapper = new QueryWrapper<>();
wrapper.eq("username",username);
com.mhy.security.pojo.User user = userMapper.selectOne(wrapper);
if (user == null){
throw new UsernameNotFoundException("该用户不存在!");
}

List vip2 = AuthorityUtils.commaSeparatedStringToAuthorityList("ROLE_vip2");  //注意

return new User(username,PasswordEncoderUtils.encode(user.getPassword()),vip2);
}
第三种 hasAnyAuthority
配置多个参数
场景:
- 访问/level1/**这个下面的所有是vip1才可以访问
- 访问/level2/**这个下面的所有是vip1,vip2才可以访问
- 访问/level3/**这个下面的所有是vip1,vip2,vip3才可以访问
配置类:
@EnableWebSecurity
@Configuration
public class NewSecurityConfig {
    @Bean
    public SecurityFilterChain securityFilterChain(HttpSecurity http) throws Exception {
        http.authorizeHttpRequests((authorize) -> {
            authorize
                    .antMatchers("/").permitAll()
                    .antMatchers("/level1/**").hasAnyAuthority("vip1","vip2","vip3")
                    .antMatchers("/level2/**").hasAnyAuthority("vip2","vip3")
                    .antMatchers("/level3/**").hasAnyAuthority("vip3");
        });

        http
                .formLogin() //开启登入功能
                .loginPage("/toLogin") //开启等去去的页面,去自己的页面
                .loginProcessingUrl("/login"); //登录请求的方法,这个是spring security帮你做

        http.csrf().disable(); //关闭csrf防火墙
        http.logout().logoutSuccessUrl("/"); //退出登录的页面
        return http.build();
    }

    @Bean
    public PasswordEncoder passwordEncoder(){
        return new Pbkdf2PasswordEncoder();
    }
}
第四种 hasAnyAuthority
配置多个参数
这个参数只能配置一种授权,但它会默认给你配置的授权名称前加一个 ROLE_
场景:
- 访问/level1/**这个下面的所有是vip1才可以访问
- 访问/level2/**这个下面的所有是vip1,vip2才可以访问
- 访问/level3/**这个下面的所有是vip1,vip2,vip3才可以访问
配置类
@EnableWebSecurity
@Configuration
public class NewSecurityConfig {
    @Bean
    public SecurityFilterChain securityFilterChain(HttpSecurity http) throws Exception {
        http.authorizeHttpRequests((authorize) -> {
            authorize
                    .antMatchers("/").permitAll()
                    .antMatchers("/level1/**").hasAnyRole("vip1","vip2","vip3")
                    .antMatchers("/level2/**").hasAnyRole("vip2","vip3")
                    .antMatchers("/level3/**").hasAnyRole("vip3");
        });

        http
                .formLogin() //开启登入功能
                .loginPage("/toLogin") //开启等去去的页面,去自己的页面
                .loginProcessingUrl("/login"); //登录请求的方法,这个是spring security帮你做

        http.csrf().disable(); //关闭csrf防火墙

        http.logout().logoutSuccessUrl("/"); //退出登录的页面

        return http.build();
    }

    @Bean
    public PasswordEncoder passwordEncoder(){
        return new Pbkdf2PasswordEncoder();
    }
}
Original: https://www.cnblogs.com/shuisanya/p/16601911.html
Author: 水三丫
Title: SpringSecurity 新版2.7以上 快速入门
原创文章受到原创版权保护。转载请注明出处:https://www.johngo689.com/581462/
转载文章受原作者版权保护。转载请注明原作者出处!