

前言
本片博客记录快速创建springboot工程的两种方式。一种是使用maven创建,一种是使用spring initializr创建。开发环境JDK1.8、IDEA、maven。
SpringBoot 优点
- 可快速构建spring应用
- 直接嵌入tomcat、jetty、undenrtow服务器(无须部署war文件)
- 提供依赖启动器(starter)简化构建配置
- 极大程度的自动化配置Spring和第三方库
- 提供生产就绪功能,例如指标监控检测、外部检测
- 极少代码生成和XML配置
使用maven创建Spring Boot项目
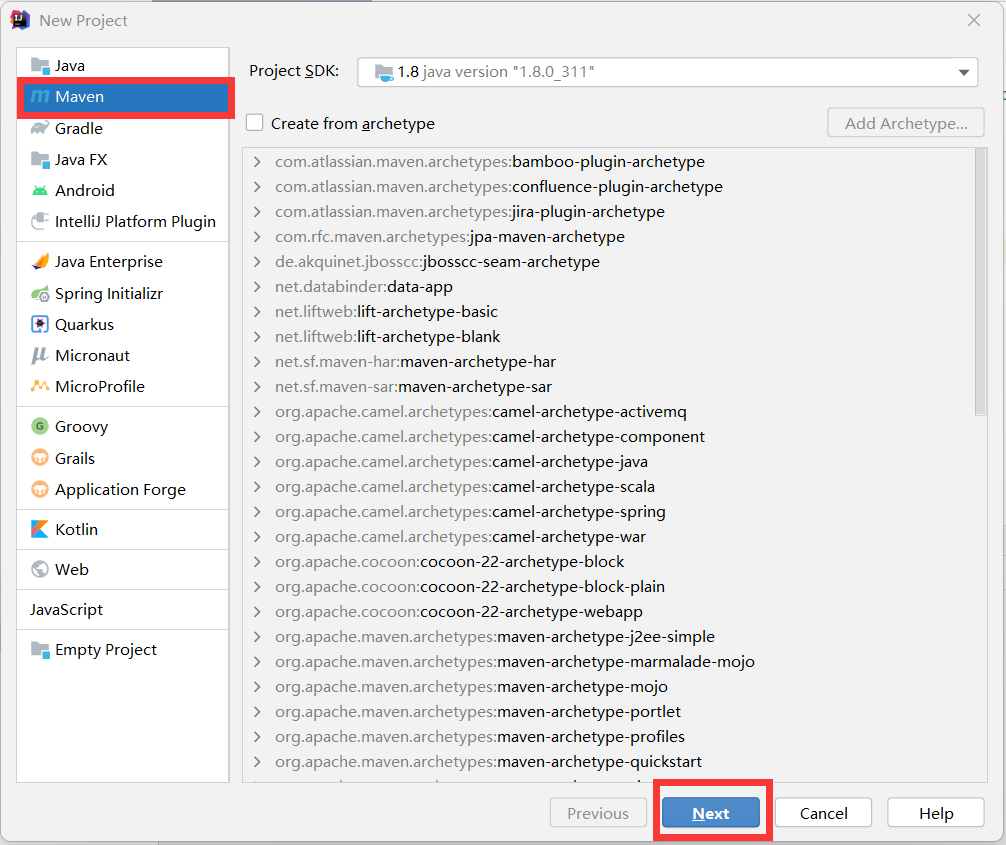
第一步:
首先在左上角的file->new->project(如果是新安装的IDEA需要配置maven仓库,当然idea自己也会帮你配置,但是好像在C盘,并且可能会出现一些错误提示问题,如果不介意然可以使用,但是还是建议使用自己的maven仓库创建,直接点击new project),然后出现下面图片显示,选择maven项目,点击next。到下一个界面。

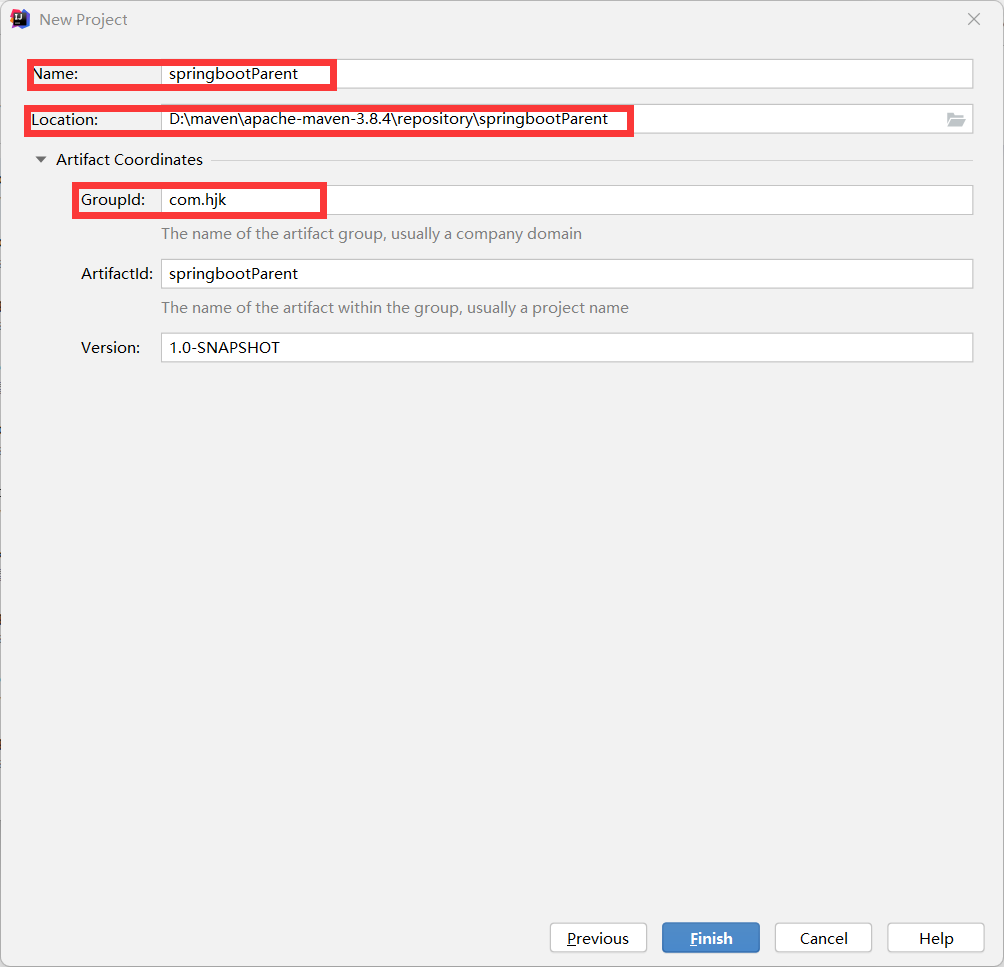
第二步:
这个界面的name就是你的项目名,location就是你项目的地址路径,groupid一般是你网址域名倒着写,例如com.hjk.www那反过来就是www.hjk.com,这一般是公司定义的,我们可以自己命名。
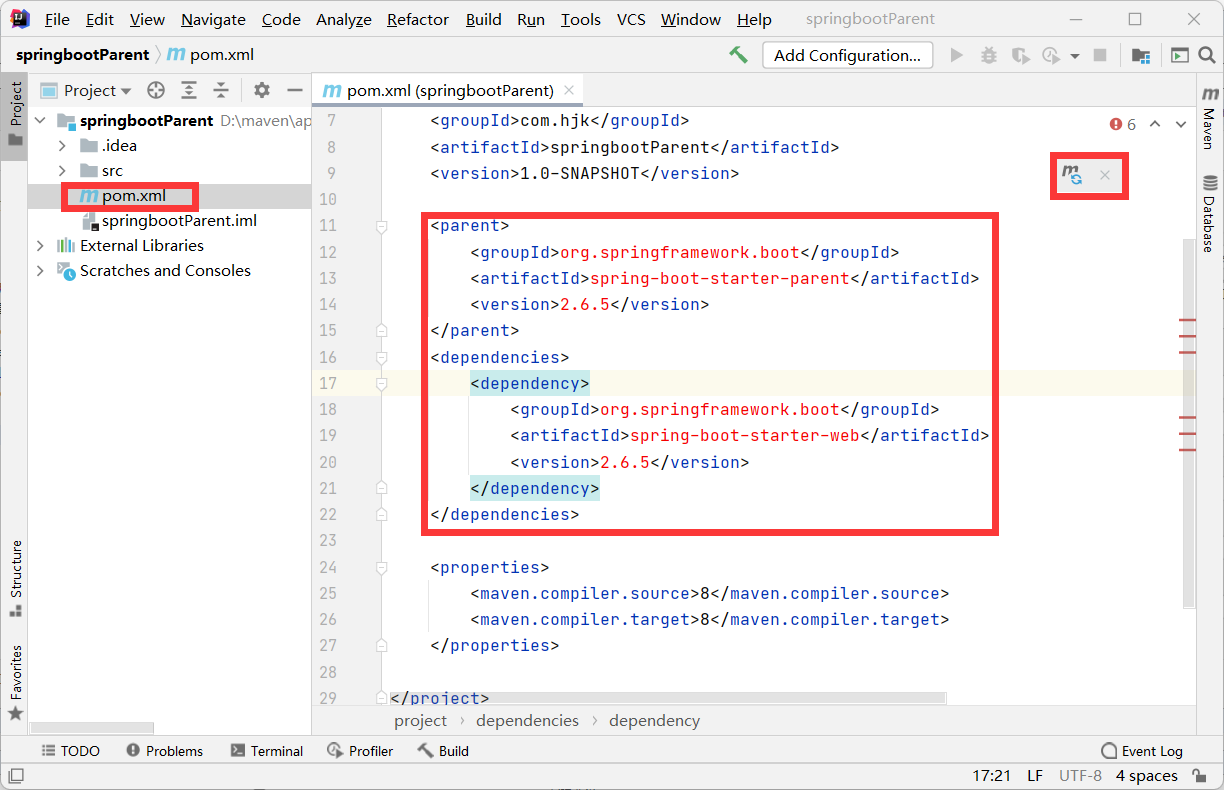
第三步:
然后我们找到pom.xml文件,在里面添加两个依赖,添加依赖你的maven仓库如果没有这个包是会报错的,然后我们点击一个类似刷新的图标idea就会加载相关的包了,我们等它加载完,第一次加载应该会等很长时间,我们耐心等待一下。如果在加载完成之后你的parent的那个依赖会爆红,可能是应为你的仓库是idea的默认C盘那个仓库,建议换成自己的。这个报错的原因好像是那个仓库下载的是基础包,没有这个parent的包!
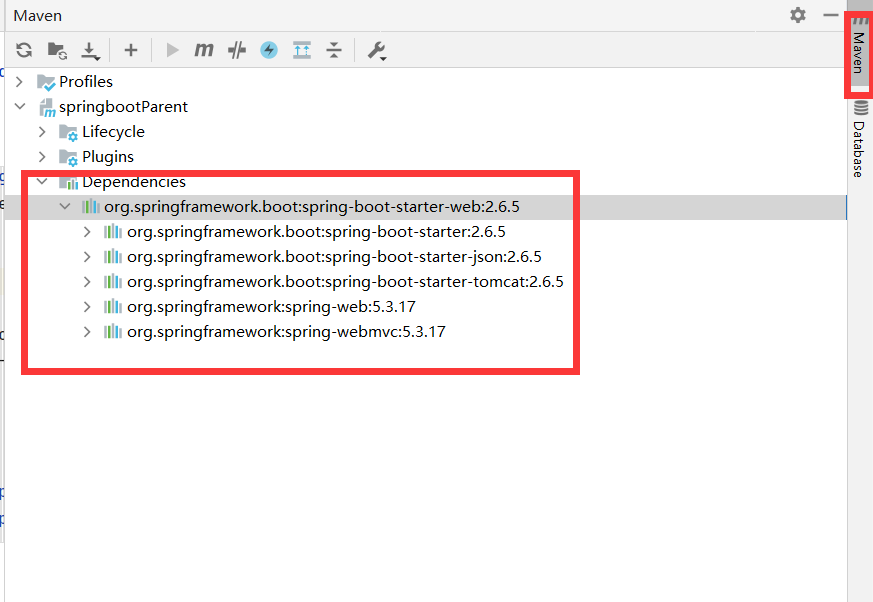
第四步:
最后我们查看一下我们所导入的包都有什么,点击右边的maven->dependencies查看
第五步:
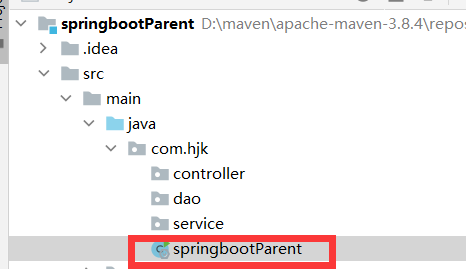
我们创建一个主程序启动类
我们在学mvc是常常都是有几个包(dao、service、controller)我们在写springboot项目时也是差不多的,这里我们在dao包的同级目录下创建一个主程序类。
代码:
package com.hjk;

import org.springframework.boot.SpringApplication;
import org.springframework.boot.autoconfigure.SpringBootApplication;

@SpringBootApplication
public class springbootParent {

    public static void main(String[] args) {
    SpringApplication.run(springbootParent.class,args);
    }
}
最后我们创建一个controller测试一下
在controller包里面创建一个HelloController类
package com.hjk.controller;

import org.springframework.web.bind.annotation.GetMapping;
import org.springframework.web.bind.annotation.RestController;

@RestController
public class HelloController {

    @GetMapping("/hello")
    public String hello(){
        return "hello SpringBoot";
    }
}
运行springbootParent类,然后访问”http://localhost:8080/hello” 然后就能在这个界面看到字符串输出了。
与html联系
我们怎么通过controller去访问html界面呢,
首先我们把thymeleaf依赖导入pom.xml
       <dependency>
            <groupid>org.thymeleaf</groupid>
            <artifactid>thymeleaf-spring5</artifactid>
        </dependency>
        <dependency>
            <groupid>org.thymeleaf.extras</groupid>
            <artifactid>thymeleaf-extras-java8time</artifactid>
        </dependency>
然后我们把HelloController改一下。因为上面我们用的是@RestController注解,返回的是一个json字符串,不会被spring解析,那是适用于传数据使用,我们需要使用@Controller注解进行页面的跳转。
package com.hjk.controller;

import org.springframework.stereotype.Controller;
import org.springframework.web.bind.annotation.GetMapping;
import org.springframework.web.bind.annotation.RequestMapping;

@Controller
public class HelloController {

    @GetMapping("/hello")
    public String hello(){
        return "hello";
    }
    @RequestMapping("/a")
    public String index(){
        return "index";
    }
}
然后再resources文件夹下,建立这样的结构
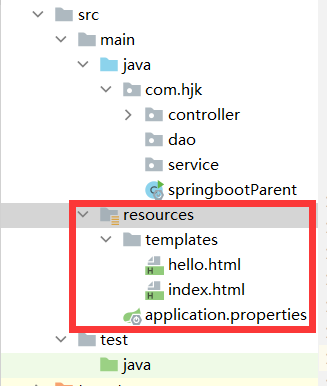
页面里面写什么无所谓。
然后我们重新启动项目,通过访问”http://localhost:8080/hello” 和”http://localhost:8080/a” 可以跳转到页面。我们可以看到,注解里面写的是url路径,return后面的是需要跳转的页面名。
解释点
注解 解释 @Controller 把用户提交来的请求通过对URL的匹配,分配个不同的接收器,再进行处理,然后向用户返回结果 @ResponseBody 将方法返回值绑定到 Web 响应主体 @RestController @ResponseBody和@Controller组合注解,用于返回JSON字符串 @RequestMapping 用来处理请求地址映射的注解 @GetMapping 等价于@RequestMapping(value = “”,method = RequestMethod.GET)就是使用Get方法提交
使用Spring initializr快速创建
使用maven创建还是比较麻烦的,我们使用Spring initiallizr创建。
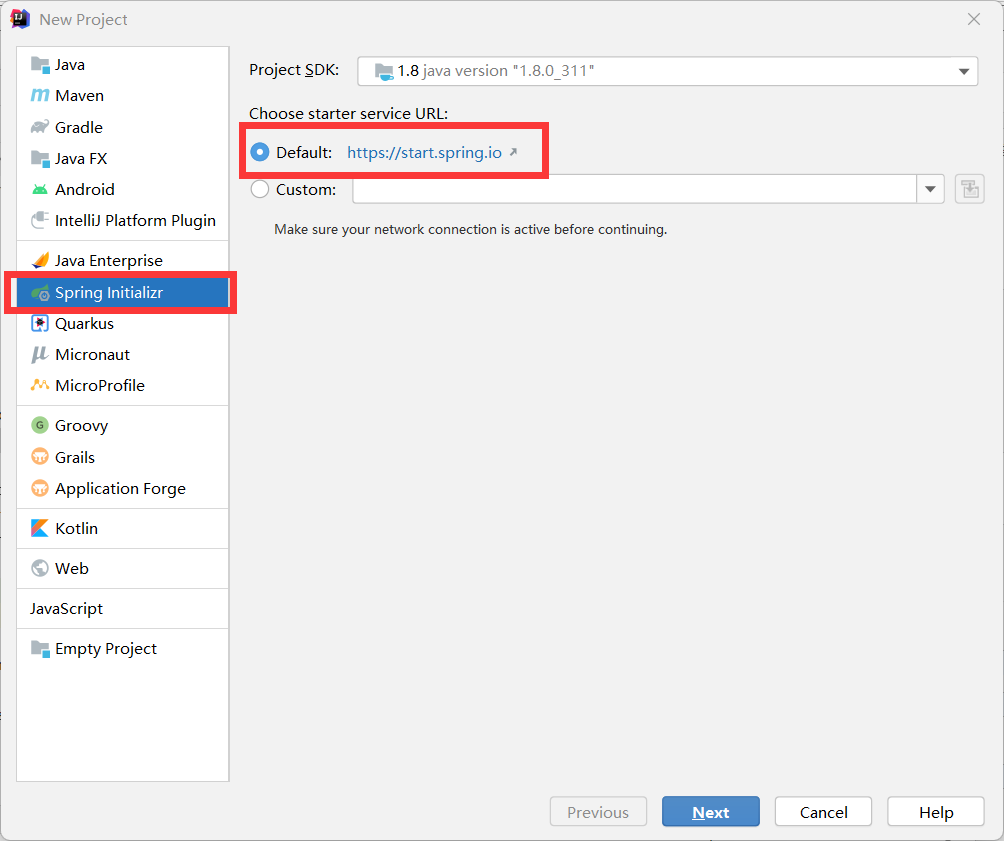
第一步:
右上角file->new->project–>spring initializr->next,这种方式1是在联网情况下创建的,defaule就是springboot的默认网址。
第二步:
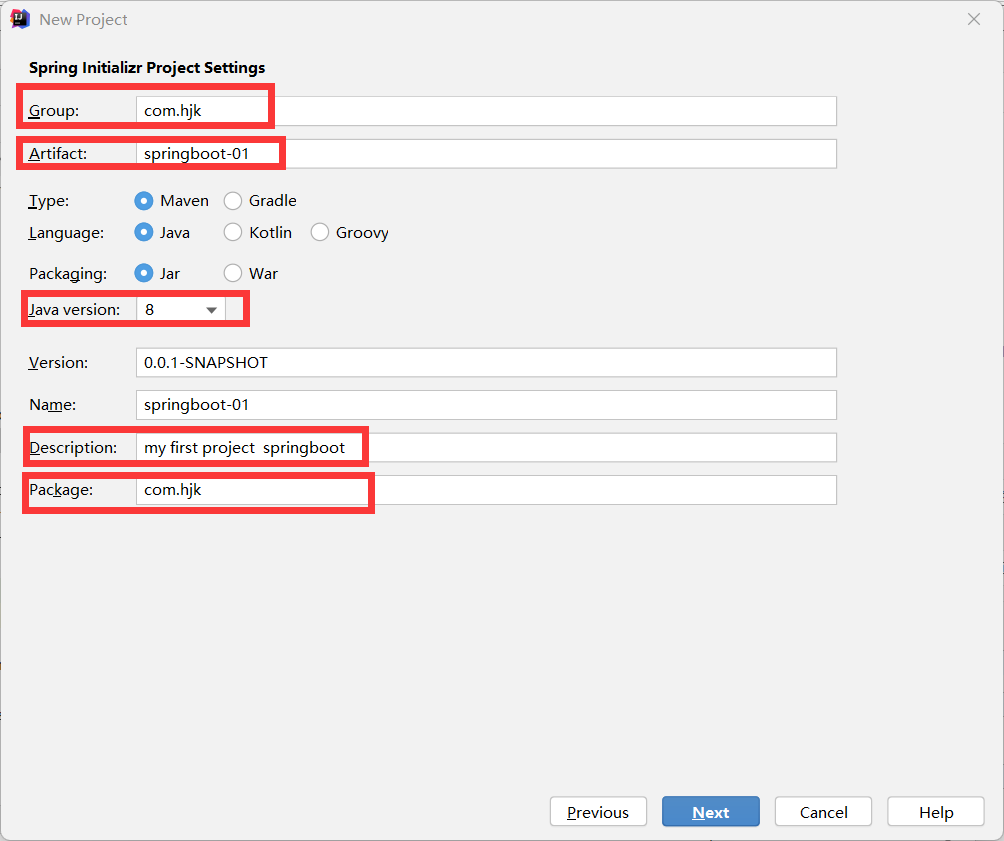
点击完next之后可以看到这个界面有Group组名,Artifact项目名。java version java版本,description项目描述,package包名。然后点击next
第三步:
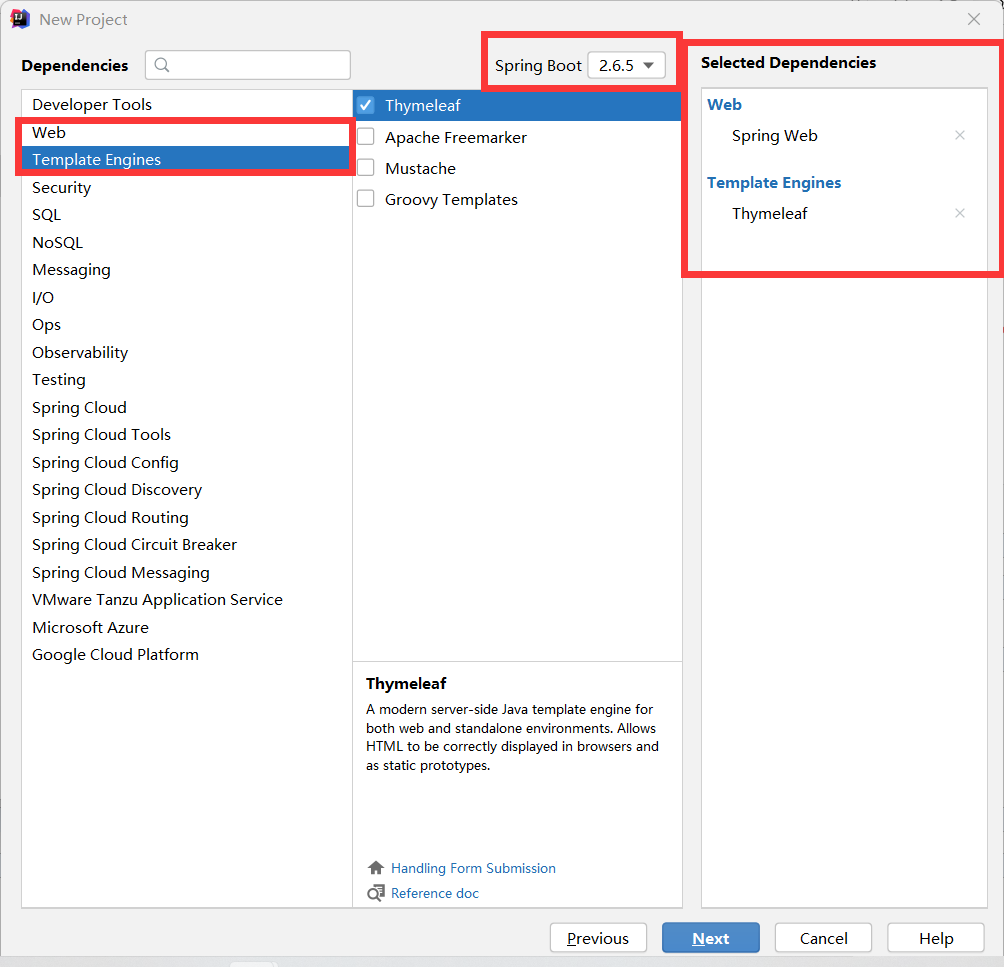
在这个界面我们可以选择springboot版本,和直接加入依赖,我们在这里直接加入web依赖spring web和Template的Thymeleaf依赖,点上对勾后可以在最右边里看到你选择的依赖。然后点击next。
第四步:
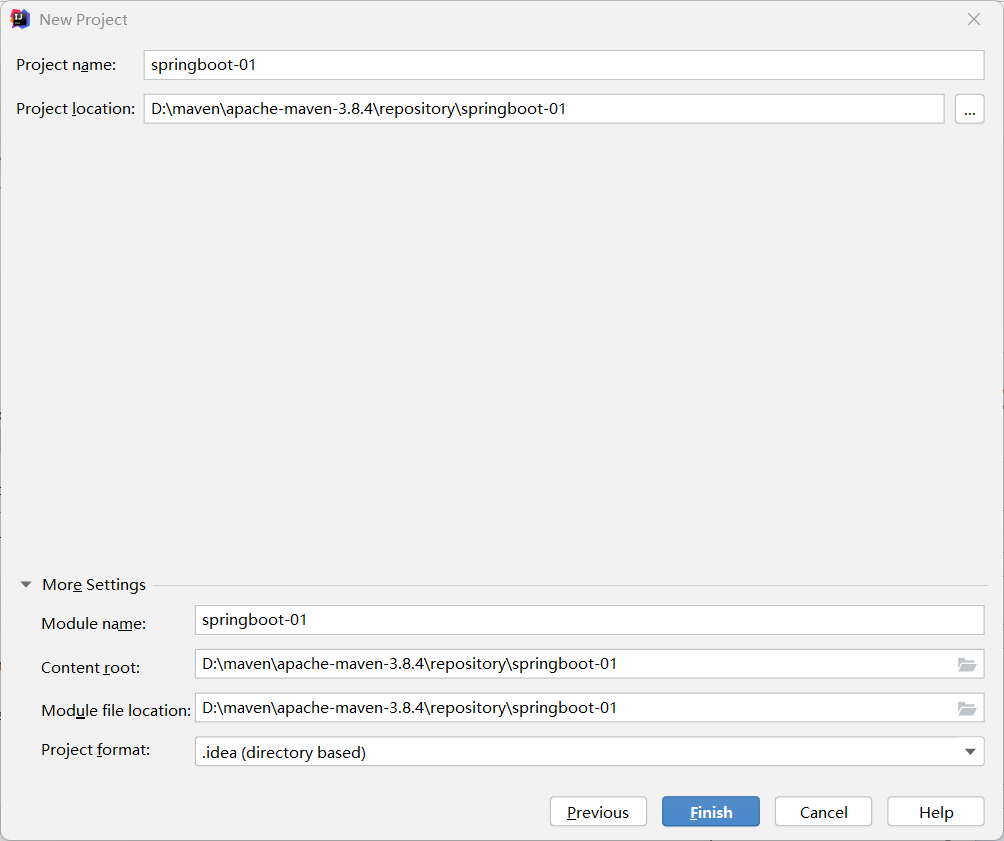
之前设置完了,在这里可以直接点击finish,这样就创建了一个sprigboot项目。
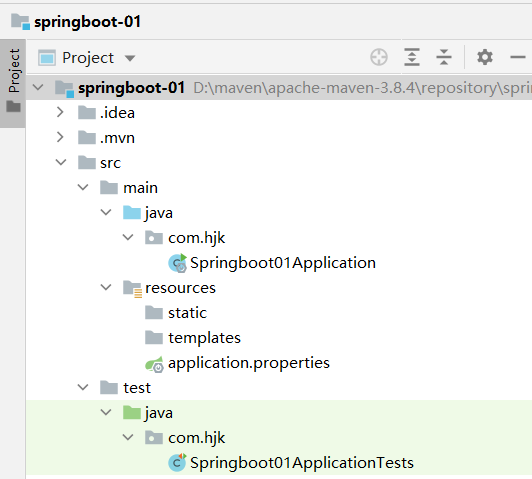
我们可以看到我们的项目结构,很多springboot都帮我们创建了。
最后
我们和上面一样,创建HelloController类,并且在templates里面创建一个hello.html文件。
HelloController代码
package com.hjk.controller;

import org.springframework.stereotype.Controller;
import org.springframework.web.bind.annotation.GetMapping;

@Controller
public class HelloController {

    @GetMapping("/hello")
    public String hello(){
        return "hello";
    }
}
最后运行程序,访问”http://localhost:8080/hello” ,成功;
Original: https://www.cnblogs.com/hjk-airl/p/16081134.html
Author: hjk-airl
Title: 【SpringBoot实战】快速创建springboot程序
原创文章受到原创版权保护。转载请注明出处:https://www.johngo689.com/565117/
转载文章受原作者版权保护。转载请注明原作者出处!