

镜像下载、域名解析、时间同步请点击阿里云开源镜像站
1. 查看自己的网关地址
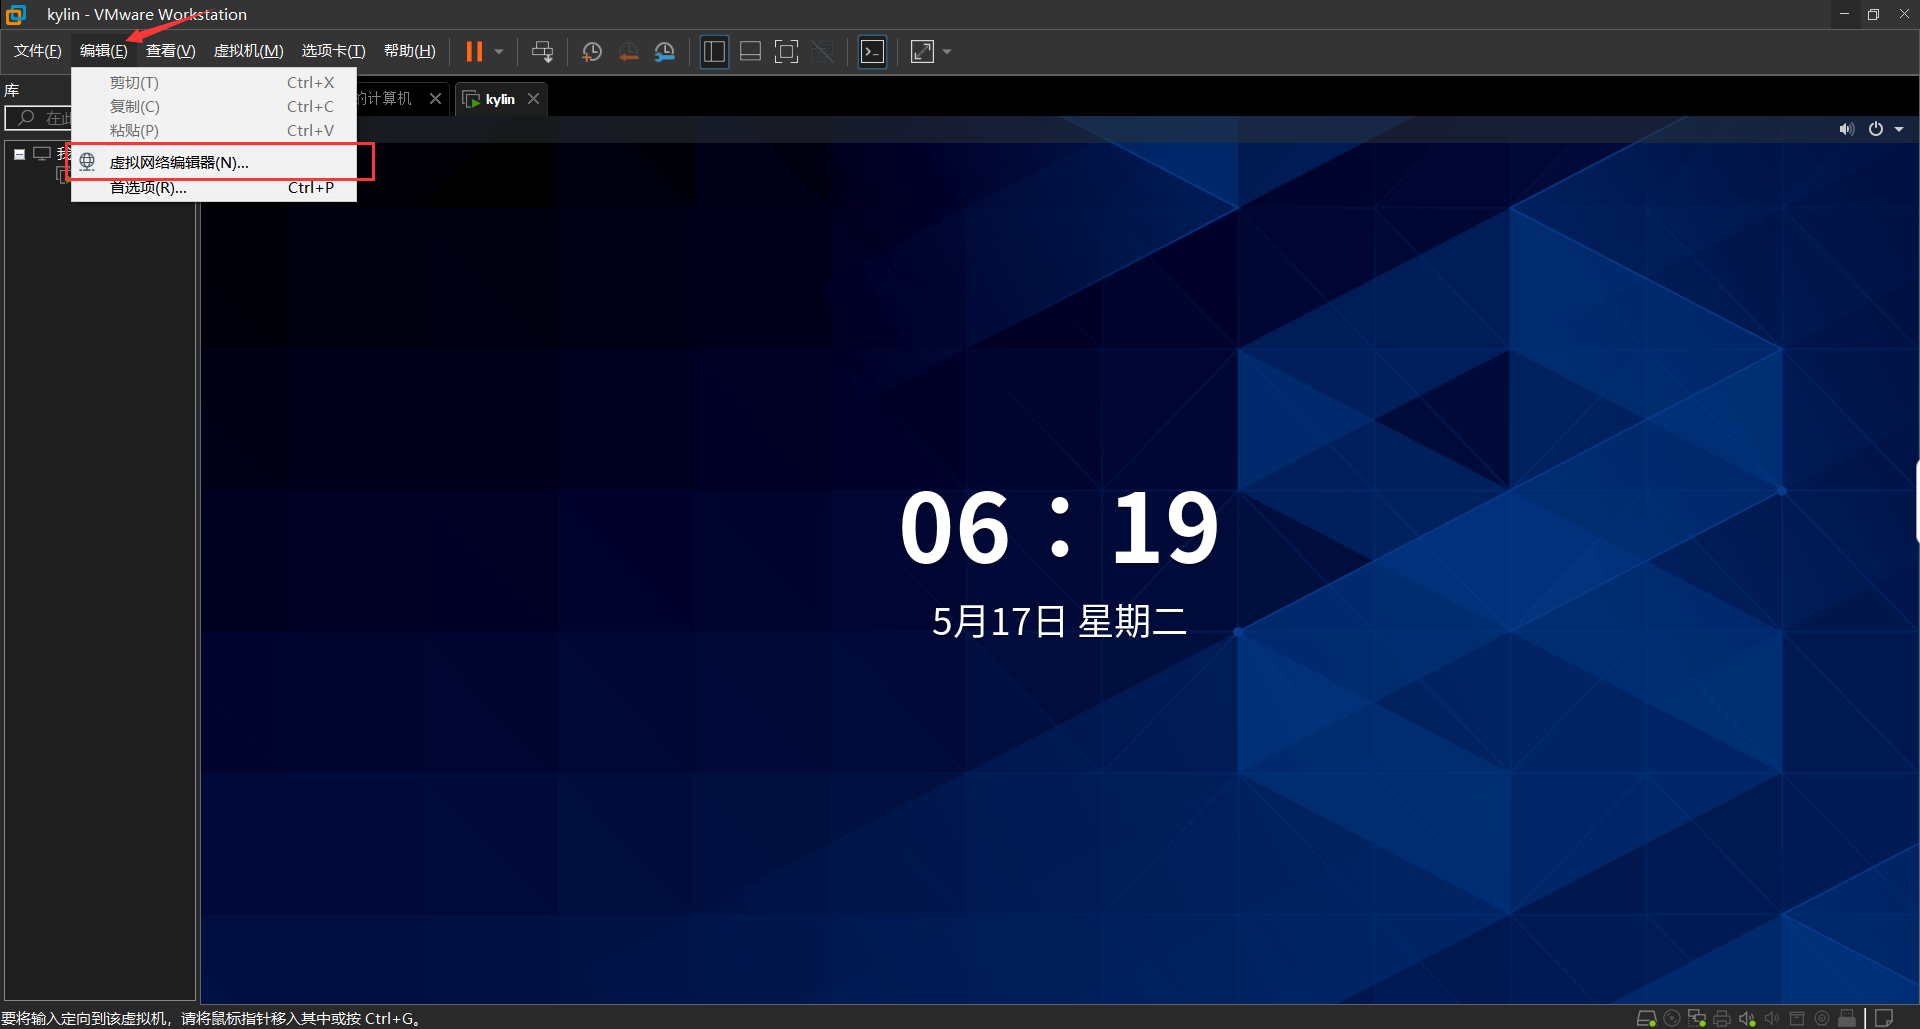
点击虚拟机中的编辑按钮并选择虚拟网络编辑器
[En]
Click the edit button in the virtual machine and select the virtual network editor

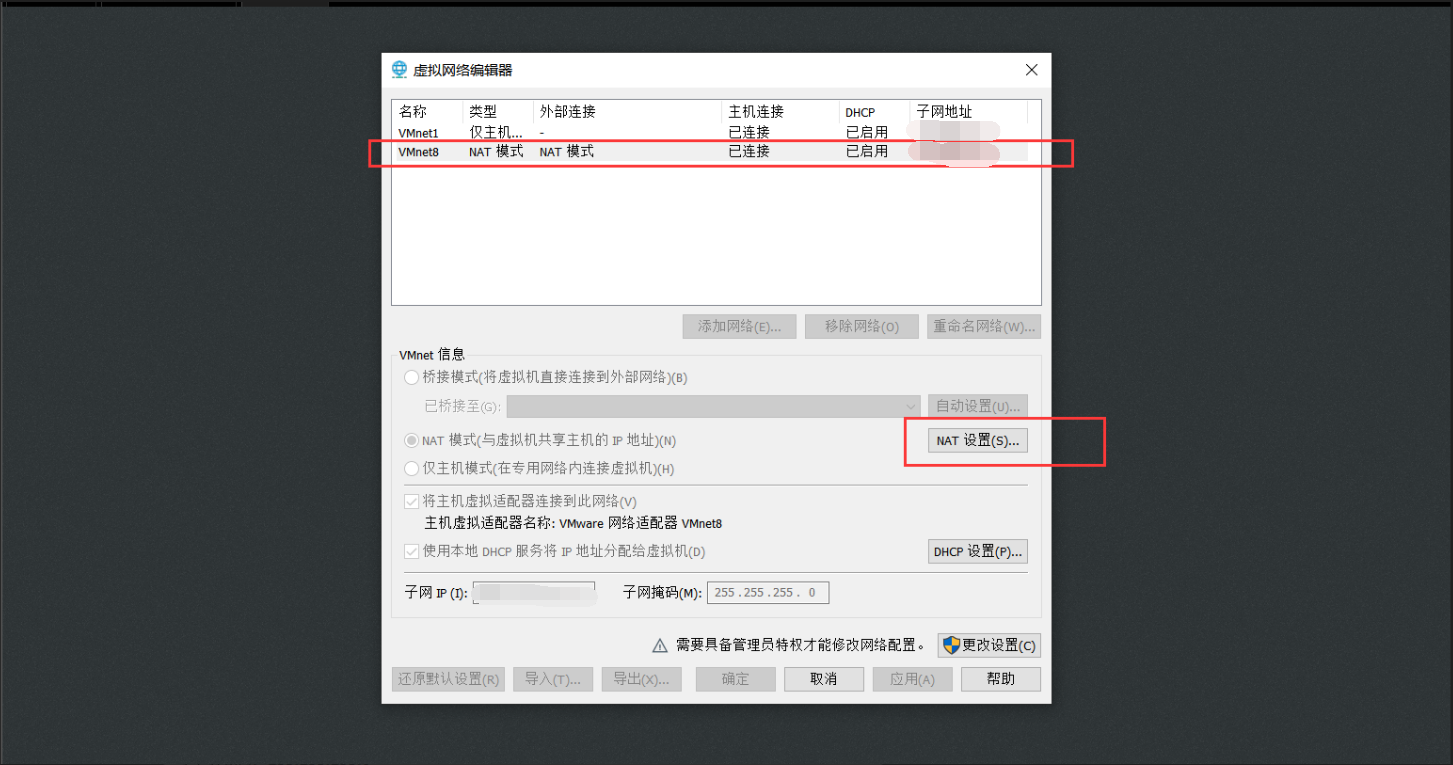
2.选择点击VMnet8,再点击NAT设置
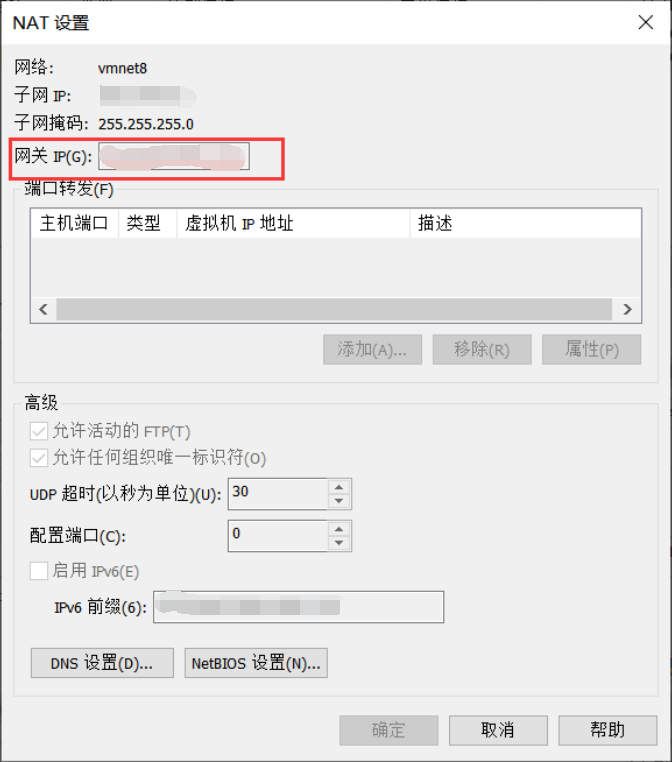
3.记住此时页面的网关IP
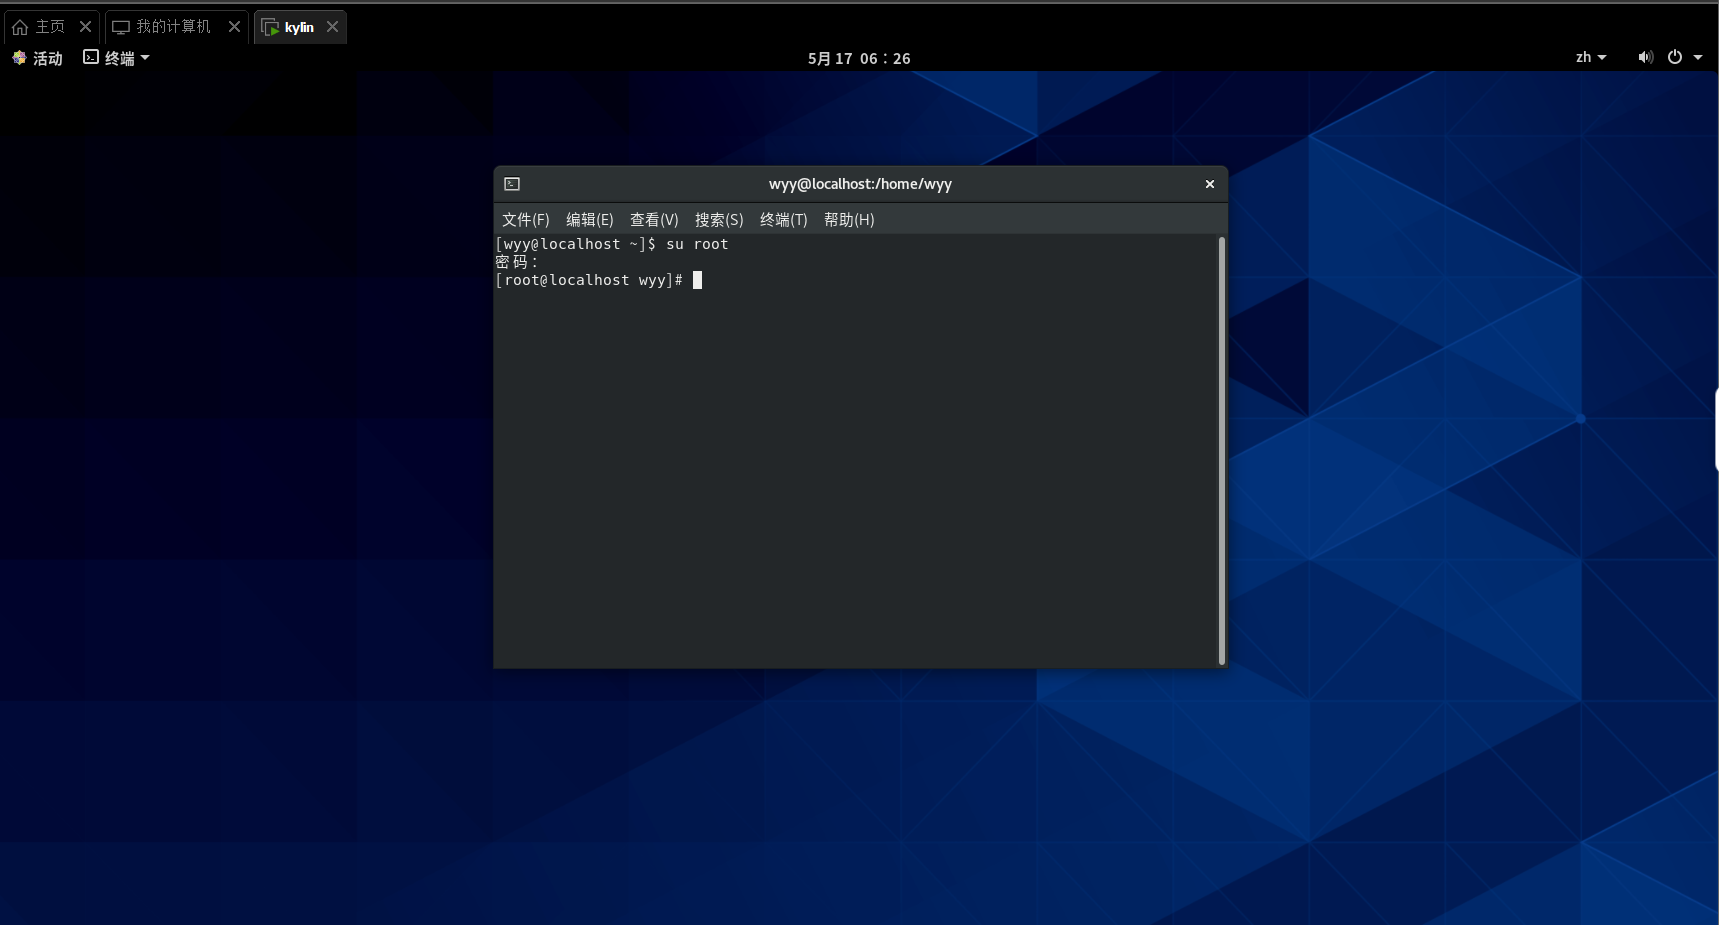
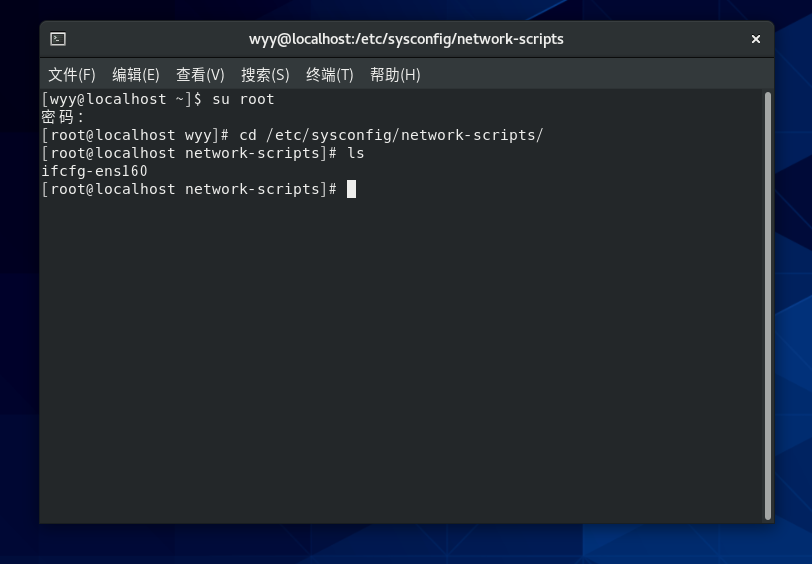
4.进入虚拟机终端操作界面,切换到管理员用户
5.找到CentOS8网络配置文件
cd /etc/sysconfig/network-scripts/
在您自己的文件夹中查找当前文件
[En]
Find the current file in your own folder
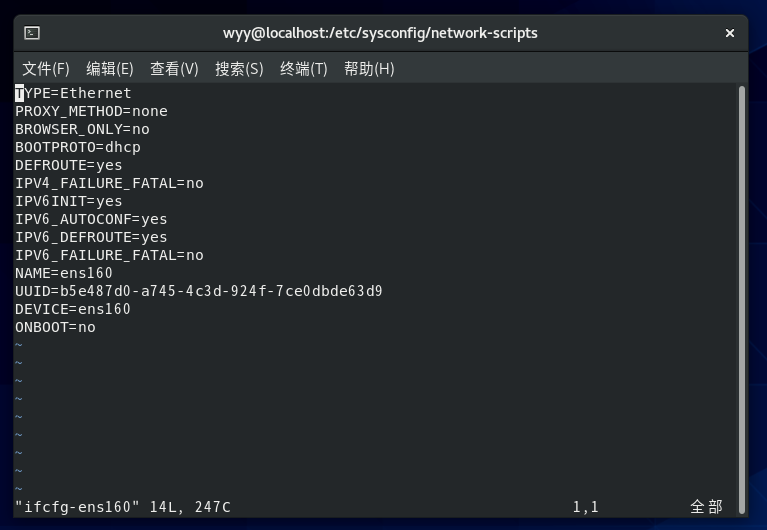
6.进入并编辑该文件,vim命令后接的是自己当前目录下的文件名
vim ifcfg-ens160
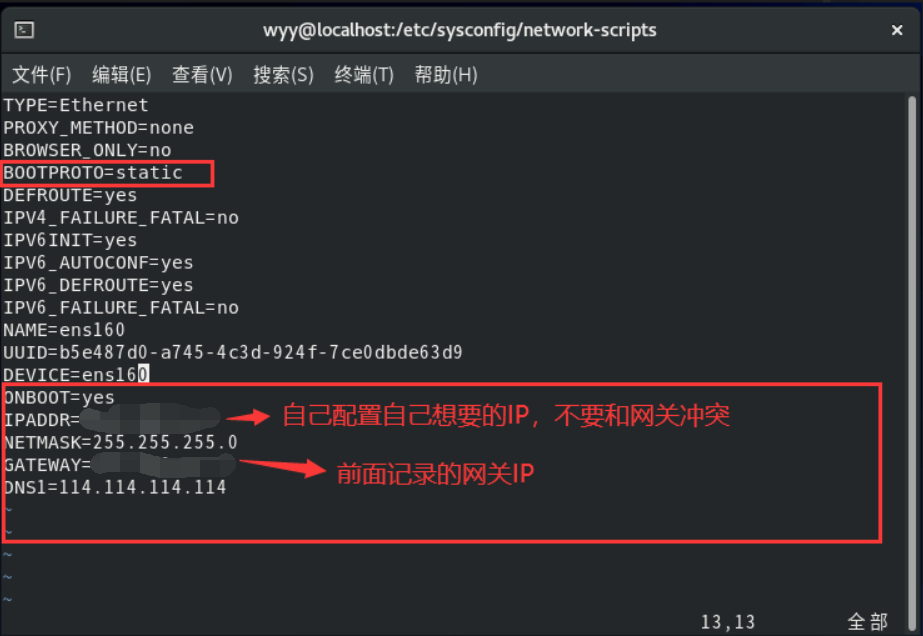
7.进行如下修改
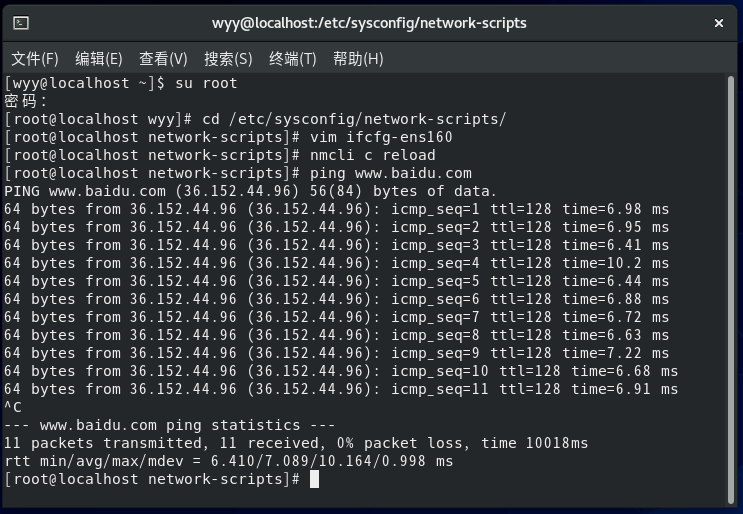
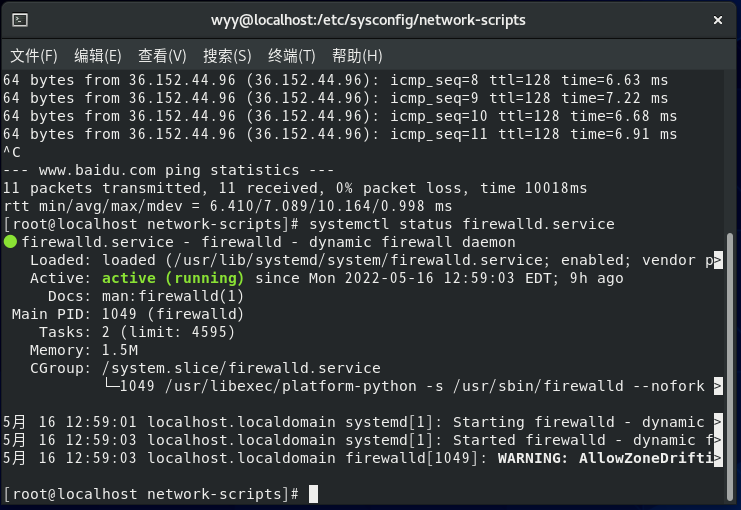
8.重启网络,ping百度看看网络是否通畅
nmcli c reload
9.查看防火墙是否开启的
systemctl status firewalld.service
10.关闭防火墙
systemctl stop firewalld.service
11.禁止防火墙自启动
systemctl disable firewalld.service
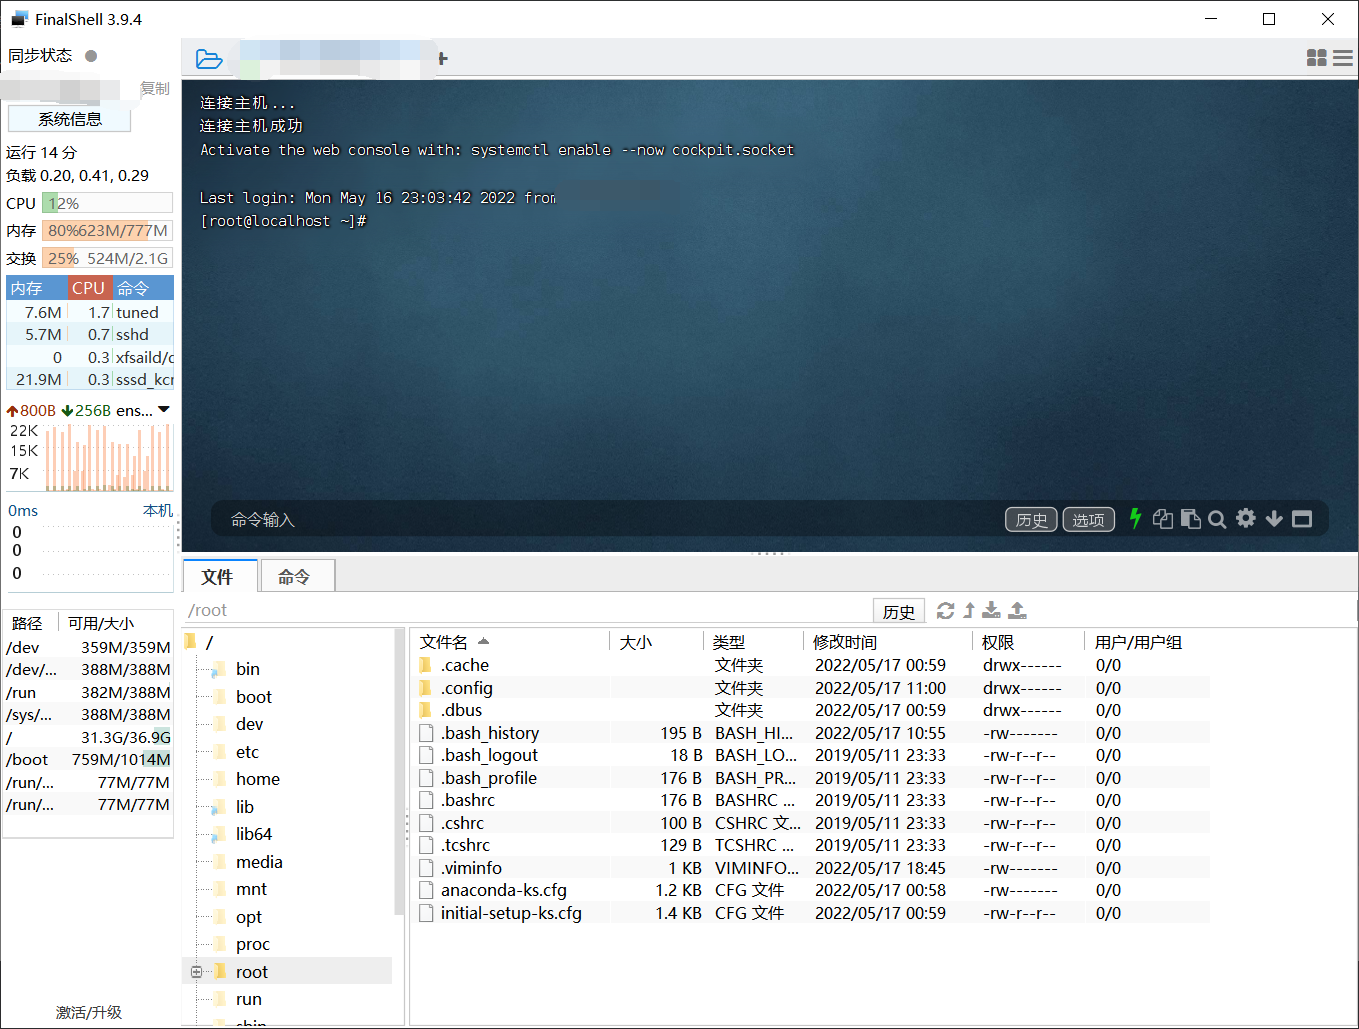
12.用远程工具测试连接看看
本文转自:https://www.cnblogs.com/dockerwyy/p/16280023.html
Original: https://www.cnblogs.com/helong-123/p/16316524.html
Author: 萌褚
Title: centos8.0配置静态IP详解及永久关闭防火墙
原创文章受到原创版权保护。转载请注明出处:https://www.johngo689.com/523493/
转载文章受原作者版权保护。转载请注明原作者出处!