

文章目录
1. 简介
Gitlab是一个开源的Git代码仓库系统,可以实现自托管的Github项目,即用于构建私有的代码托管平台和项目管理系统。系统基于Ruby on Rails开发,速度快、安全稳定。它拥有与Github类似的功能,能够浏览源代码,管理缺陷和注释。可以管理团队对仓库的访问,它非常易于浏览提交过的版本并提供一个文件历史库。团队成员可以利用内置的简单聊天程序(Wall)进行交流。它还提供一个代码片段收集功能可以轻松实现代码复用,便于日后有需要的时候进行查找。

2. 准备
卸载旧版本
sudo apt-get remove docker docker-engine docker.io containerd runc rm -rf /var/lib/docker/
配置docker源
sudo apt-get update sudo apt-get install \ ca-certificates \ curl \ gnupg \ lsb-release#下载gpg证书curl -fsSL https://download.docker.com/linux/ubuntu/gpg | sudo gpg --dearmor -o /usr/share/keyrings/docker-archive-keyring.gpg#其他版本 echo \ "deb [arch=$(dpkg --print-architecture) signed-by=/usr/share/keyrings/docker-archive-keyring.gpg] https://download.docker.com/linux/ubuntu \$(lsb_release -cs) stable" | sudo tee /etc/apt/sources.list.d/docker.list > /dev/null
安装docker
#查看版本 apt-cache madison docker-ce sudo apt-get update sudo apt-get install docker-ce docker-ce-cli containerd.io 或者指定特定版本 sudo apt-get install docker-ce= docker-ce-cli= containerd.io
3. 部署
3.1 docker安装GitLab-ce
GitLab的安装可以直接run,或者通过docker-compose文件指定安装流程,这里使用前者进行快速简单安装,后者后续更新。
拉取GitLab-ce镜像,查看镜像信息
$ docker pull gitlab/gitlab-ce$ docker image ls
配置存储位置
$ mkdir /opt/gitlab$ export GITLAB_HOME=/opt/gitlab$ echo $GITLAB_HOME/opt/gitlab
运行gitlab
$ docker run -d --hostname gitlab.example.com -p 443:443 -p 80:80 -p 22:22 --name gitlab --restart always -v $GITLAB_HOME/config:/etc/gitlab:Z -v $GITLAB_HOME/logs:/var/log/gitlab:Z -v $GITLAB_HOME/data:/var/opt/gitlab:Z --shm-size 256m gitlab/gitlab-ce:latest
​:Z​能够确保有足够的权限的权限创建文件
正常要等1~2分钟。
假如报错
​bash /opt/gitlab/embedded/bin/runsvdir-start: line 24: ulimit: pending signals: cannot modify limit: Operation not permitted /opt/gitlab/embedded/bin/runsvdir-start: line 37: /proc/sys/fs/file-max: Read-only file system Configuring GitLab package... Configuring GitLab...​ 解决方法:
​chmod 2770 /opt/gitlab/data/git-data/repositories​​docker restart gitlab​
查看容器运行情况,出现gitlab运行信息表明启动成功
$ docker ps
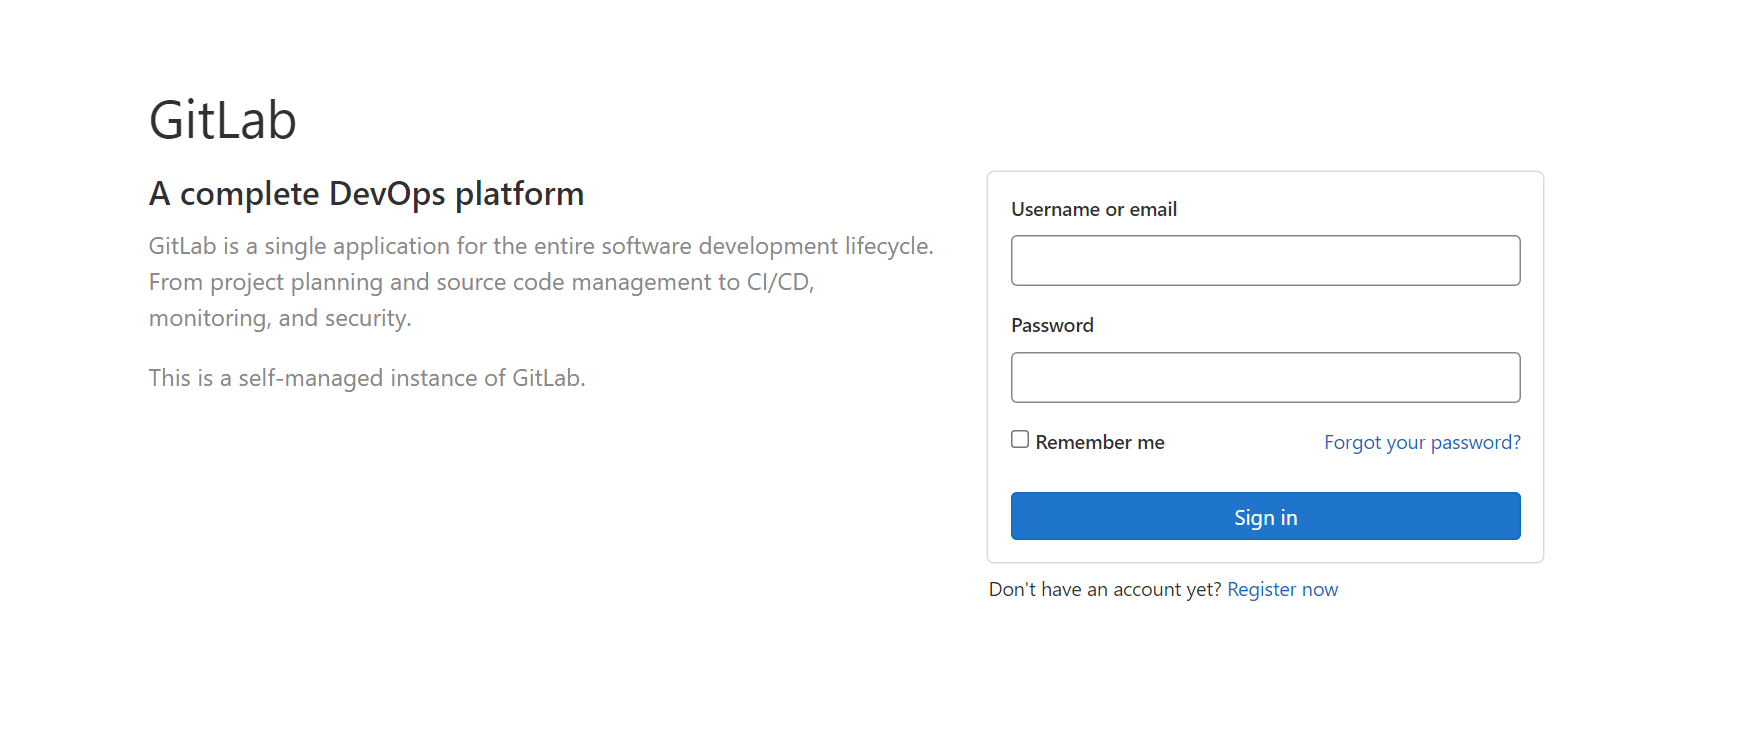
浏览器进入 ​http://192.168.211.70:8080​,使用root账户登录并设置密码即可进入管理员界面
环境变量 ​GITLAB_OMNIBUS_CONFIG​添加到Docker run来预先配置GitLab Docker镜像。这个变量包含任何 ​gitlab.rb​设置,, ​GITLAB_OMNIBUS_CONFIG​中包含的设置不写入 ​gitlab.rb​配置文件。
下面是一个设置外部URL并在启动容器时启用LFS的例子:
docker run --detach \ --hostname gitlab.example.com \ --env GITLAB_OMNIBUS_CONFIG="external_url 'http://my.domain.com/'; gitlab_rails['lfs_enabled'] = true;" \ --publish 443:443 --publish 80:80 --publish 22:22 \ --name gitlab \ --restart always \ --volume $GITLAB_HOME/config:/etc/gitlab \ --volume $GITLAB_HOME/logs:/var/log/gitlab \ --volume $GITLAB_HOME/data:/var/opt/gitlab \ --shm-size 256m \ gitlab/gitlab-ee:latest
使用不同的端口
如果你想使用一个不同于80 (HTTP)或443 (HTTPS)的主机端口,你需要添加一个单独的——publish指令到docker运行命令。
$ docker run --detach \ --hostname gitlab.example.com \ --publish 8929:8929 --publish 2289:22 \ --name gitlab \ --restart always \ --volume $GITLAB_HOME/config:/etc/gitlab \ --volume $GITLAB_HOME/logs:/var/log/gitlab \ --volume $GITLAB_HOME/data:/var/opt/gitlab \ --shm-size 256m \ gitlab/gitlab-ee:latest$ docker exec -it gitlab /bin/bash$ vi /etc/gitlab/gitlab.rb# For HTTPexternal_url "http://gitlab.example.com:8929"or# For HTTPS (notice the https)external_url "https://gitlab.example.com:8929"gitlab_rails['gitlab_shell_ssh_port'] = 2289$ gitlab-ctl reconfigure
端映射格式为”
​hostPort:containerPort​”。更多信息请参阅Docker的文档
此 ​external_url​中指定的端口必须与Docker发布给主机的端口相匹配。此外,如果NGINX监听端口没有在NGINX ​['listen_port']​中显式设置,它将从 ​external_url​中拉出。要了解更多信息,请参阅NGINX文档。
3.2 Docker-compose安装gitlab
使用Docker Compose,你可以轻松地配置、安装和升级基于Docker的GitLab安装:
- 安装docker-compose
- 编排docker-compose.yml
version: '3.6'services: web: image: 'gitlab/gitlab-ee:latest' restart: always hostname: 'gitlab.example.com' environment: GITLAB_OMNIBUS_CONFIG: | external_url 'https://gitlab.example.com' # Add any other gitlab.rb configuration here, each on its own line ports: - '80:80' - '443:443' - '22:22' volumes: - '$GITLAB_HOME/config:/etc/gitlab' - '$GITLAB_HOME/logs:/var/log/gitlab' - '$GITLAB_HOME/data:/var/opt/gitlab' shm_size: '256m'
docker-compose up -d
如果我们自定义 ​HTTP​和 ​SSH​端口。需要定义 ​GITLAB_OMNIBUS_CONFIG​变量是如何匹配端口部分的:
version: '3.6'services: web: image: 'gitlab/gitlab-ee:latest' restart: always hostname: 'gitlab.example.com' environment: GITLAB_OMNIBUS_CONFIG: | external_url 'http://gitlab.example.com:8929' gitlab_rails['gitlab_shell_ssh_port'] = 2224 ports: - '8929:8929' - '2224:22' volumes: - '$GITLAB_HOME/config:/etc/gitlab' - '$GITLAB_HOME/logs:/var/log/gitlab' - '$GITLAB_HOME/data:/var/opt/gitlab' shm_size: '256m'
4. 配置
4.1 获取密码
$ cat /etc/gitlab/initial_root_password # WARNING: This value is valid only in the following conditions# 1. If provided manually (either via GITLAB_ROOT_PASSWORD environment variable or via gitlab_rails['initial_root_password'] setting in gitlab.rb, it was provided before database was seeded for the first time (usually, the first reconfigure run).# 2. Password hasn't been changed manually, either via UI or via command line.## If the password shown here doesn't work, you must reset the admin password following https://docs.gitlab.com/ee/security/reset_user_password.html#reset-your-root-password.Password: mmPPA7vlzRPgdEgQXu1LnWbok6OUNgiAgoZvhYnCgrw=# NOTE: This file will be automatically deleted in the first reconfigure run after 24 hours.
​mmPPA7vlzRPgdEgQXu1LnWbok6OUNgiAgoZvhYnCgrw=​是默认的初始密码,
我们可以在 ​/etc/gitlab/gitlab.rb​配置文件中设置自己的root密码,也可以用默认的密码登陆再修改自己想要的密码。 要注意该文件24小时后自动删除。
4.2 修改密码

修改重新登陆即可。
Original: https://blog.51cto.com/ghostwritten/5344991
Author: ghostwritten
Title: 部署gitlab详解
原创文章受到原创版权保护。转载请注明出处:https://www.johngo689.com/517668/
转载文章受原作者版权保护。转载请注明原作者出处!