

一、安装Anaconda
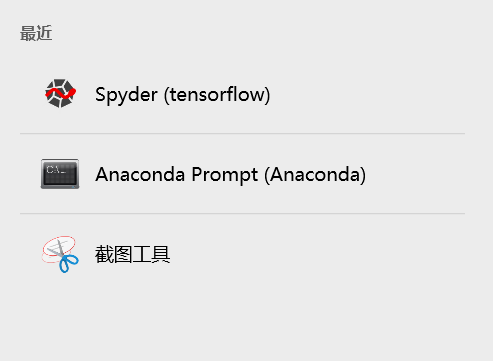
二、进入Anaconda Prompt

三、指令操作
conda config –add channels https://mirrors.tuna.tsinghua.edu.cn/anaconda/pkgs/free/
conda config –set show_channel_urls yes
(连接清华镜像)
接下来安装TensorFlow:
1)创建环境(环境名为:tensorflow(可以自己设置))
conda create -n tensorflow python=3.7.6
2)激活环境
activate tensorflow
3)安装
CPU版本
pip install tensorflow==2.2.0 -i https://pypi.doubanio.com/simple
GPU版本
pip install tensorflow-gpu==2.2.0 -i https://pypi.doubanio.com/simple
4)测试是否安装成功
在Anaconda Prompt窗口中输入: python
进入python后输入:import tensorflow as tf
没有报错即为成功。
顺手pip install deepxde(注:deepxde在tensorflow>=2.20才可以使用)
命令:tf.version(可以查看tensorflow版本号)
四、连接PyCharm
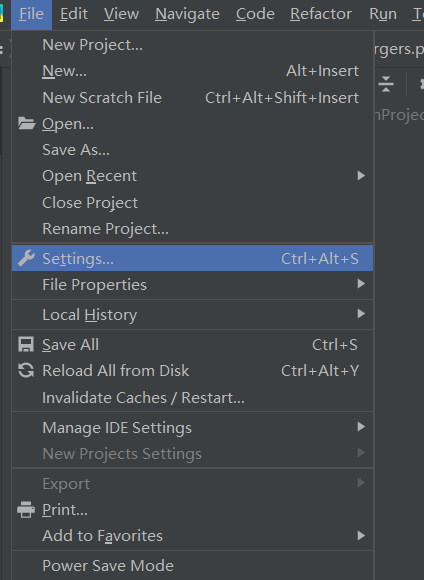
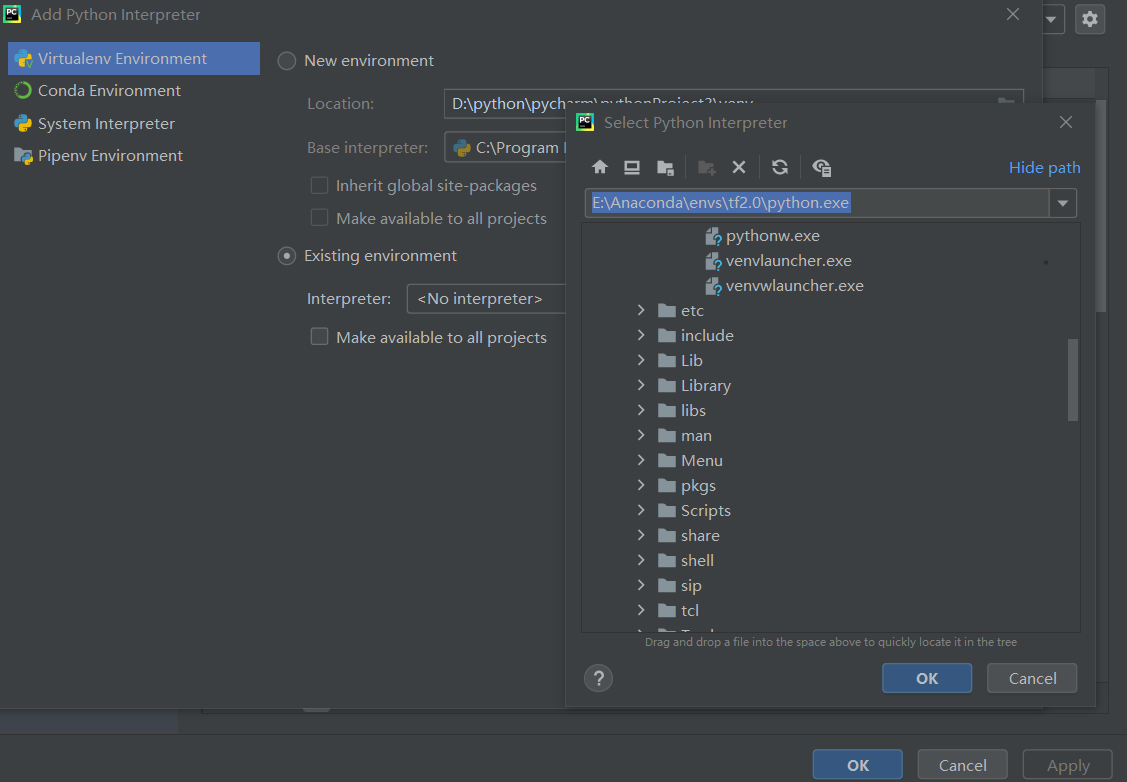
File –>Setting–>Python Interpreter–>add–>Existing environment–>找到tensorflow环境下的python.exe–>ok
Original: https://blog.csdn.net/Ss_Yy_/article/details/120069535
Author: Ss_Yy_
Title: 清华镜像安装TensorFlow2.20(windows环境)
原创文章受到原创版权保护。转载请注明出处:https://www.johngo689.com/514410/
转载文章受原作者版权保护。转载请注明原作者出处!