

准备工作
硬件:
一张算力3.5以上的NVIDIA显卡
查询链接:link.
软件:
Miniconda3
pycharm
NVIDIA显卡驱动
30系列以前:
cuda_10.1
cudnn-10.1-v7.6
tensorflow2.2
30系列:
cuda_11
cudnn-11-v8.0
tensorflow2.4
软件安装(以30系显卡为例)
1.安装NVIDIA显卡驱动>456.43
下载链接:link.


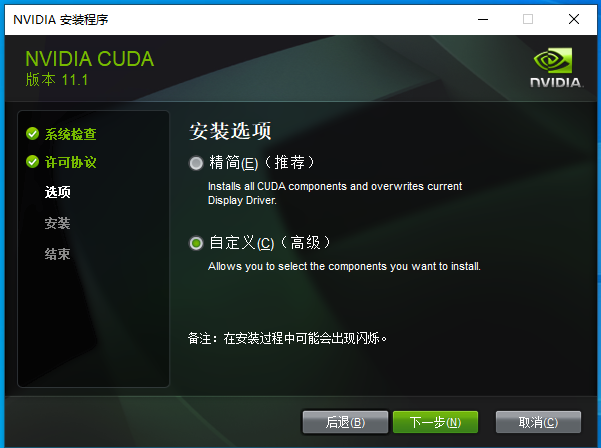
2.安装cuda_11.1
下载链接:link.


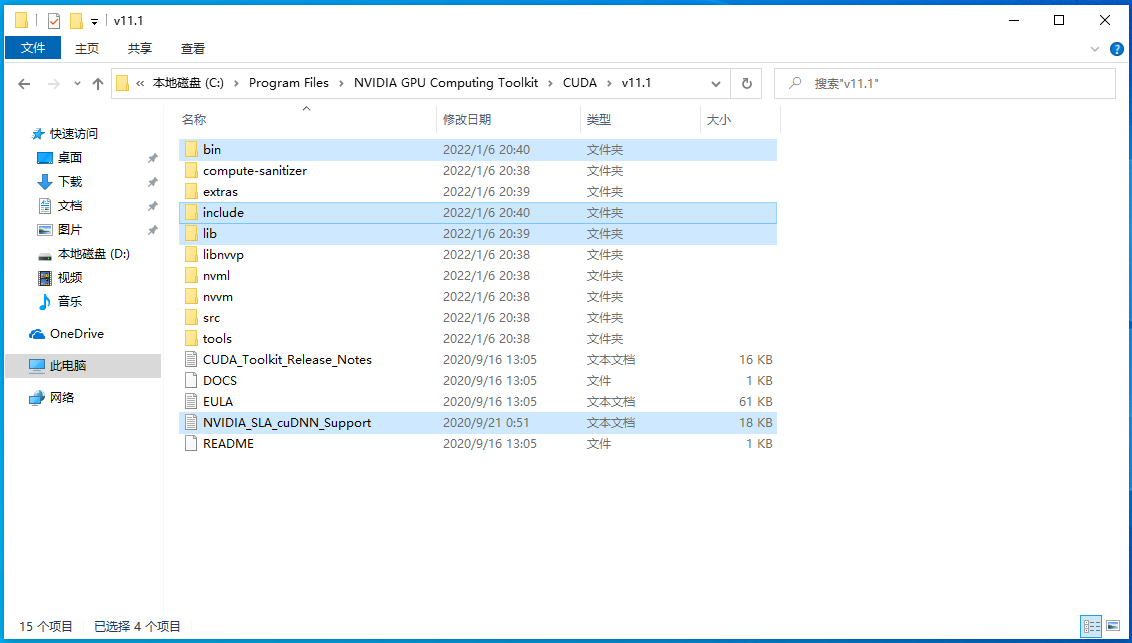
3.安装cudnn-11.1-v8.0
下载链接:link.
解压cudnn-11.1-windows-x64-v8.0.4.30压缩包里面的文件,放到C:\Program Files\NVIDIA GPU Computing Toolkit\CUDA\v11.1目录下
4.安装Miniconda3
下载链接:link.

5.安装tensorflow-gpu==2.4
打开Anaconda Prompt (Miniconda3),创建虚拟环境
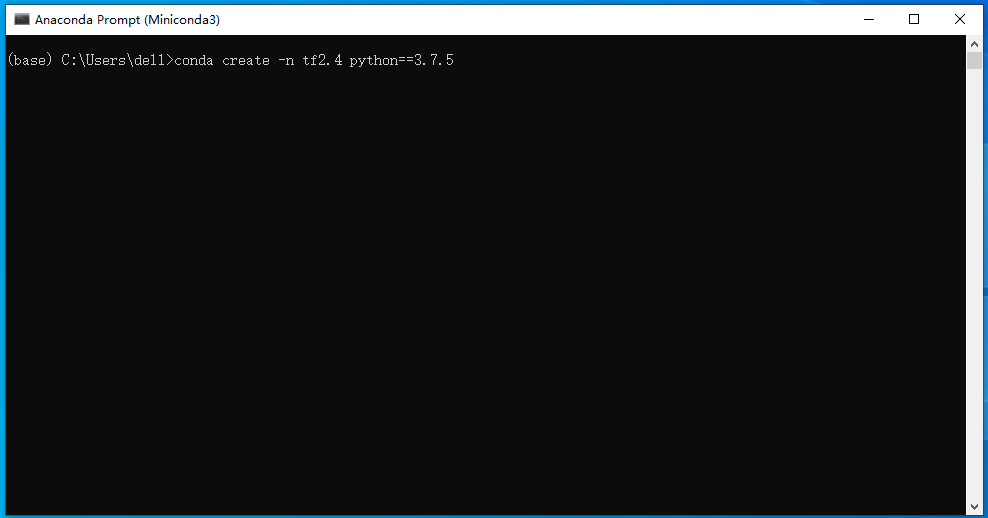


依次输入:
conda create -n 环境名 python==(python版本)
conda activate 环境名
pip install tensorflow-gpu==2.4 -i https://pypi.doubanio.com/simple
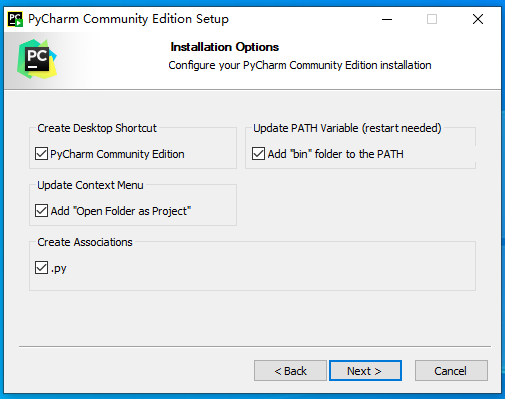
6.安装pycharm
下载链接:link.
; 验证安装效果
输入如下代码:
import tensorflow as tf

tf.config.list_physical_devices('GPU')
运行窗口如下图所示,所有动态链接库都加载成功,说明软件安装成功,可以正常使用。
[En]
The running window is shown below, and all dynamic link libraries are loaded successfully, indicating that the software is installed successfully and can be used normally.
Original: https://blog.csdn.net/m0_37806212/article/details/122380536
Author: 冰醋梨汤
Title: tensorflow2(GPU)显卡版安装
原创文章受到原创版权保护。转载请注明出处:https://www.johngo689.com/511600/
转载文章受原作者版权保护。转载请注明原作者出处!