

Mac M1芯片 安装tensorflow
Mac M1芯片 安装tensorflow
背景
Mac OS M1芯片,anaconda
以前安装都使用下述指令
pip install -i https://pypi.tuna.tsinghua.edu.cn/simple tensorflow
但新入的Mac M1芯片中显示: zsh: illegal hardware instruction python
查询之后发现是M1芯片暂不支持直接使用anaconda安装tensorflow,M1芯片兼容性有点差,后续探索了一番才成功安装。
安装流程
- 下载tensorflow 文件和anaconda arm架构安装包
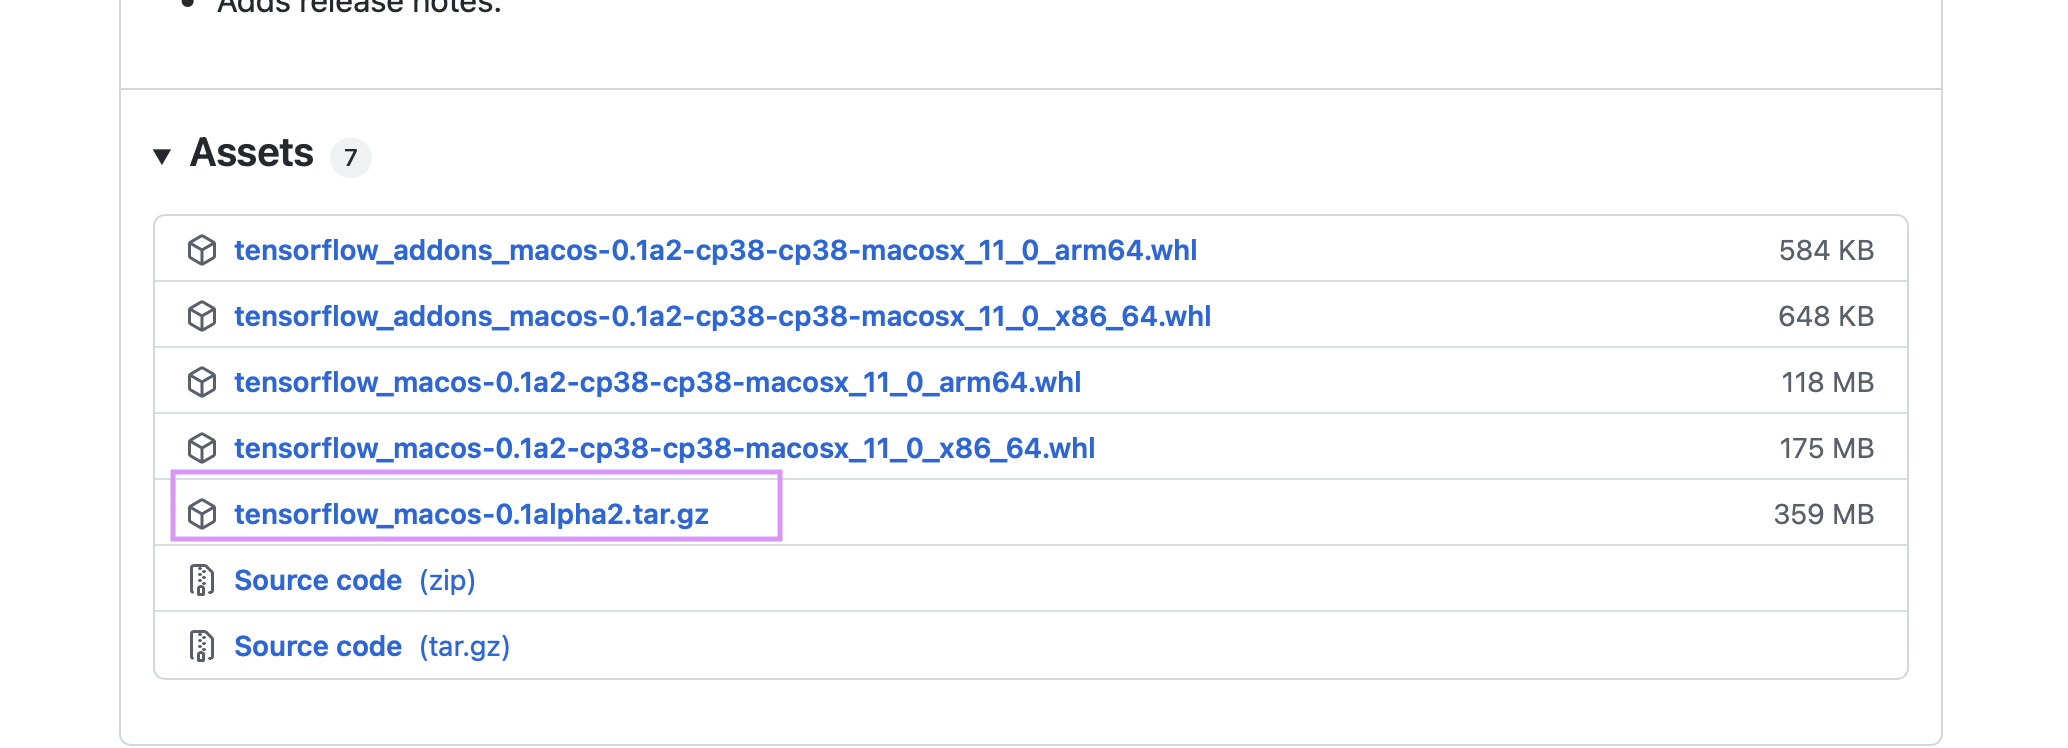
下载tensorflow
只需点击需要下载的文件即可。我下载了带圈的版本。[En]
Just click on the file you need to download. I downloaded the circled version.

下载anaconda arm
点击here就可以下载
友情提醒,下载时可以选择稳定快速的网络,否则速度很慢。[En]
As a friendly reminder, you can choose a stable and fast network when downloading, otherwise it is very slow.
- 解压文件
tar -xvf tensorflow_macos-0.1alpha1.tar
3. anaconda 安装及环境配置
紧接上一步后,直接在终端中输入说明并安装
[En]
Immediately after the previous step, enter the instructions directly in the terminal and install
/bin/bash ./Miniforge3-MacOSX-arm64.sh
然后创建虚拟环境,命名为 tf_env
conda create -n tf_env python=3.7
再进入虚拟环境
conda activate tf_env
最关键的一步,很多博主都是选择使用pip或者修改envs的路径然后再去安装,试过好几个,都会显示错误、安装不成功等,最后有个老哥推荐直接使用conda去安装,一次性成功了。
conda install tensorflow

安装成功后,效果如下:
[En]
After the installation is successful, the effect is as follows:

ps :要在terminal中激活这个env的时候直接输入
conda activate /Users/xxx/opt/anaconda3/envs/tf_env
Original: https://blog.csdn.net/crist_meng/article/details/121947662
Author: CL_Meng77
Title: 【Mac M1芯片使用conda安装tensorflow,避坑~】
原创文章受到原创版权保护。转载请注明出处:https://www.johngo689.com/511464/
转载文章受原作者版权保护。转载请注明原作者出处!