

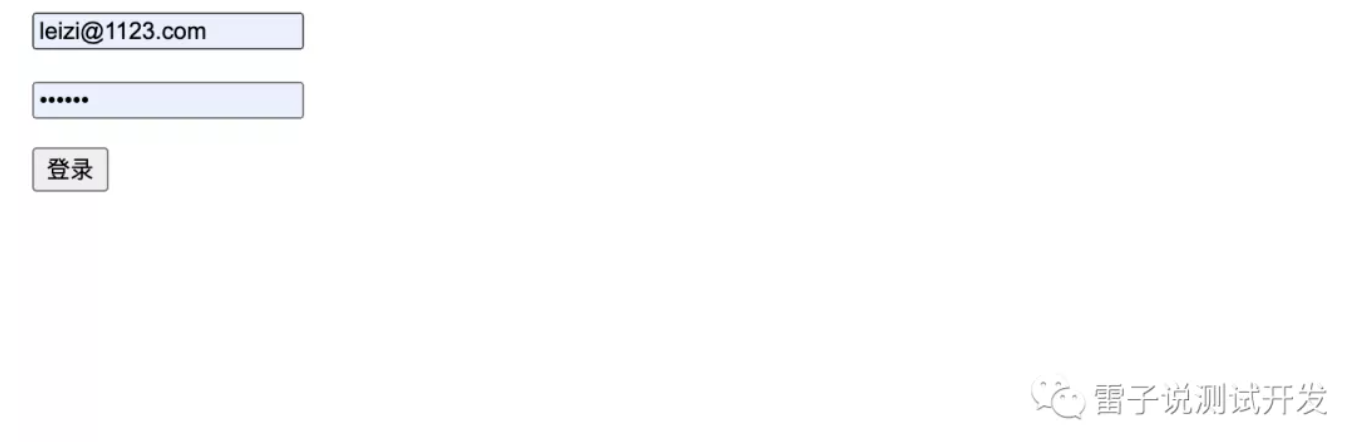
之前我们是通过前端自动生成的,这次我们通过注册登录,保存到本地去实现。我们可以应该如何实现呢,首先我们实现一个登录界面。放在templates文件下。
DOCTYPE html>
<html lang="en">
<head>
    <meta charset="UTF-8">
    <title>Titletitle>
    <script src="https://cdn.staticfile.org/jquery/1.10.2/jquery.min.js">
script>
head>
<body>
<div>
    <p><input id="username" placeholder="用户名">p>
    <p><input id="password" placeholder="密码" type="password">p>
    <button id="login">登录button>
div>
<script>
    $('#login').click(function () {
        $.ajax({
            type: "post",
            url: "/token",
             contentType: "application/json; charset=utf-8",
            data: JSON.stringify({
                email: $("#username").val(),
                password: $("#password").val()
            }),
            success: function (data) {
                if (data['msg'] == "pass") {
                    window.localStorage.setItem("token", data['token'])
                    window.location.href="/"
                }else {
                    alert(data['msg'])
                }
            }
        })

    })
script>
body>
html>
我们在后端去编写一个返回静态文件的页面,一个返回token的方法、
@app.get("/login")
async def login(request: Request):
return templates.TemplateResponse(
"login.html",
{
"request": request
}
)
@app.post('/token')
def token(user: UserCreate, db: Session = Depends(get_db)):
db_crest = get_user_emai(db, user.email)
fake_hashed_password = user.password + "notreallyhashed"
if db_crest:
if fake_hashed_password==db_crest.hashed_password:
return {"token":"leizishuoceshi",'msg':'pass'}
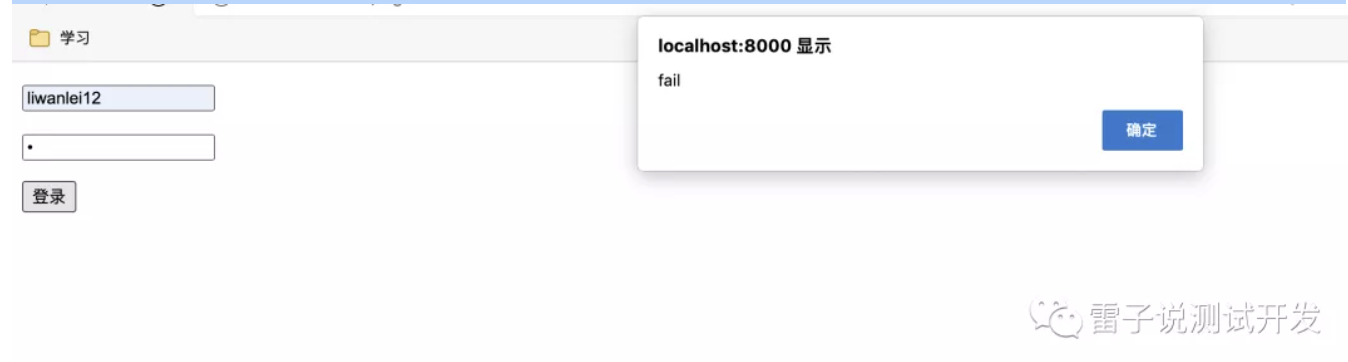
return {'msg':'fail'}
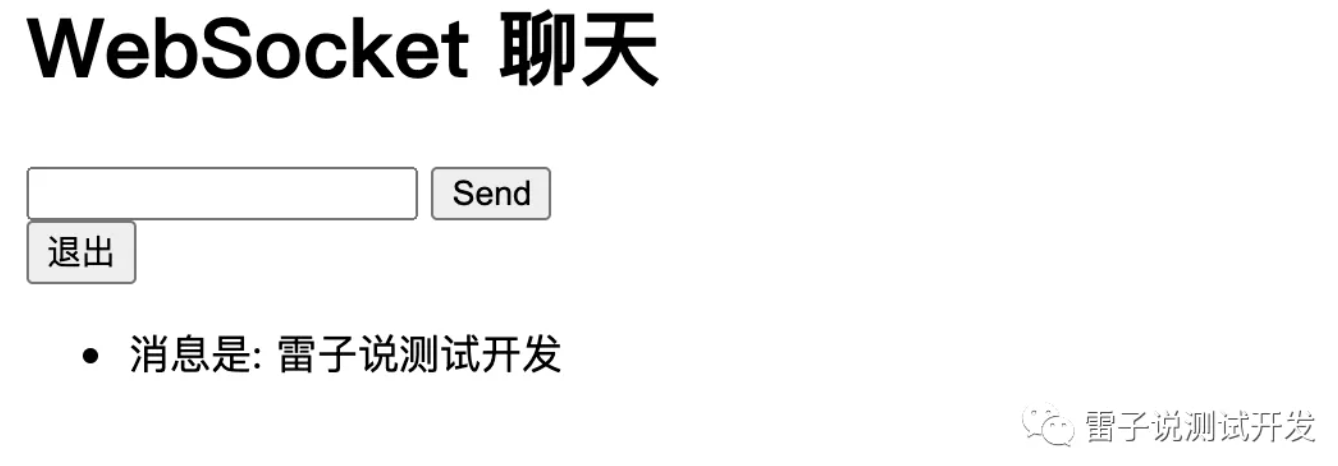
然后我们可以去启动下,当我们启动完成登录后发现本地存了token,那么这个时候我们需要改造下webchat.html,我们的取本地的 token,同时也实现了一个退出的功能。
DOCTYPE html>
<html>
<head>
    <title>Chattitle>
head>
<body>
<h1>WebSocket 聊天h1>
<form action="" onsubmit="sendMessage(event)">
    <input type="text" id="messageText" autocomplete="off"/>
    <button>Sendbutton>
form>
<button onclick="logout()">退出button>
<ul id='messages'>
ul>
<script>
    var  token=window.localStorage.getItem("token")
    if (token==null ){
        window.location.href="/login"
    }
    var ws = new WebSocket("ws://localhost:8000/items/ws?token="+token);

    ws.onmessage = function (event) {

        var messages = document.getElementById('messages')

        var message = document.createElement('li')

        var content = document.createTextNode(event.data)

        message.appendChild(content)

        messages.appendChild(message)

    };

    function sendMessage(event) {

        var input = document.getElementById("messageText")

        ws.send(input.value)

        input.value = ''

        event.preventDefault()

    }
    function logout() {
        window.localStorage.removeItem("token")
        window.location.href='/login'
    }
script>

body>

html>
这样我们就可以登录后,然后去获取登录产生的token,然后和后端发发送消息,这样我们完成了一个登录聊天,退出后无法聊天的功能。我们如果直接访问聊天的页面,也是可以直接去定向到我们的登录的界面呢,我们的聊天是依赖于我们的登录的。


聊天内容只有在成功后才能发送。
[En]
Chat content can be sent only after success.
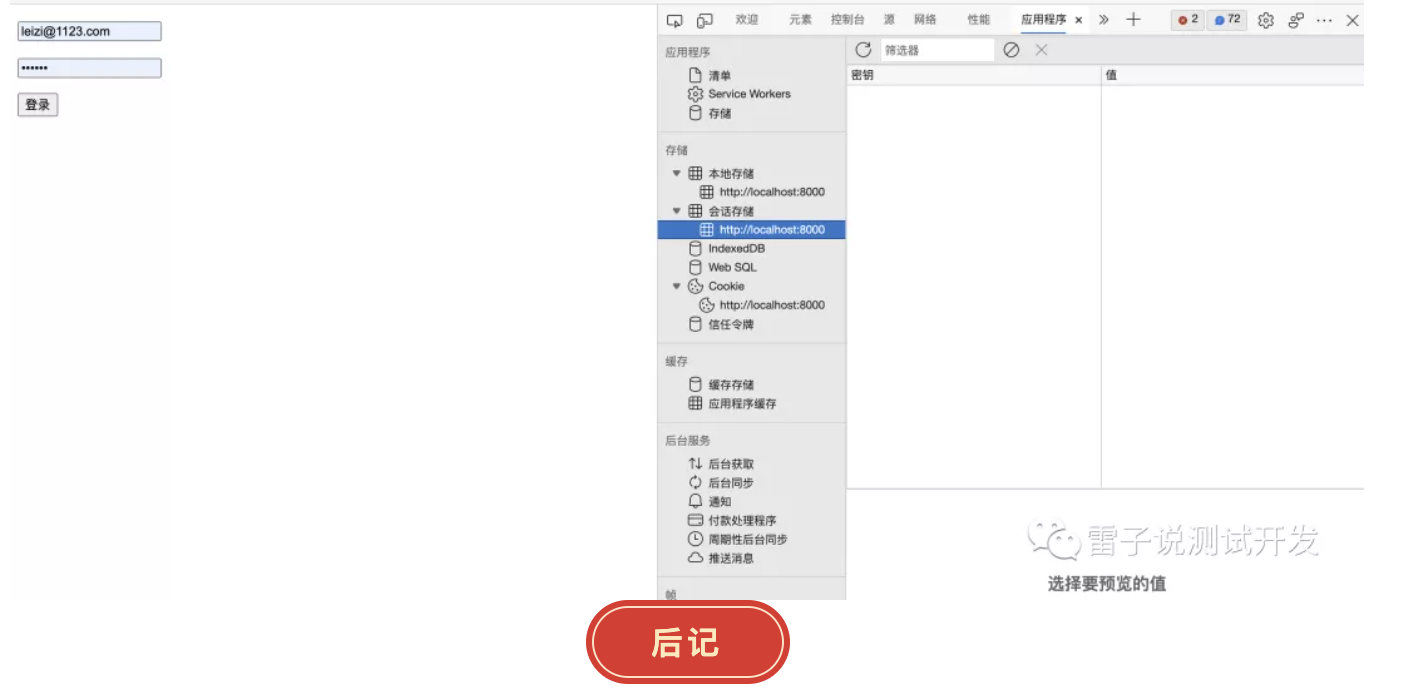
点击退出,直接退出
本地存储也无任何
第一个帖子是在官方账号上。欢迎关注我们。
[En]
The first post is on the official account. Welcome to follow us.

Original: https://www.cnblogs.com/leiziv5/p/15416872.html
Author: 北漂的雷子
Title: FastAPI 学习之路(四十七)WebSockets(三)登录后才可以聊天
原创文章受到原创版权保护。转载请注明出处:https://www.johngo689.com/511008/
转载文章受原作者版权保护。转载请注明原作者出处!