

1.数据文件介绍
数据集下载:https://download.csdn.net/download/qq_41865229/85254826
训练集60000张数字图片, 测试集10000张图片.


都是黑底白字的灰度图,每张图有28行28列个像素点, 命名格式为 序号_数值


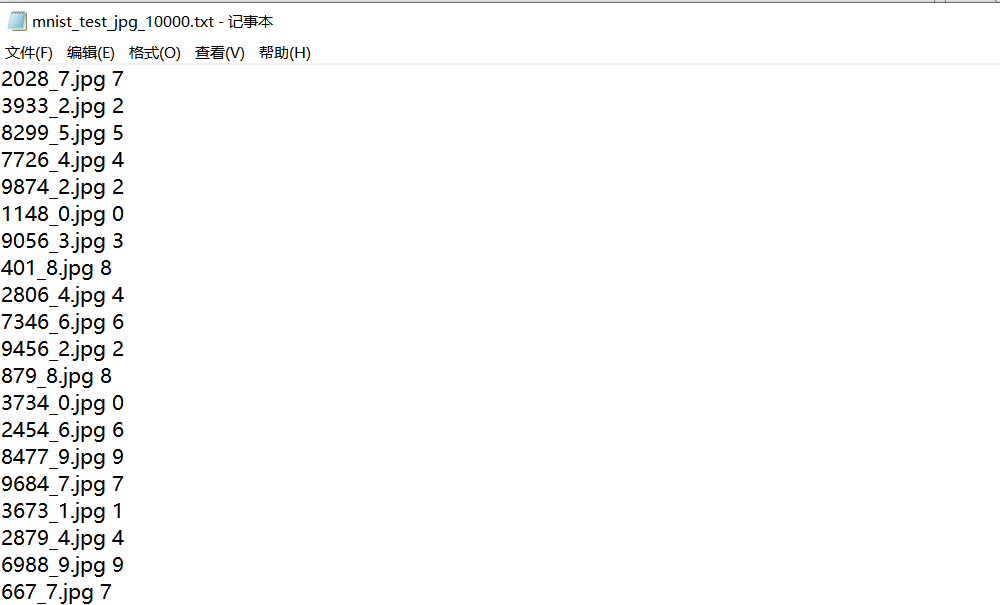
两个文本文件中, 每行分别是图片名, 标签(对应的数值)

路径参数:
train_path = './mnist_image_label/mnist_train_jpg_60000/'
train_txt = './mnist_image_label/mnist_train_jpg_60000.txt'
x_train_savepath = './mnist_image_label/mnist_x_train.npy'
y_train_savepath = './mnist_image_label/mnist_y_train.npy'

test_path = './mnist_image_label/mnist_test_jpg_10000/'
test_txt = './mnist_image_label/mnist_test_jpg_10000.txt'
x_test_savepath = './mnist_image_label/mnist_x_test.npy'
y_test_savepath = './mnist_image_label/mnist_y_test.npy'
2.生成数据集
我们希望将图片转换为离散数据,即以数组(特征值数组和标记数组)的形式。
[En]
We want to convert the picture into discrete data, that is, in the form of an array (an array of eigenvalues and an array of tags).
def generateds(path, txt):
    f = open(txt, 'r')
    contents = f.readlines()
    f.close()
    x, y_ = [], []
    for content in contents:
        value = content.split()
        img_path = path + value[0]
        img = Image.open(img_path)
        img = np.array(img.convert('L'))
        img = img / 255.

        x.append(img)
        y_.append(value[1])
        print('loading : ' + content)

    x = np.array(x)
    y_ = np.array(y_)
    y_ = y_.astype(np.int64)
    print("x的类型", x.shape)
    print("y_的类型", y_.shape)
    return x, y_
输入训练集文件的路径生成数据集,得到60000个28到28个特征值的矩阵数组和60000个标签值的一维数组。
[En]
Input the path of the training set file to generate the dataset, and get a matrix array of 60000 eigenvalues of 28 to 28 and an one-dimensional array of 60000 label values.

3.存储数据集
如果你每次都要读取图片文件,然后生成数据集数组,会花费很多时间;我们可以将生成的数据集数组保存为文件,下次要使用时,可以直接读取数据集数组文件,速度相对较快。
[En]
If you have to read the picture file every time, and then generate the dataset array, it will take a lot of time; we can save the generated dataset array as a file, and the next time we want to use it, we can read the dataset array file directly, which is relatively fast.
def load_data():

    if os.path.exists(x_train_savepath) and os.path.exists(y_train_savepath) and os.path.exists(
            x_test_savepath) and os.path.exists(y_test_savepath):
        print('-------------Load Datasets-----------------')
        x_train_save = np.load(x_train_savepath)
        y_train = np.load(y_train_savepath)
        x_test_save = np.load(x_test_savepath)
        y_test = np.load(y_test_savepath)
        x_train = np.reshape(x_train_save, (len(x_train_save), 28, 28))
        x_test = np.reshape(x_test_save, (len(x_test_save), 28, 28))

    else:
        print('-------------Generate Datasets-----------------')
        print("生成训练集")
        x_train, y_train = generateds(train_path, train_txt)
        print("生成测试集")
        x_test, y_test = generateds(test_path, test_txt)

        print('-------------Save Datasets-----------------')
        x_train_save = np.reshape(x_train, (len(x_train), -1))
        x_test_save = np.reshape(x_test, (len(x_test), -1))
        np.save(x_train_savepath, x_train_save)
        np.save(y_train_savepath, y_train)
        np.save(x_test_savepath, x_test_save)
        np.save(y_test_savepath, y_test)
    return x_train, y_train, x_test, y_test
1.初始未生成数据集数组文件


2.当有已生成的数据集数组文件时, 就可以直接载入


4.使用数据集
然后,我们可以使用数据集来训练神经网络。以下是该项目的完整代码。
[En]
Then we can use the dataset to train the neural network. here is the complete code of the project.
image_preprocess.py
from PIL import Image
import numpy as np
import os

train_path = './mnist_image_label/mnist_train_jpg_60000/'
train_txt = './mnist_image_label/mnist_train_jpg_60000.txt'
x_train_savepath = './mnist_image_label/mnist_x_train.npy'
y_train_savepath = './mnist_image_label/mnist_y_train.npy'

test_path = './mnist_image_label/mnist_test_jpg_10000/'
test_txt = './mnist_image_label/mnist_test_jpg_10000.txt'
x_test_savepath = './mnist_image_label/mnist_x_test.npy'
y_test_savepath = './mnist_image_label/mnist_y_test.npy'

def generateds(path, txt):
    f = open(txt, 'r')
    contents = f.readlines()
    f.close()
    x, y_ = [], []
    for content in contents:
        value = content.split()
        img_path = path + value[0]
        img = Image.open(img_path)
        img = np.array(img.convert('L'))
        img = img / 255.

        x.append(img)
        y_.append(value[1])

    x = np.array(x)
    y_ = np.array(y_)
    y_ = y_.astype(np.int64)
    print("x的类型", x.shape)
    print("y_的类型", y_.shape)
    return x, y_

def load_data():

    if os.path.exists(x_train_savepath) and os.path.exists(y_train_savepath) and os.path.exists(
            x_test_savepath) and os.path.exists(y_test_savepath):
        print('-------------Load Datasets-----------------')
        x_train_save = np.load(x_train_savepath)
        y_train = np.load(y_train_savepath)
        x_test_save = np.load(x_test_savepath)
        y_test = np.load(y_test_savepath)
        x_train = np.reshape(x_train_save, (len(x_train_save), 28, 28))
        x_test = np.reshape(x_test_save, (len(x_test_save), 28, 28))

    else:
        print('-------------Generate Datasets-----------------')
        print("生成训练集")
        x_train, y_train = generateds(train_path, train_txt)
        print("生成测试集")
        x_test, y_test = generateds(test_path, test_txt)

        print('-------------Save Datasets-----------------')
        x_train_save = np.reshape(x_train, (len(x_train), -1))
        x_test_save = np.reshape(x_test, (len(x_test), -1))
        np.save(x_train_savepath, x_train_save)
        np.save(y_train_savepath, y_train)
        np.save(x_test_savepath, x_test_save)
        np.save(y_test_savepath, y_test)
    return x_train, y_train, x_test, y_test
image_identification_train.py
import image_preprocess
import tensorflow as tf

x_train, y_train, x_test, y_test = image_preprocess.load_data()

model = tf.keras.models.Sequential([
    tf.keras.layers.Flatten(),
    tf.keras.layers.Dense(128, activation='relu'),
    tf.keras.layers.Dense(10, activation='softmax')
])

model.compile(optimizer='adam',
              loss=tf.keras.losses.SparseCategoricalCrossentropy(from_logits=False),
              metrics=['sparse_categorical_accuracy'])

model.fit(x_train, y_train, batch_size=32, epochs=5, validation_data=(x_test, y_test), validation_freq=1)
model.summary()
运行结果

5.数据增强(增大数据量)
数据增强(Data Augmentation):是指对图片进行随机的旋转、翻转、裁剪、随机设置图片的亮度和对比度以及对数据进行标准化(数据的均值为0,方差为1)。通过这些操作,我们可以获得更多的图片样本,原来的一张图片可以变为多张图片,扩大了样本容量,对于提高模型的准确率和提升模型的泛化能力非常有帮助,在进行数据增强的同时也会需要消耗大量的系统资源。

引入数据增强操作后的代码
[En]
The code after introducing the data enhancement operation
image_identification_train.py
import image_preprocess
import tensorflow as tf
from tensorflow.keras.preprocessing.image import ImageDataGenerator

x_train, y_train, x_test, y_test = image_preprocess.load_data()

x_train = x_train.reshape(x_train.shape[0], 28, 28, 1)

image_gen_train = ImageDataGenerator(
    rescale=1. / 1.,
    rotation_range=45,
    width_shift_range=.15,
    height_shift_range=.15,
    horizontal_flip=False,
    zoom_range=0.5
)
image_gen_train.fit(x_train)

model = tf.keras.models.Sequential([
    tf.keras.layers.Flatten(),
    tf.keras.layers.Dense(128, activation='relu'),
    tf.keras.layers.Dense(10, activation='softmax')
])

model.compile(optimizer='adam',
              loss=tf.keras.losses.SparseCategoricalCrossentropy(from_logits=False),
              metrics=['sparse_categorical_accuracy'])

model.fit(image_gen_train.flow(x_train, y_train, batch_size=32), epochs=5, validation_data=(x_test, y_test),
          validation_freq=1)
model.summary()
运行结果

Original: https://blog.csdn.net/qq_41865229/article/details/124252868
Author: 鸣鼓ming
Title: 06-TensorFlow 自制数据集
原创文章受到原创版权保护。转载请注明出处:https://www.johngo689.com/509001/
转载文章受原作者版权保护。转载请注明原作者出处!